Our journey down apple road continues this week. This time around, we will be using a newer technique, to us, to get the apples in the ice cream. A technique that allows us to create a creamy ice cream flavored with what ever fruit or vegetable we’re using, while eliminating any iciness due to moisture content. It’s something we’ve been playing around with a lot lately, and so far has been very successful. And to bring the creaminess up another level, I’m using rolled oats. I’ll explain how that works later, but for now, lets get this week’s flavor underway – Apple Oat and Brown Sugar
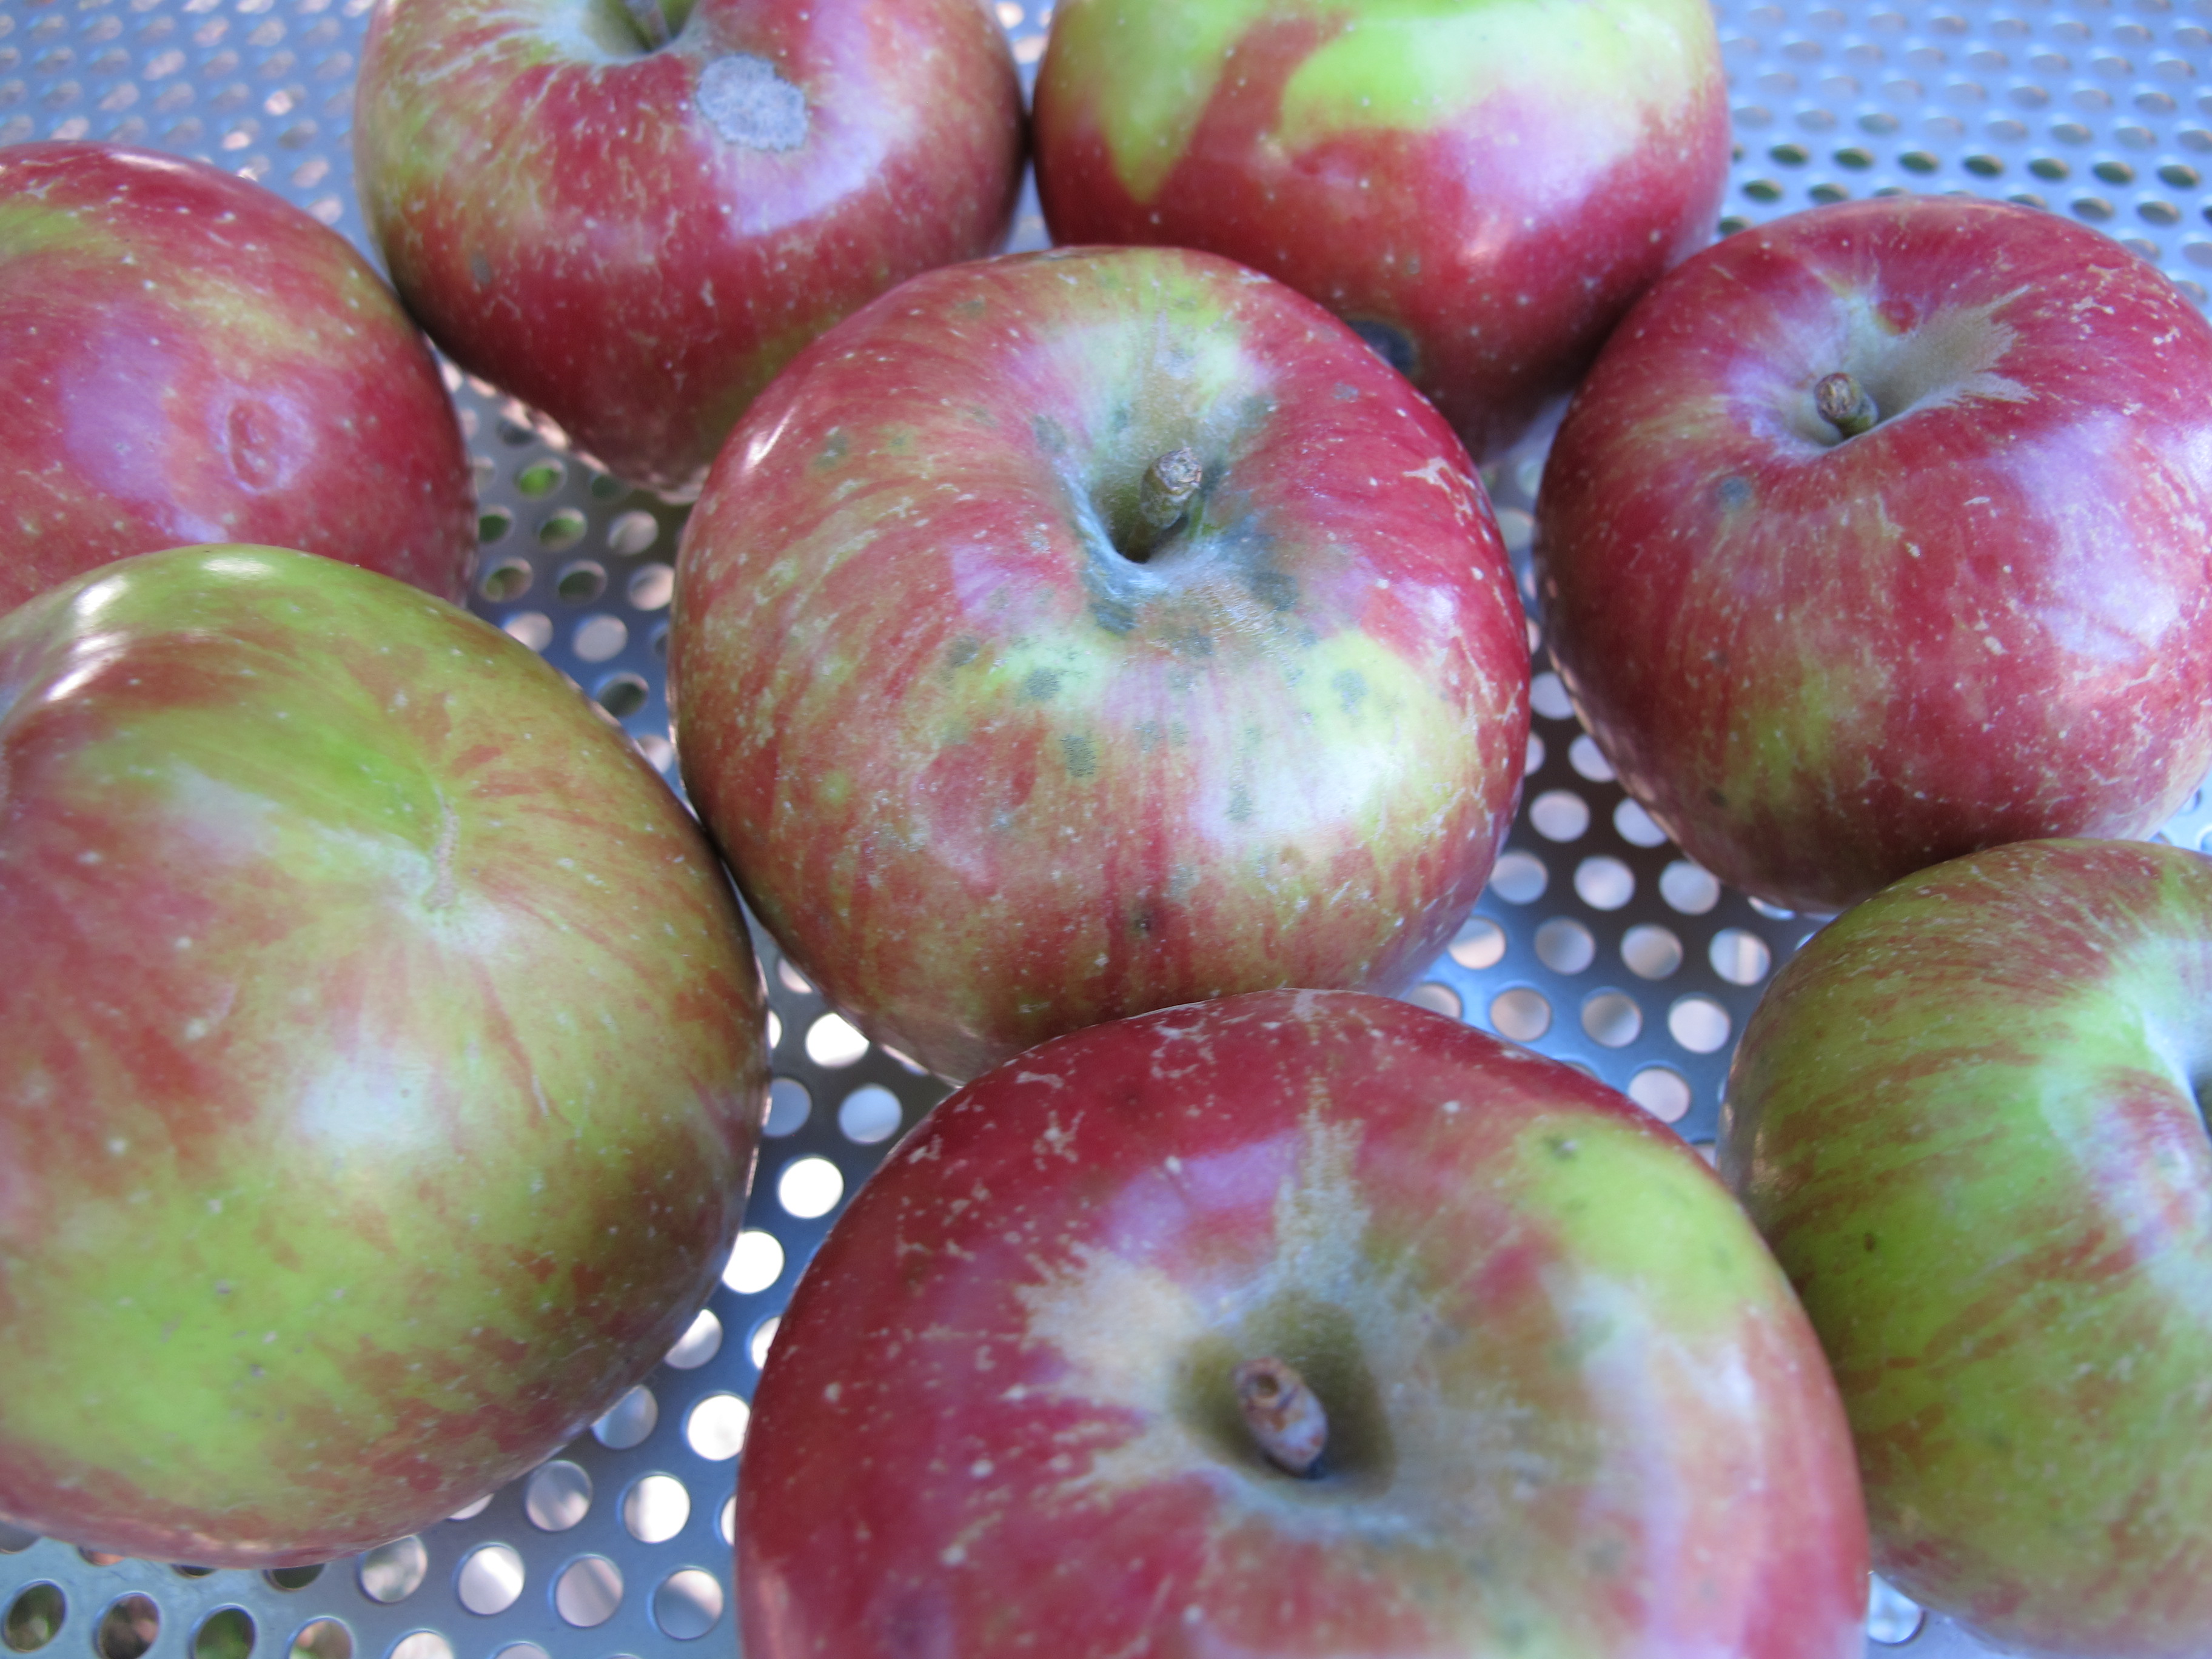
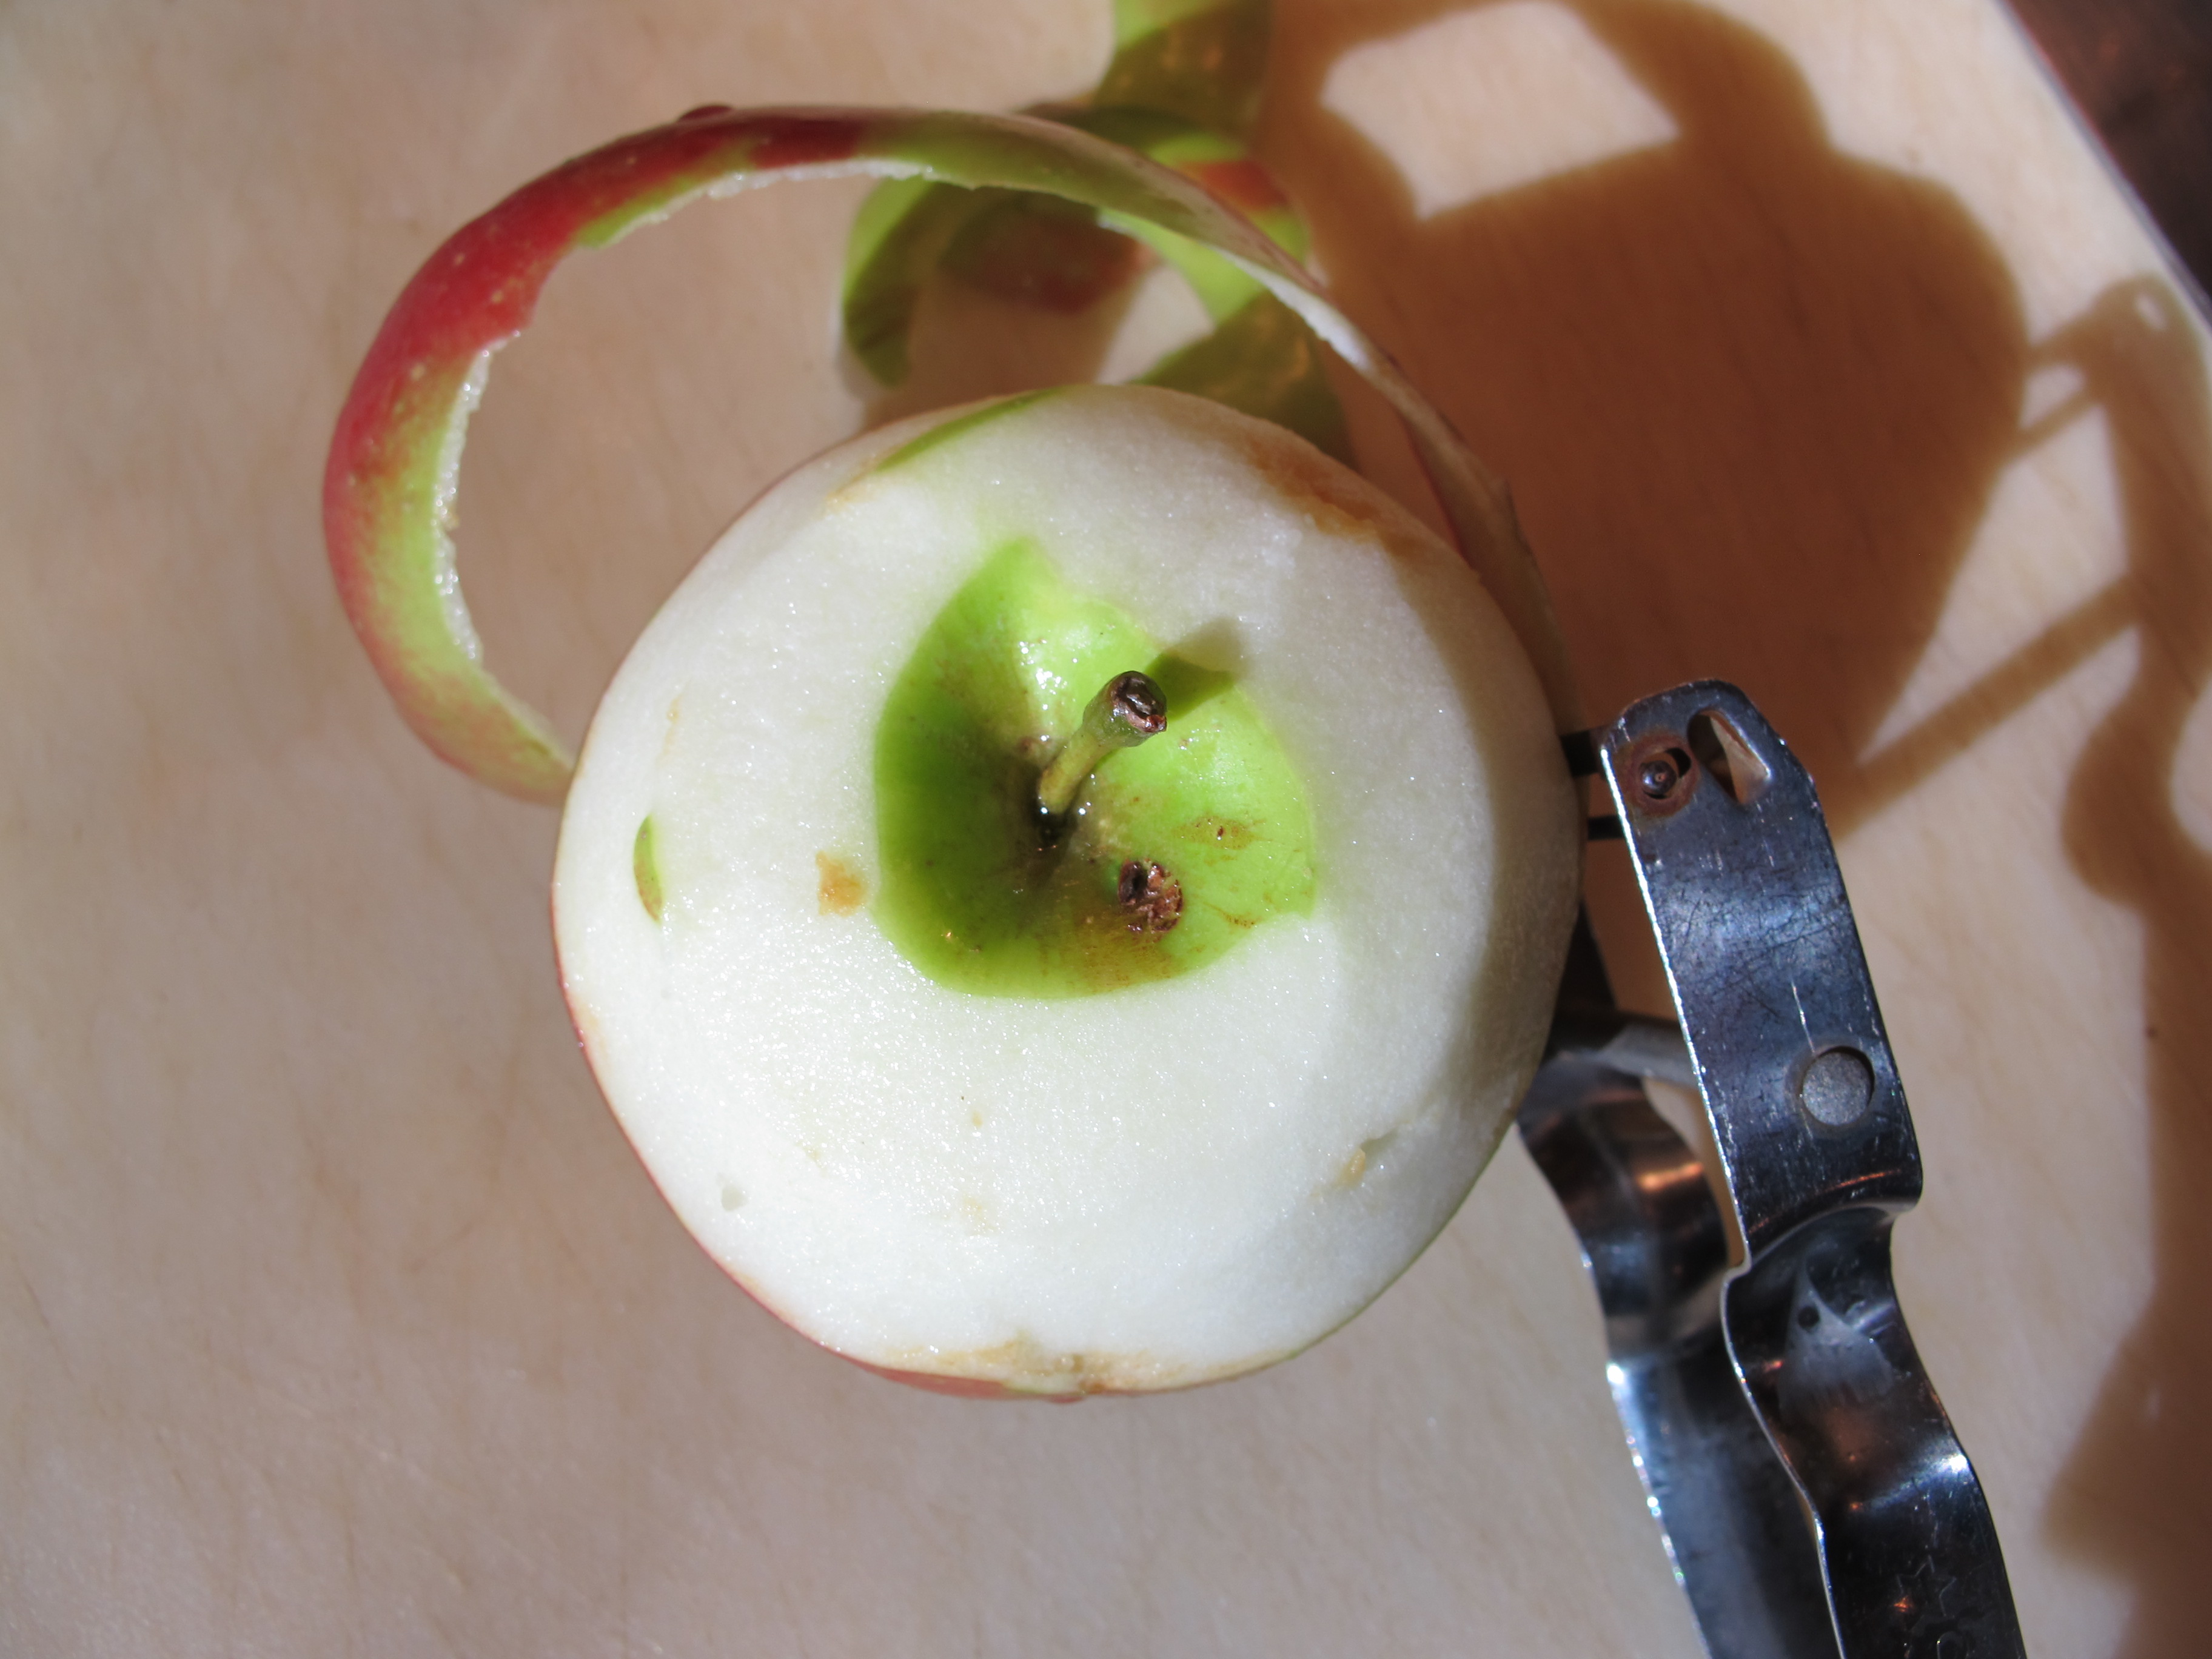
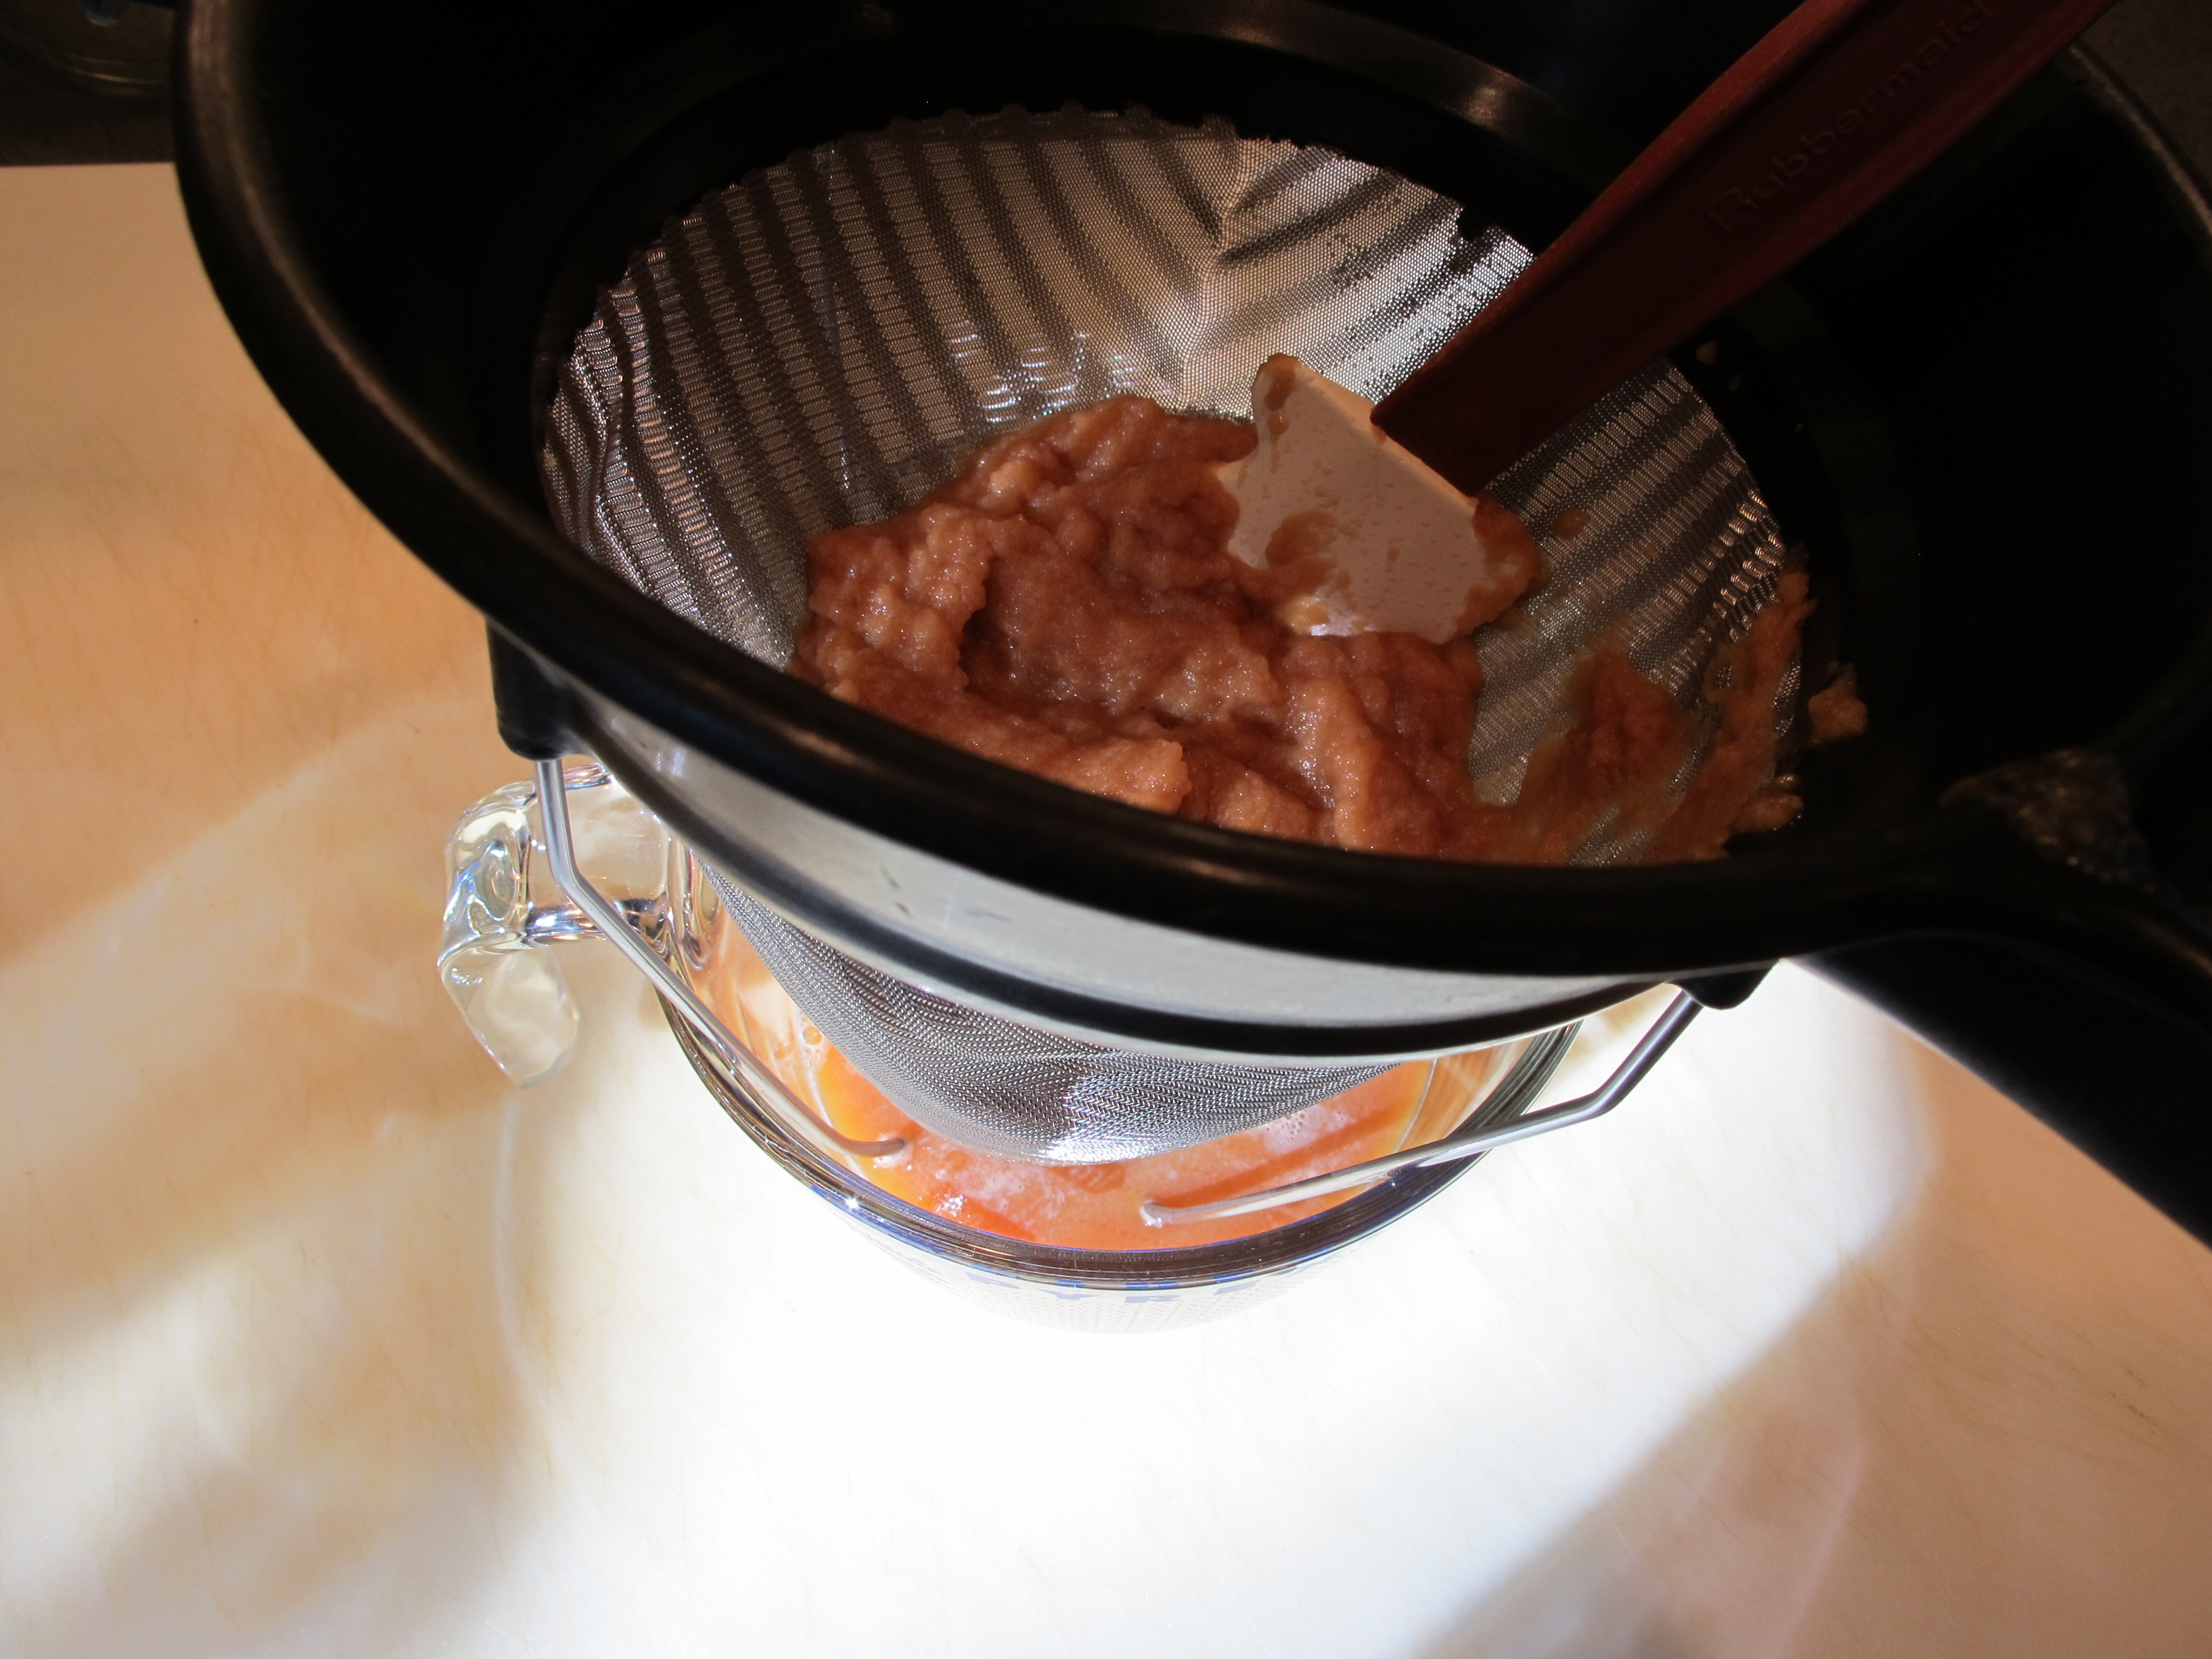
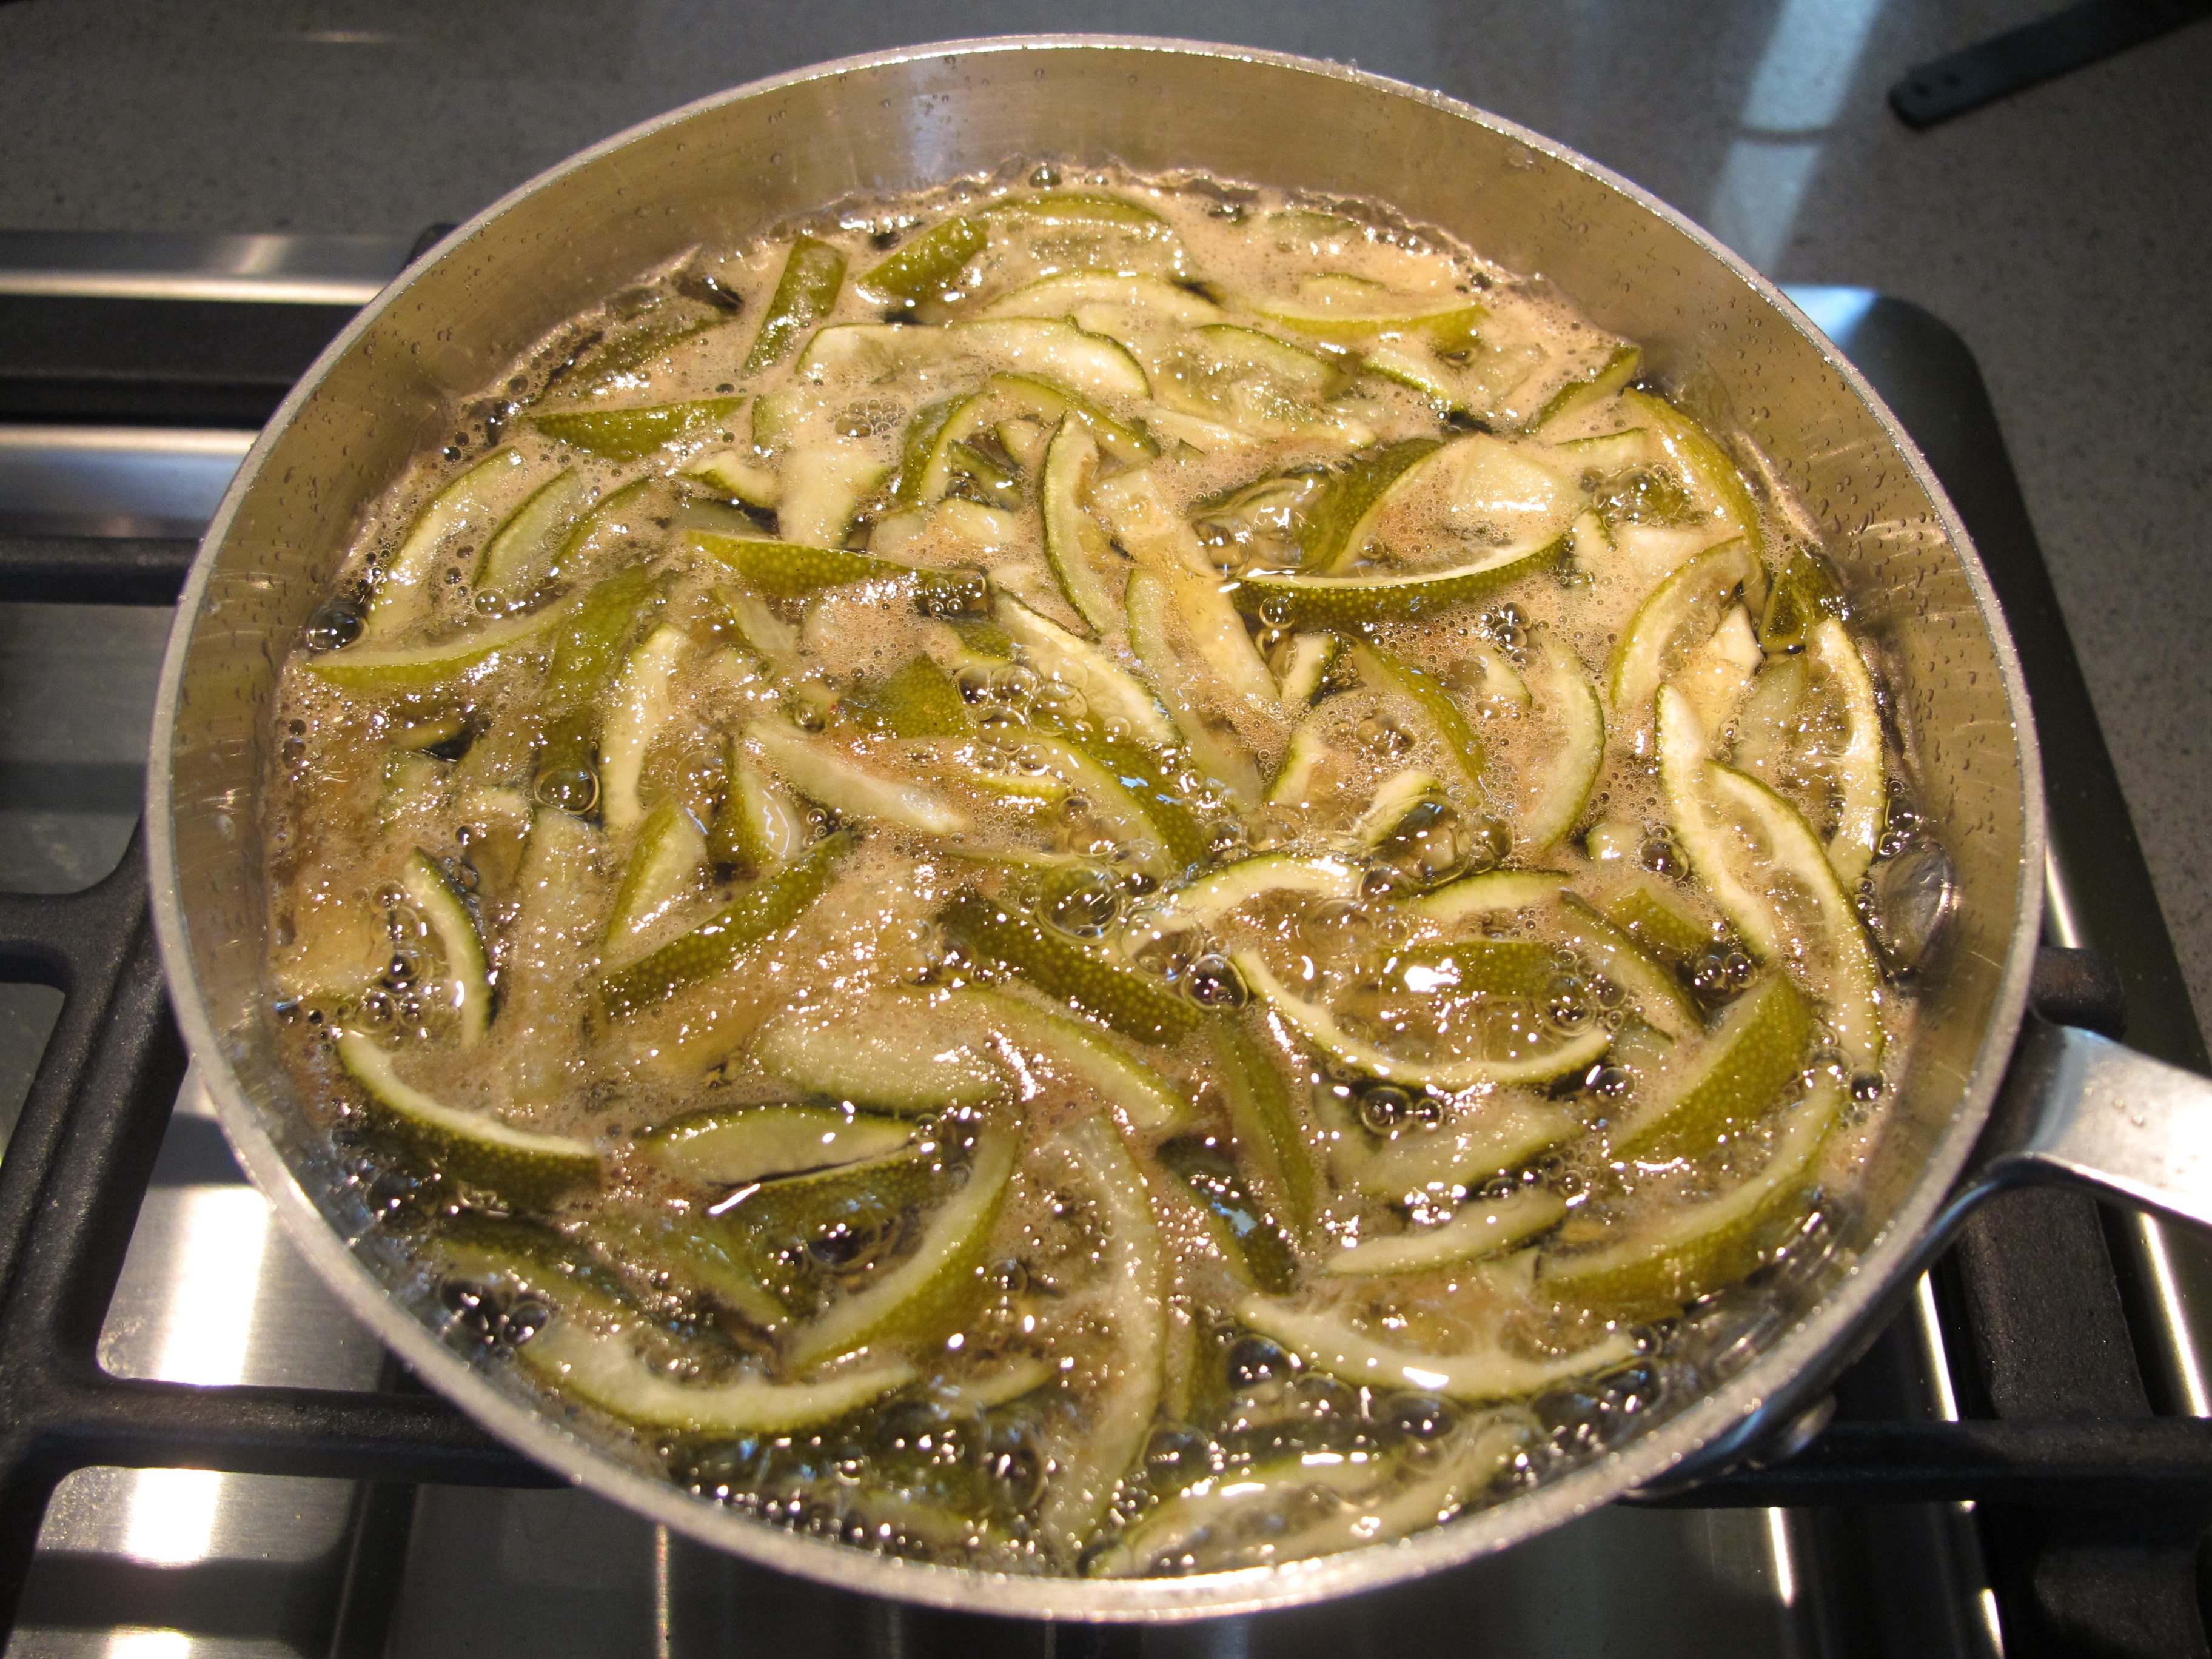
To begin, we start with regent apples from Hoch Orchard here in Minnesota. Everyone has their apple varieties of choice for eating and cooking. For me, the regent offers great apple flavor and is versatile for both good eating and cooking. Here, I want extract all of the apple flavor I can get, starting by breaking down the apples into two different parts – cider and pulp. First things first, we peel and core our apples. The apples are pureed in a blender until smooth. We then strain the puree through a fine mesh strainer set over a bowl. The cider is pushed through, and the solids are drained until the pulp is nearly dry. Getting as much of the moisture content out is important, unless you’re making a sorbet. Moisture is ice creams enemy.
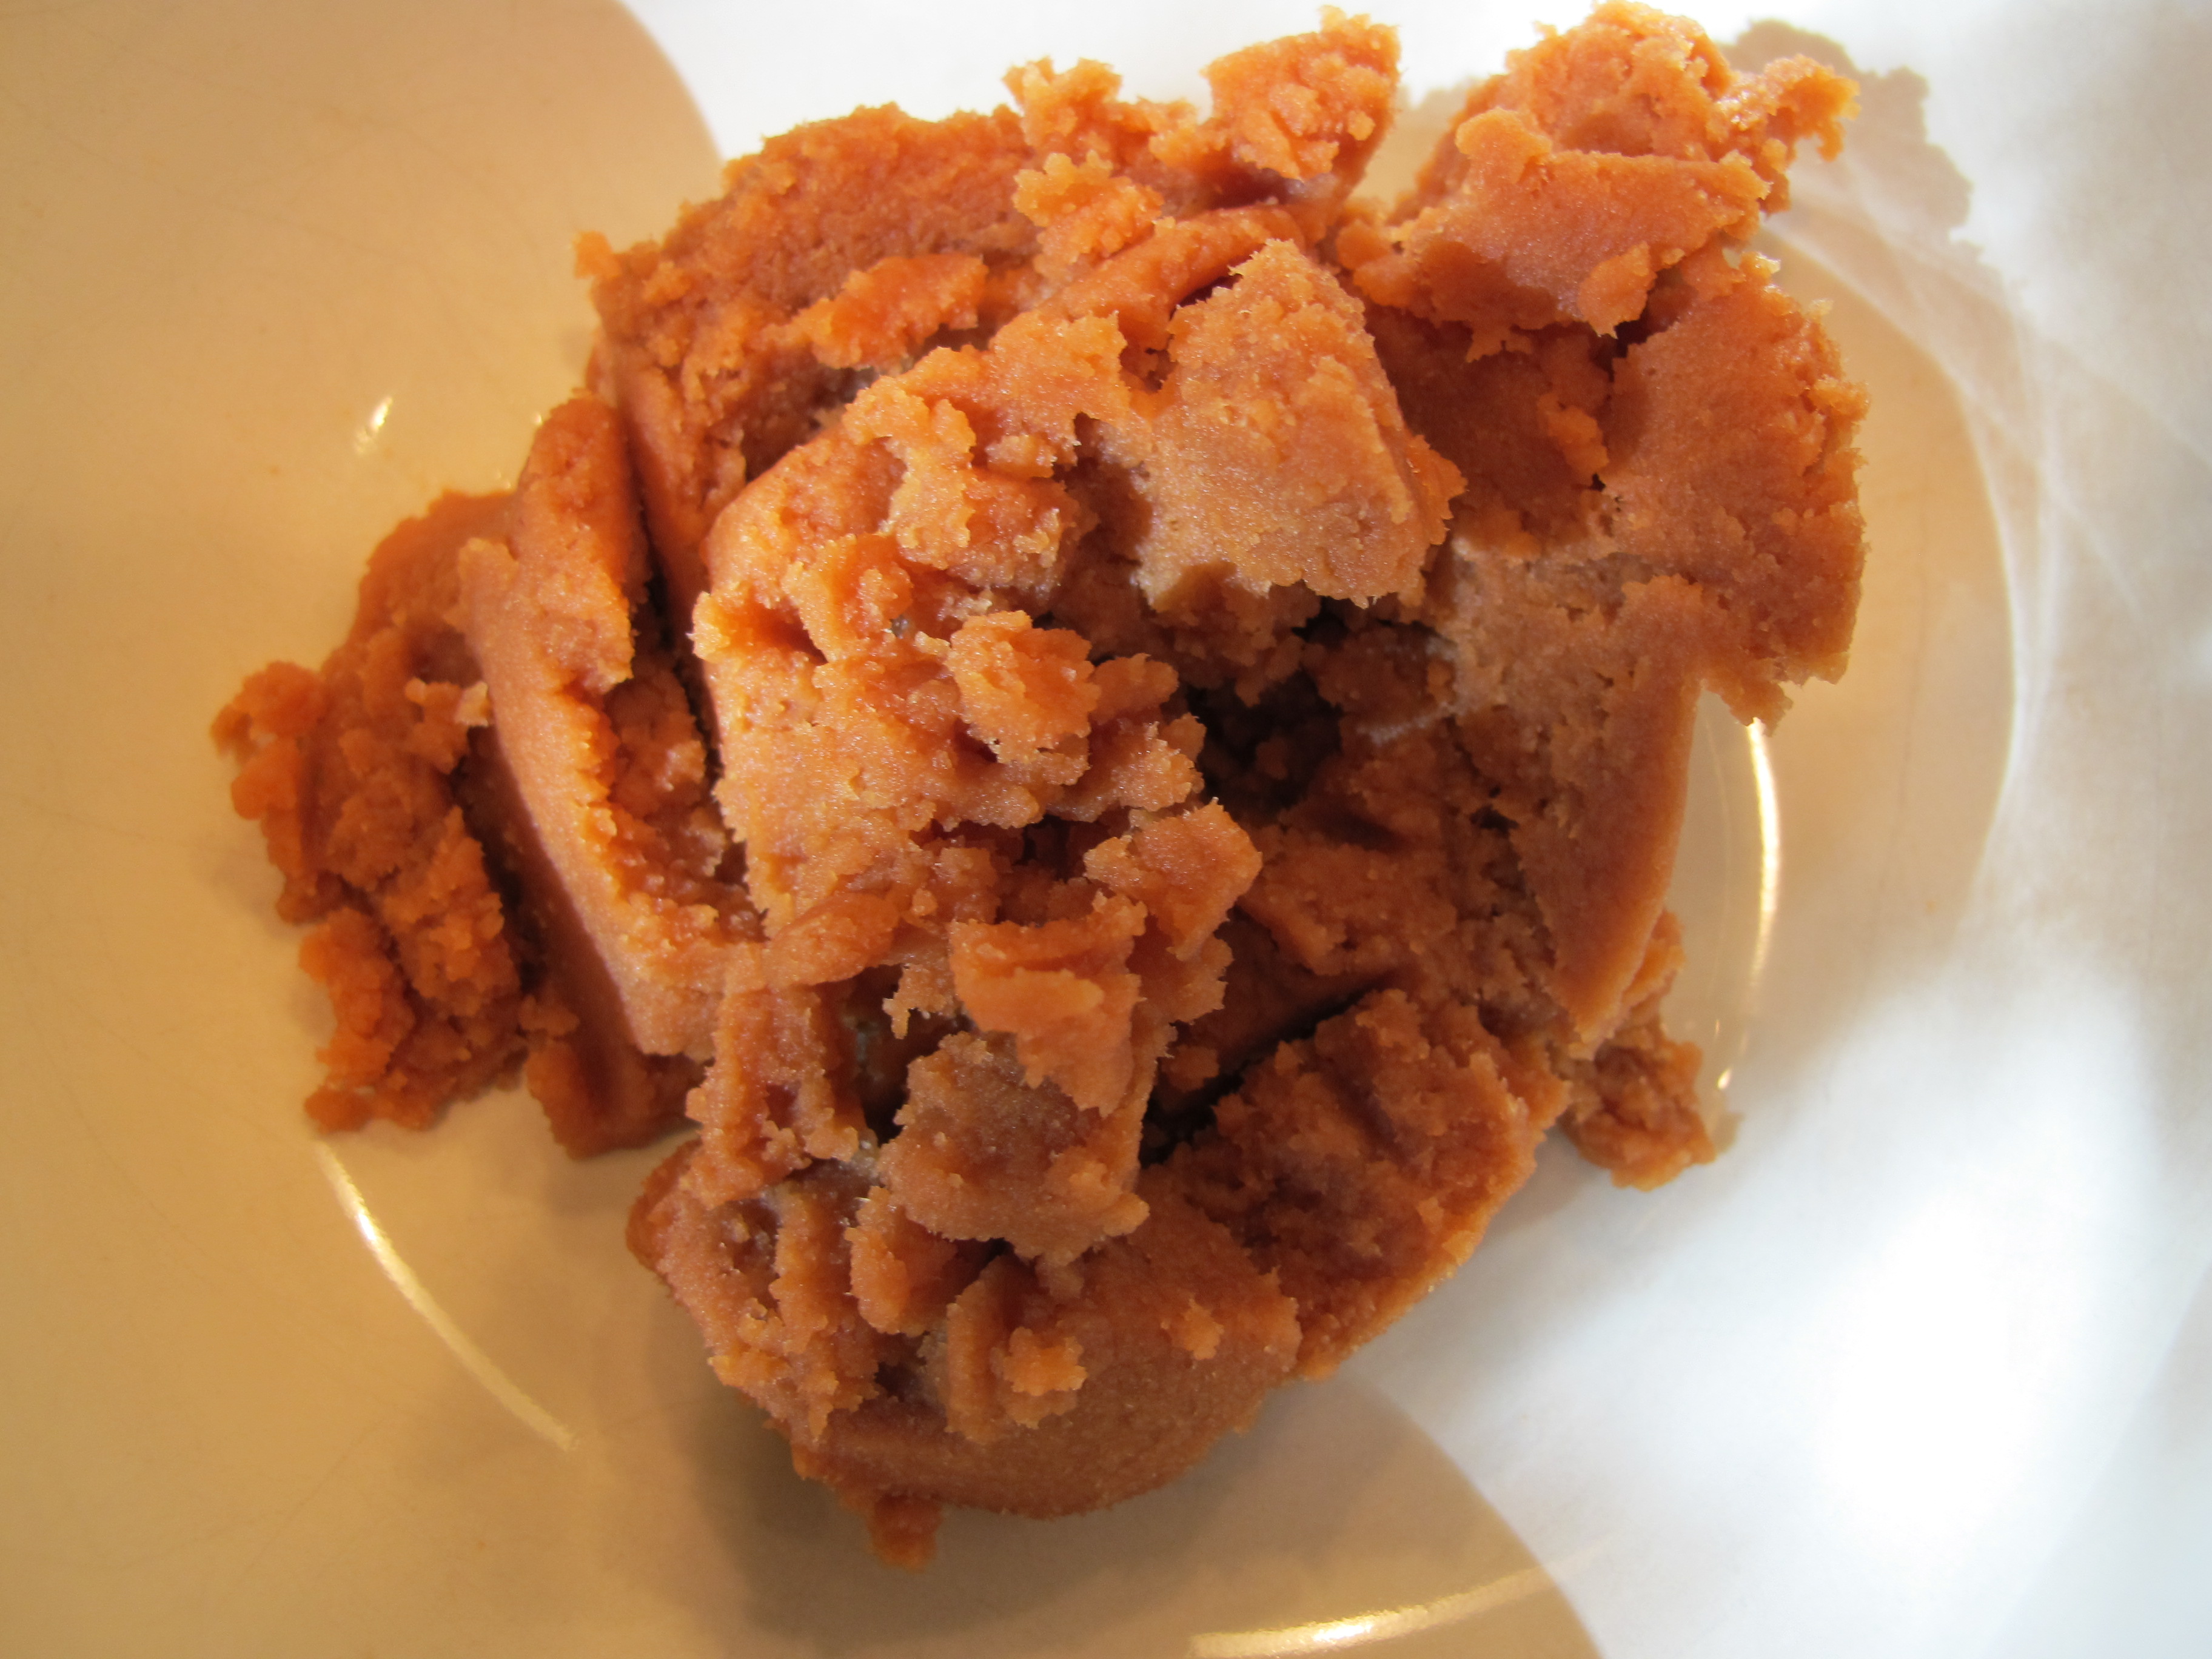
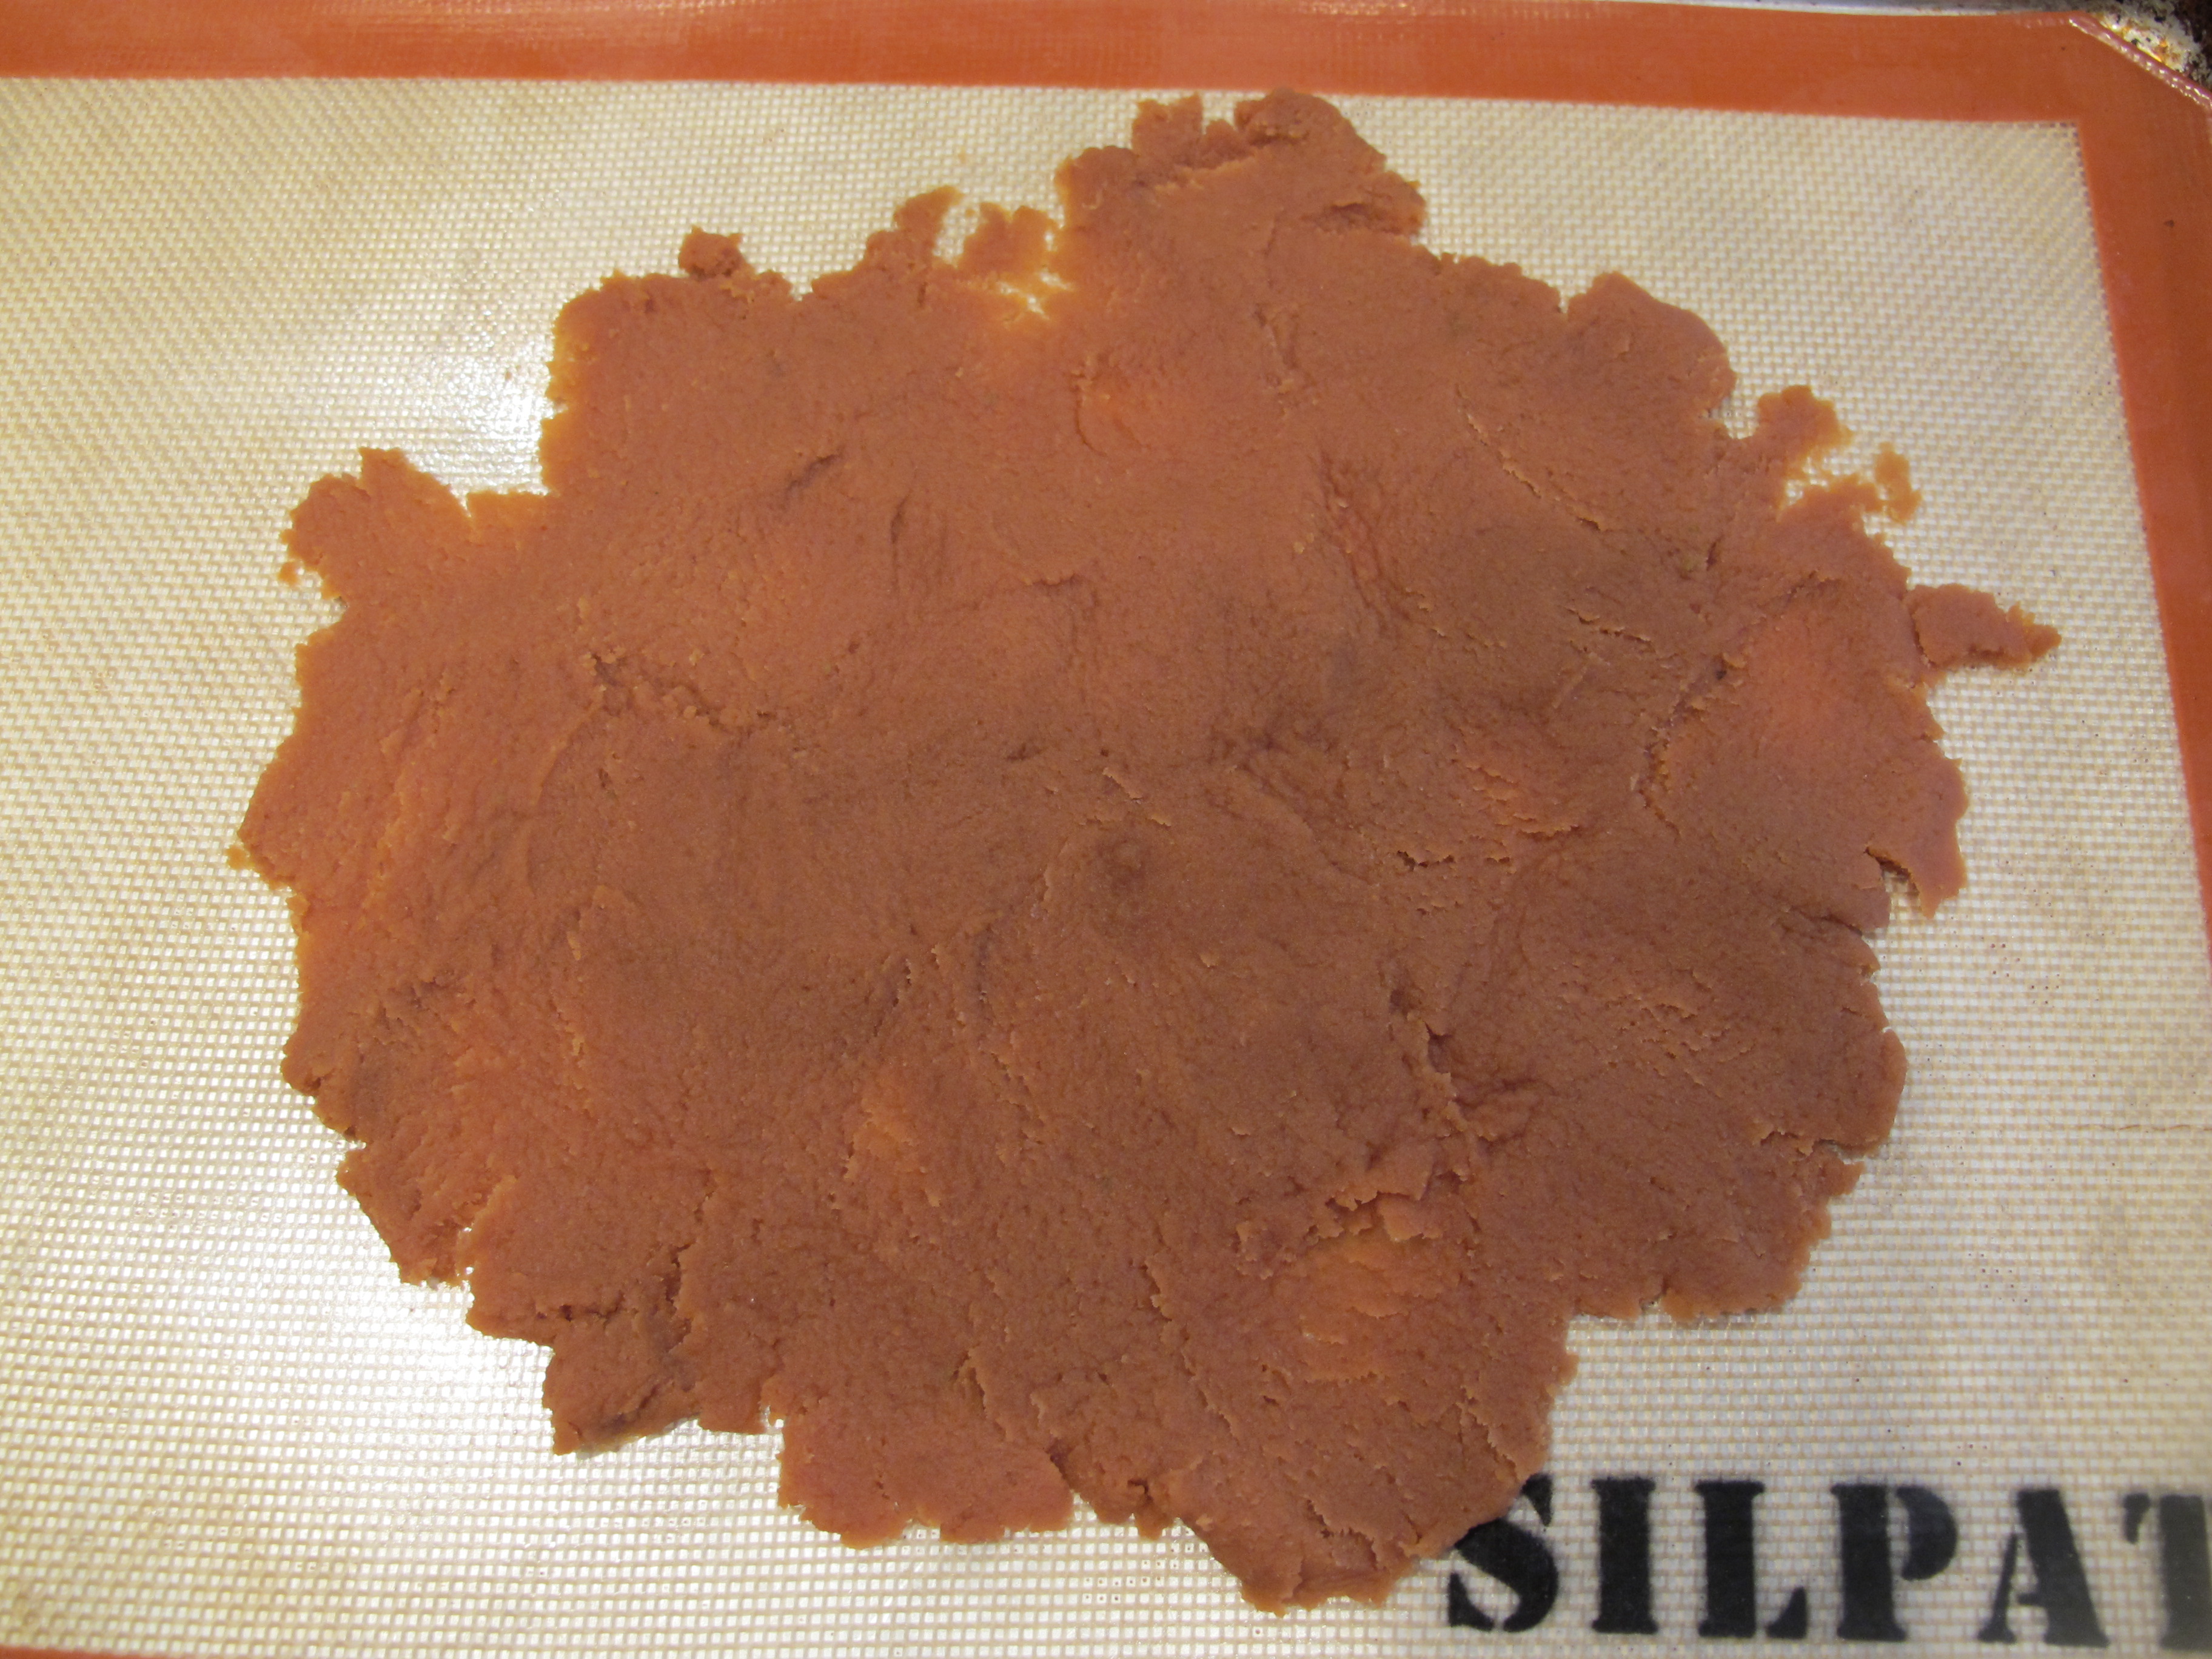
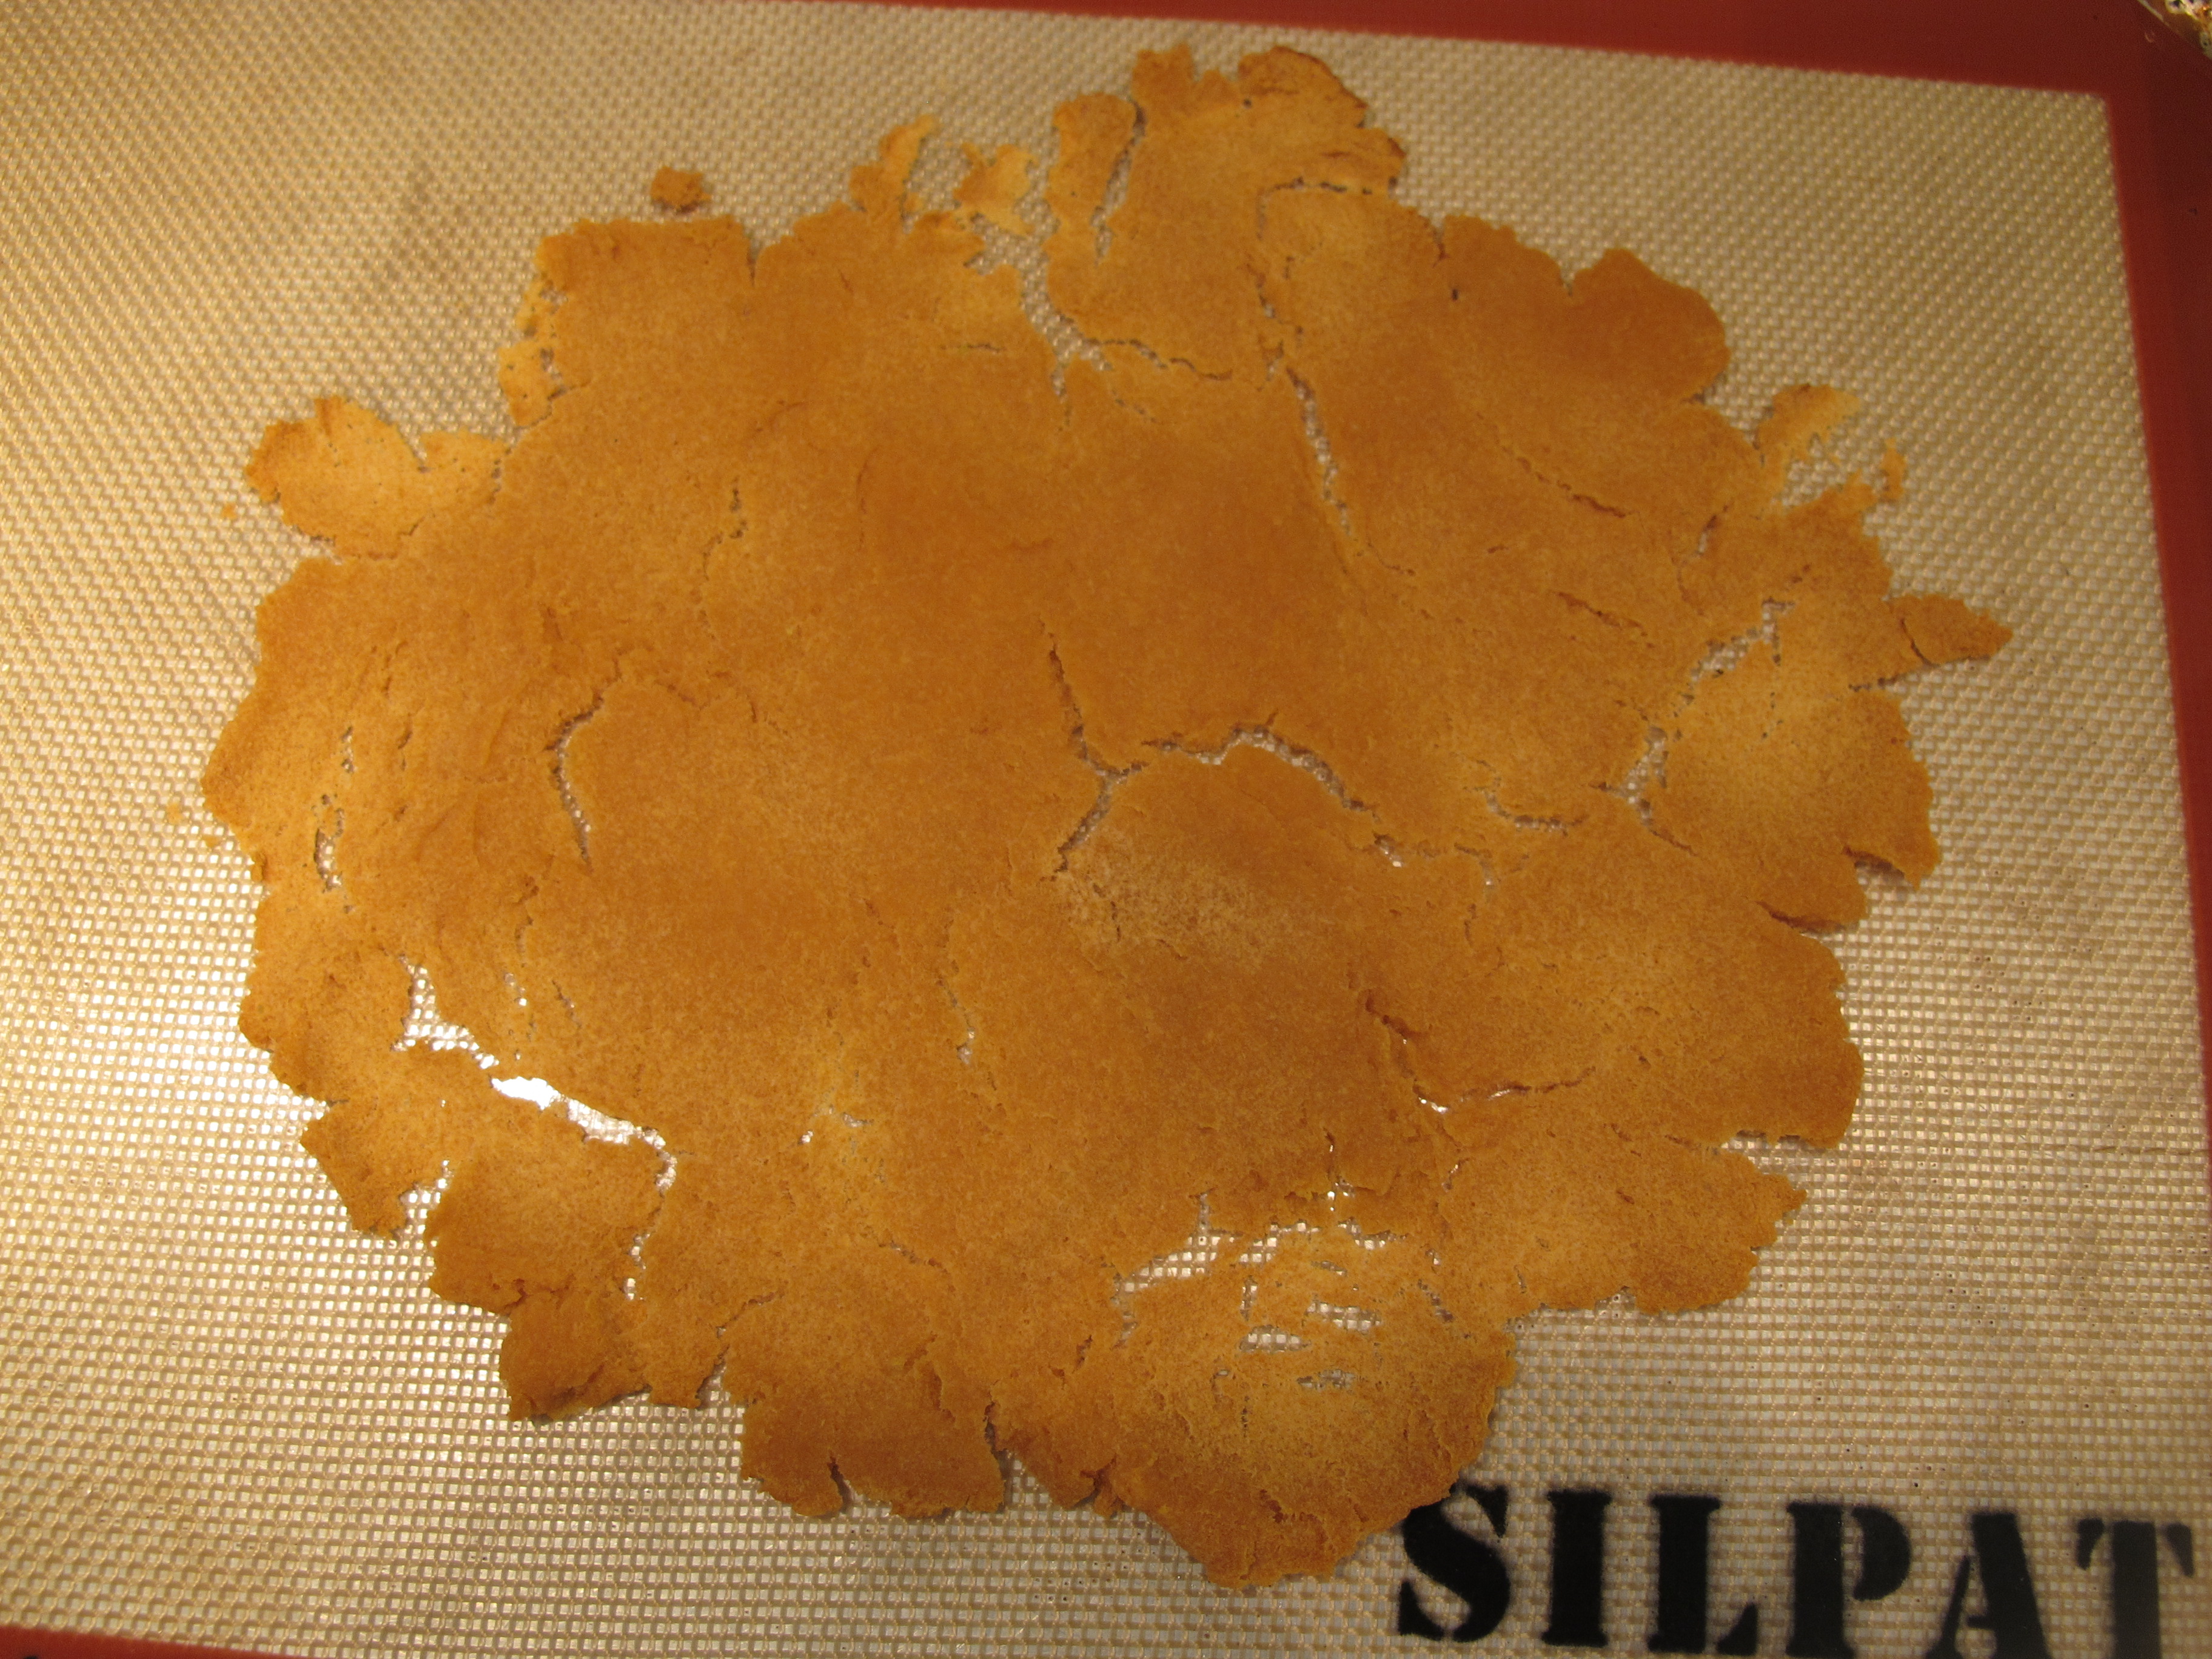
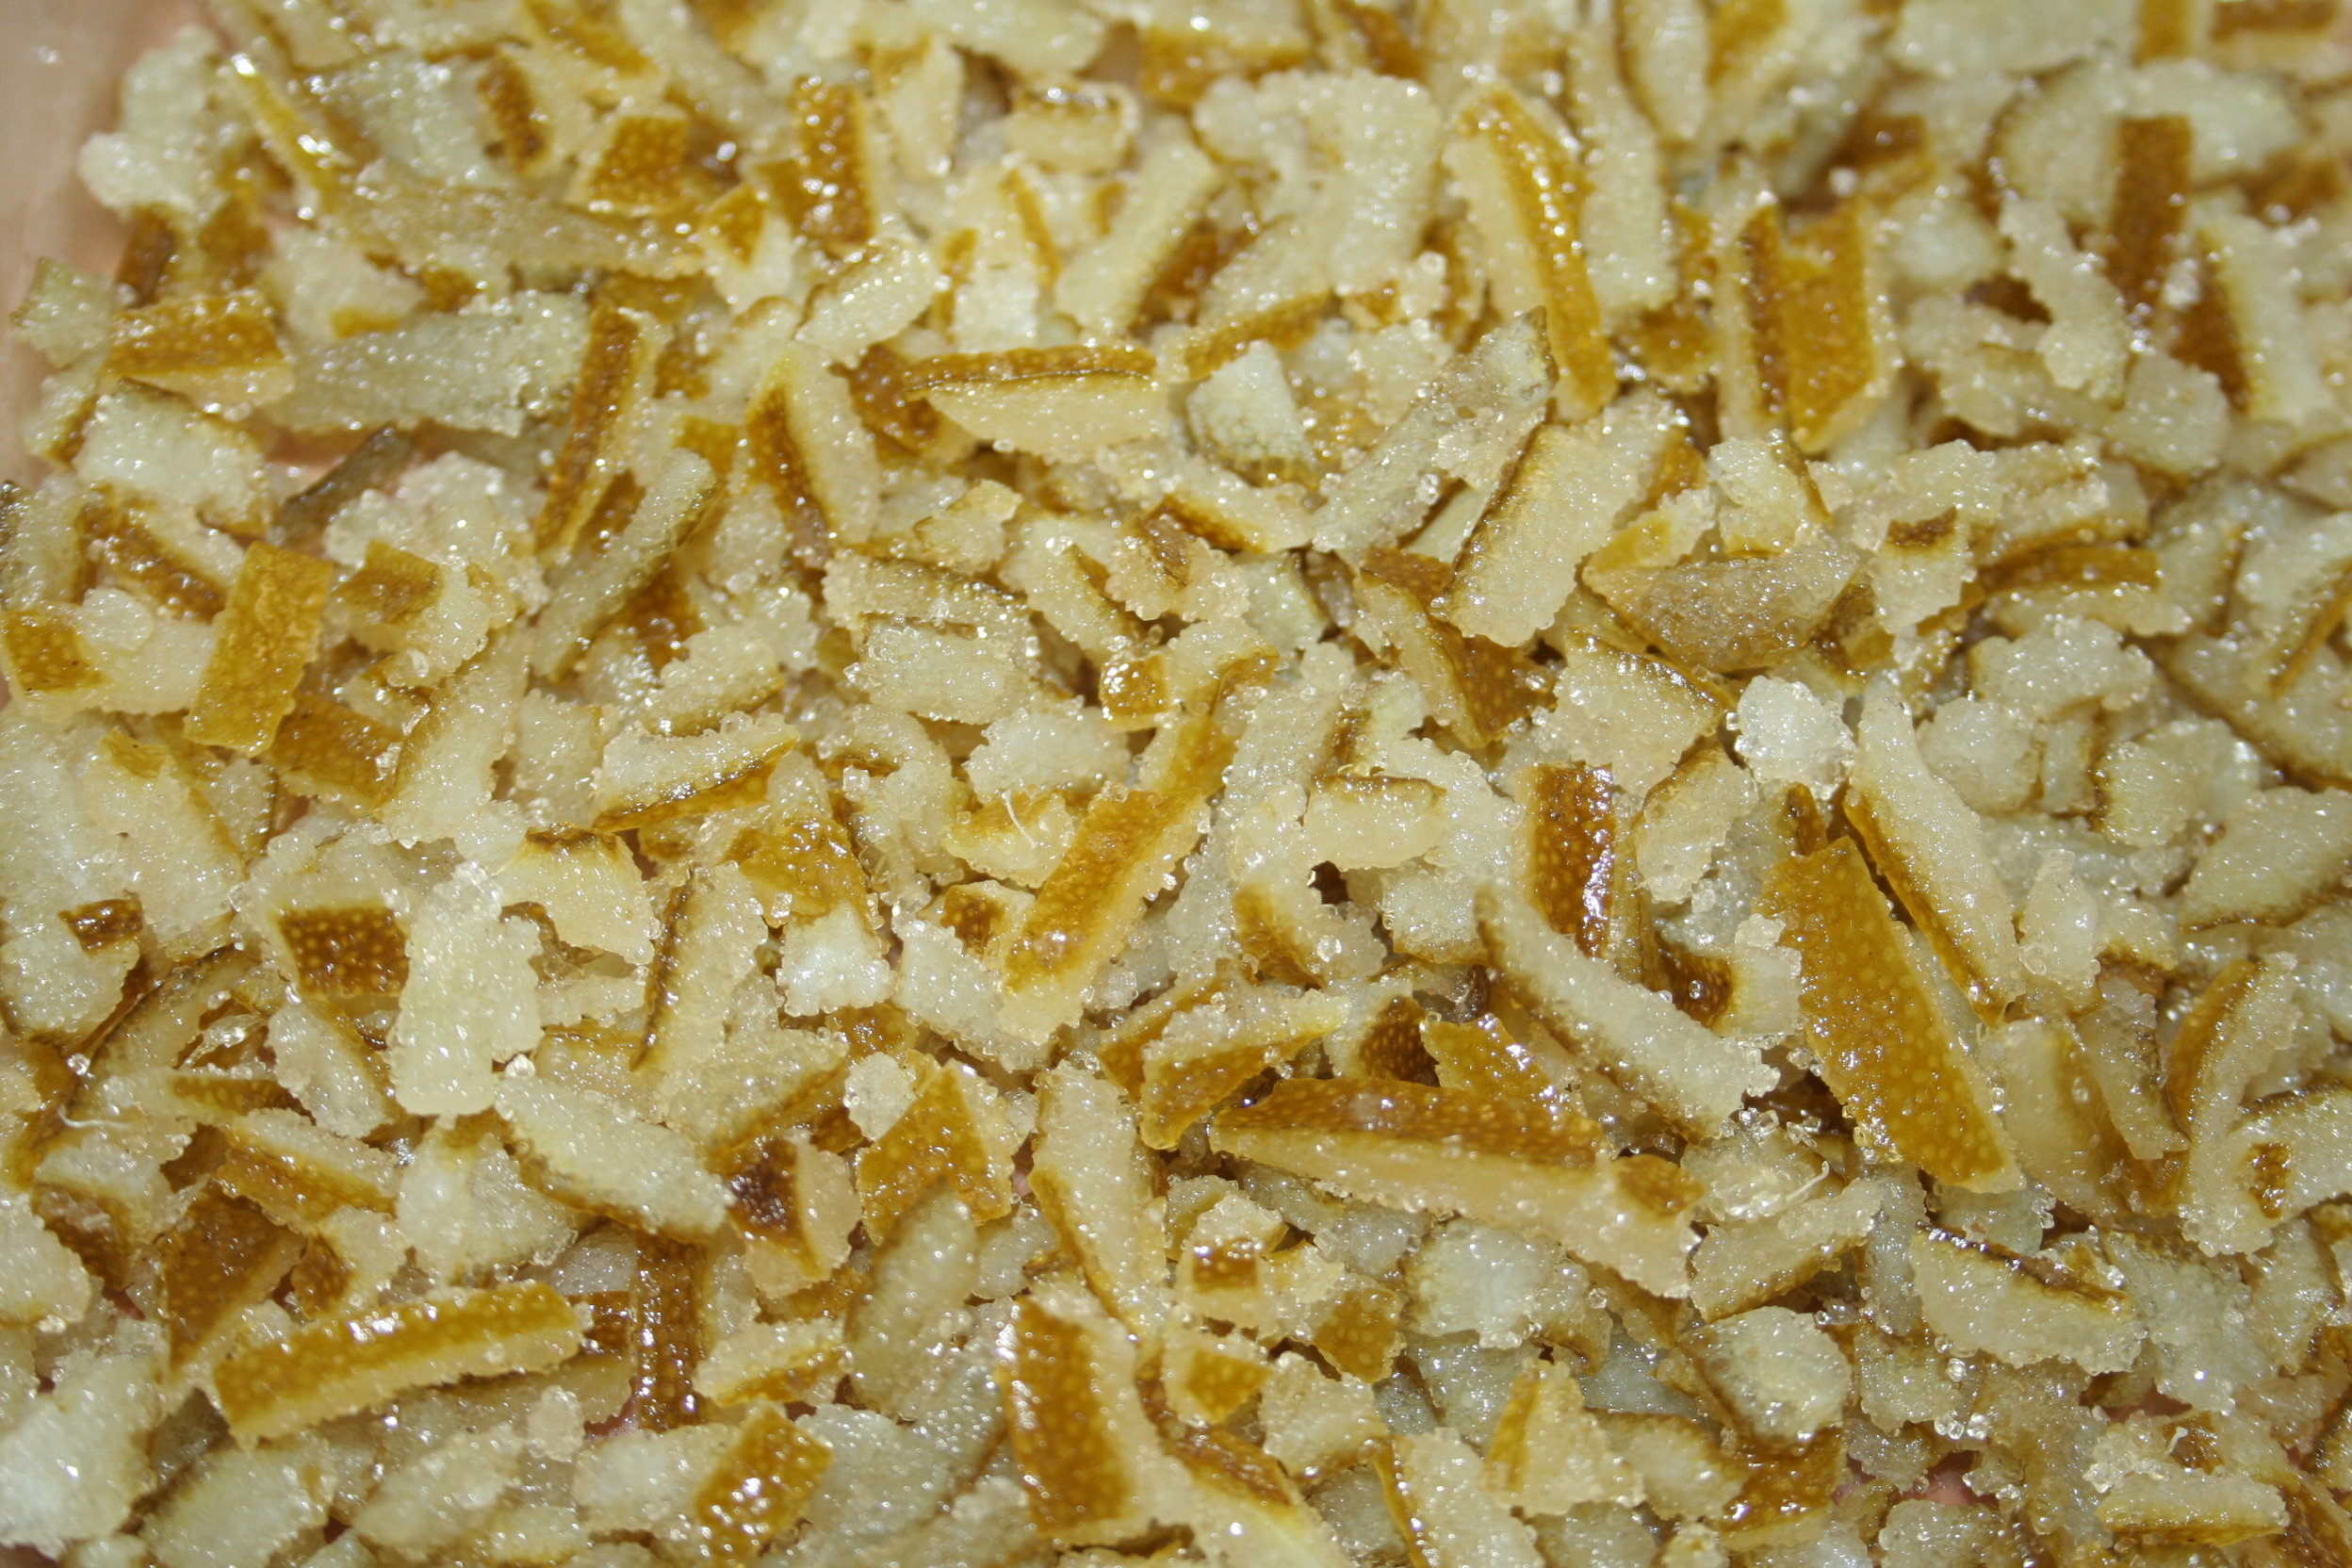
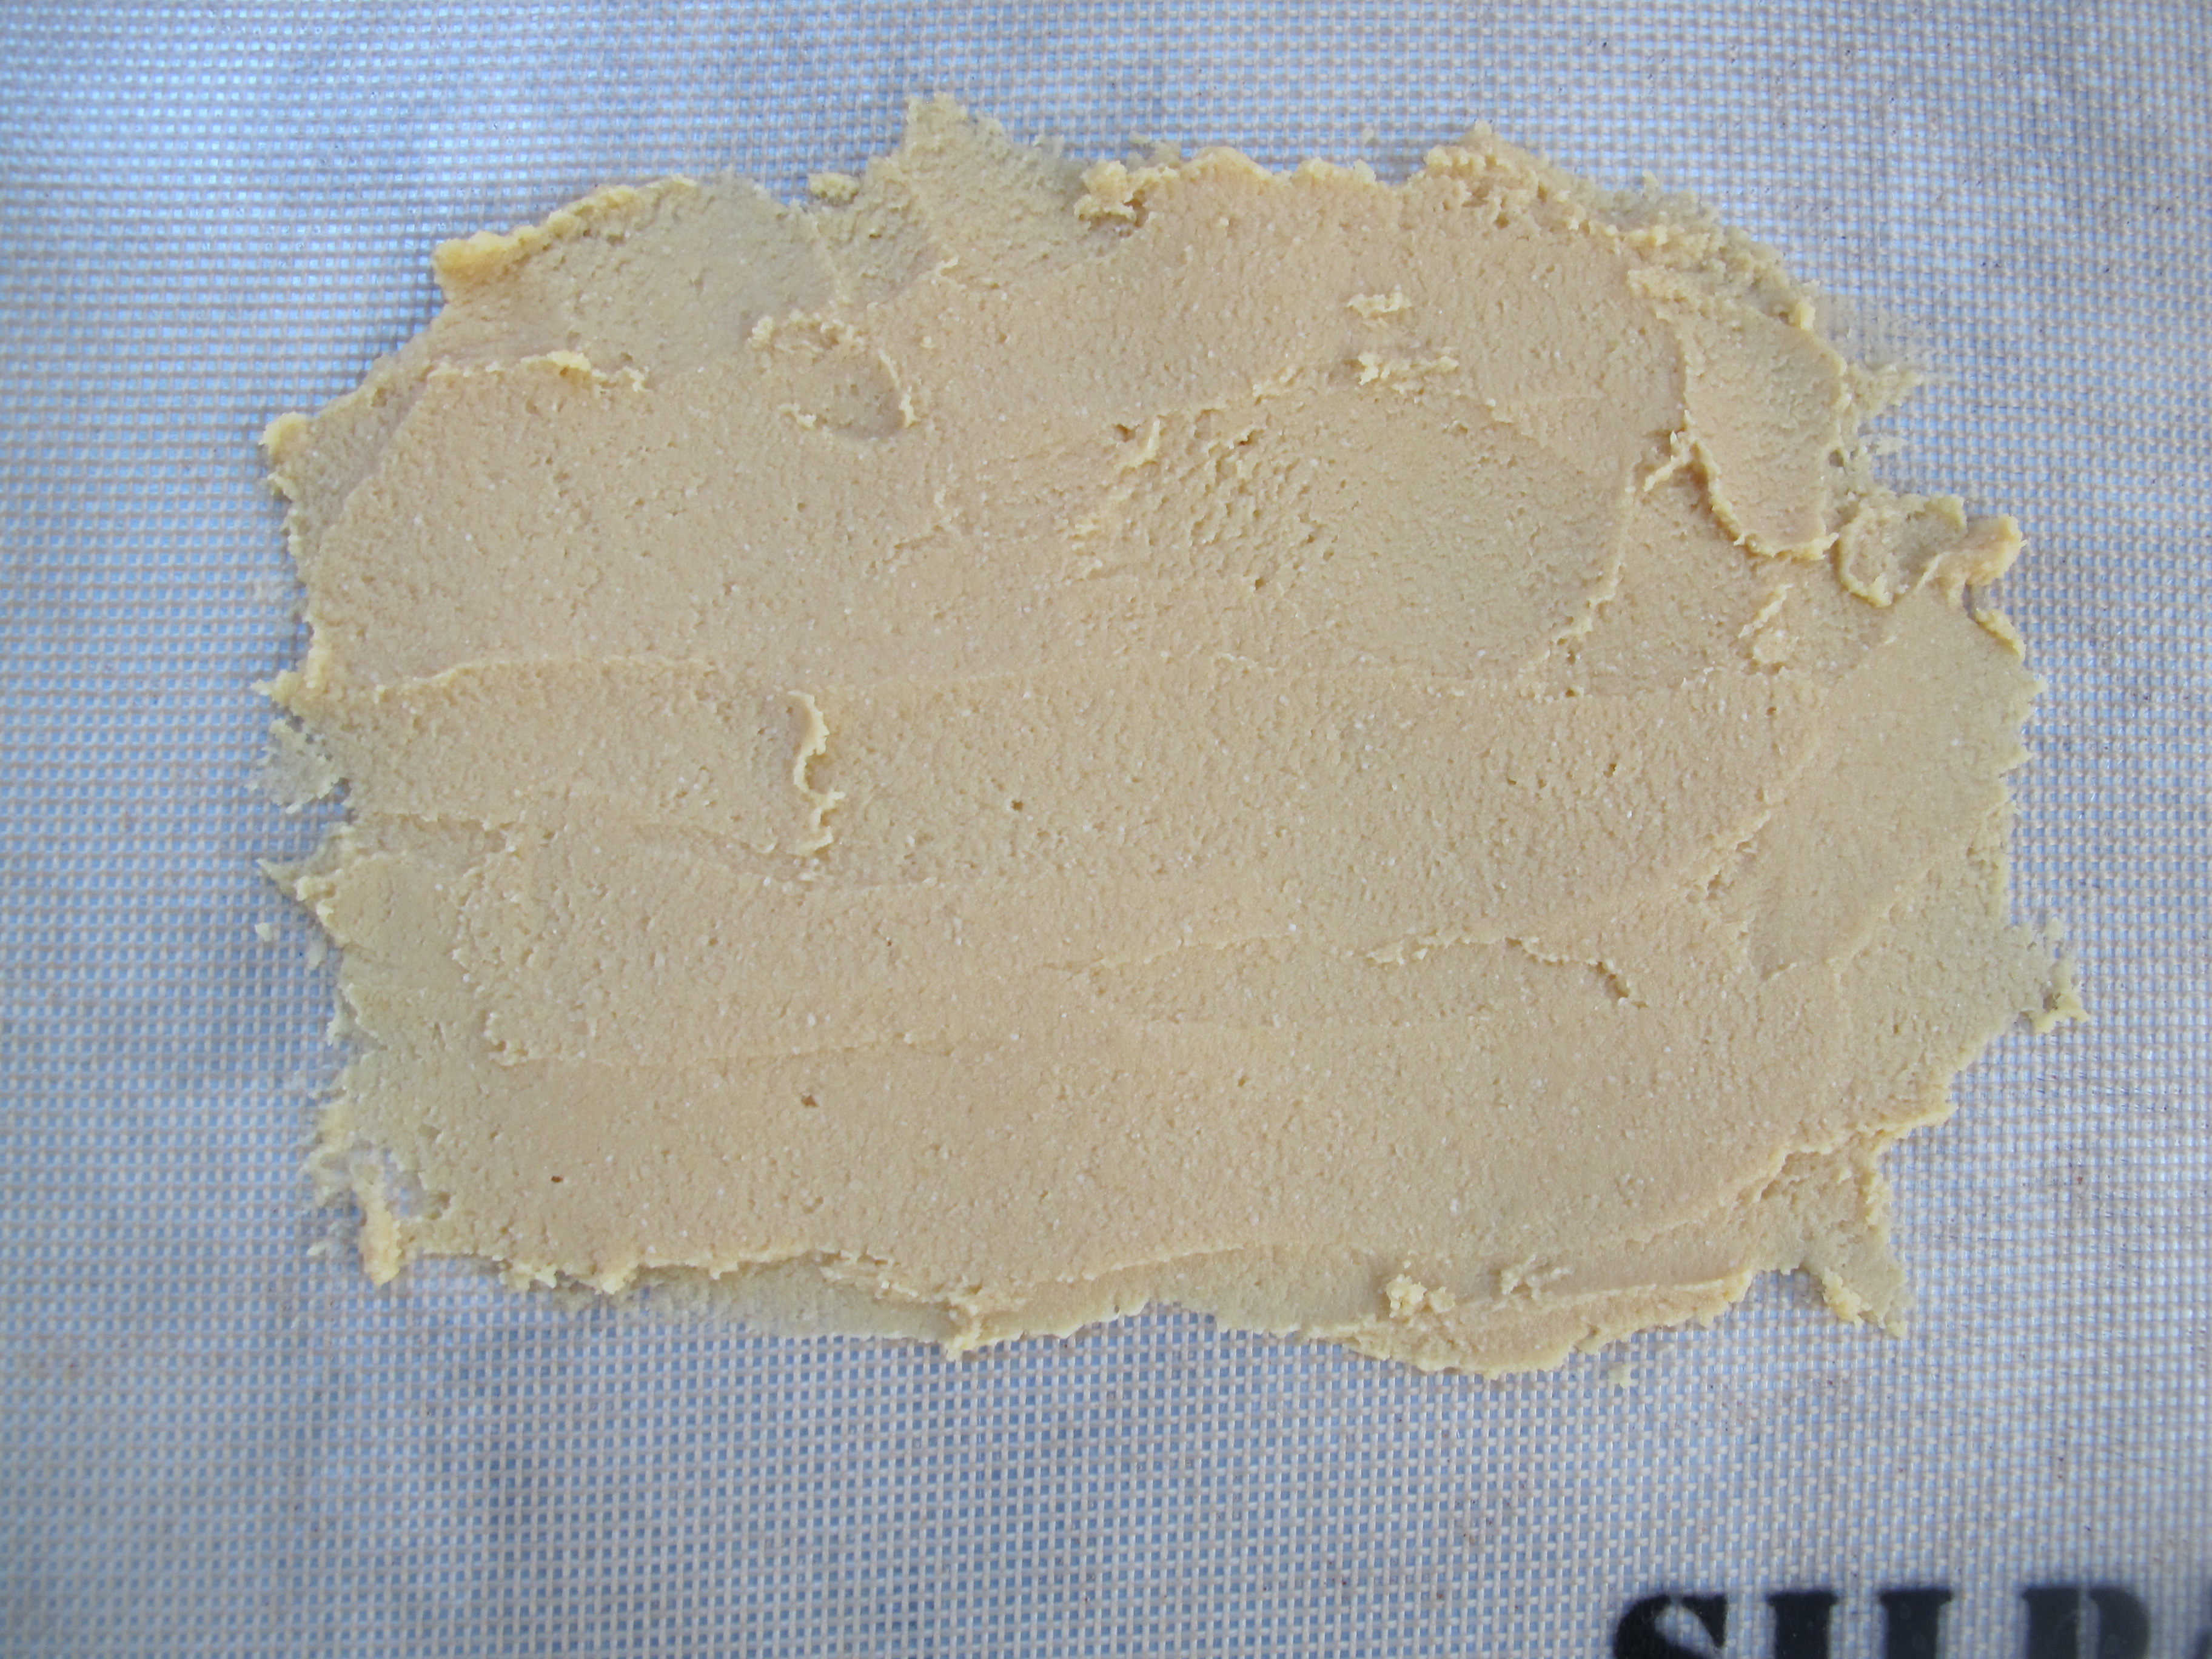
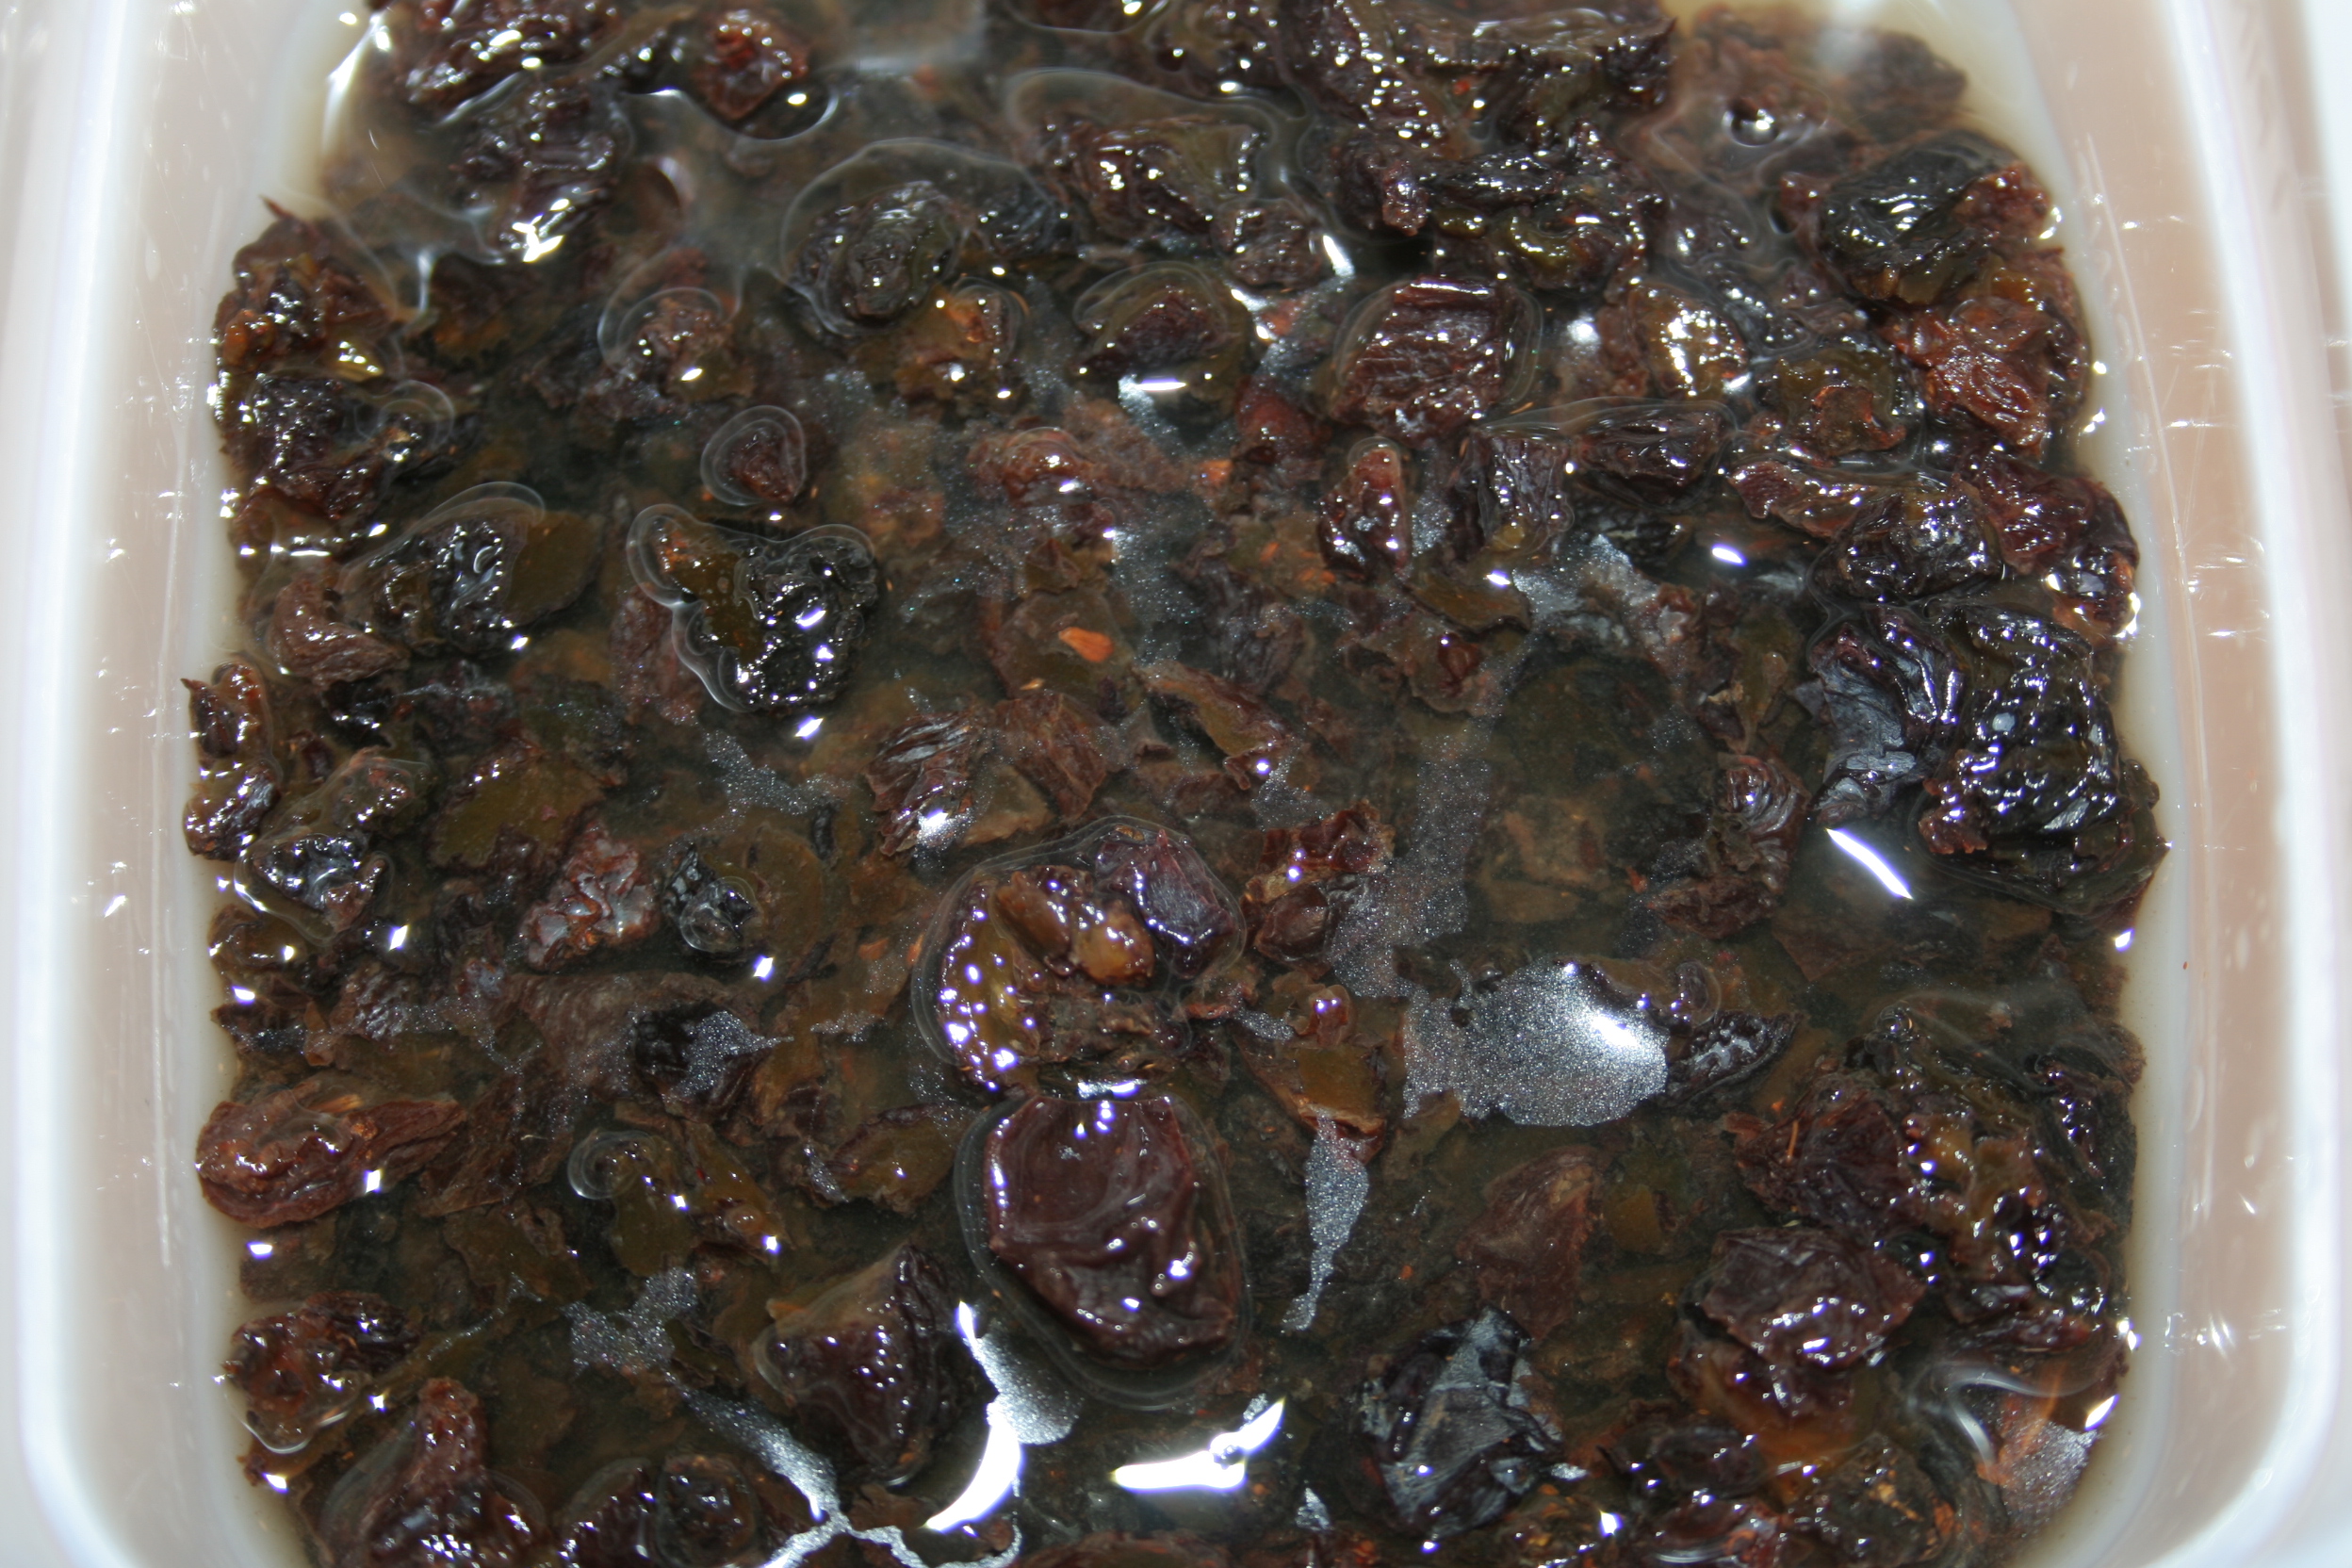
The pressed pulp is spread thin on a sheet pan lined with a silpat baking mat. Baked at a low temperature to eliminate as much residual moisture. The baked apple pulp is reserved for the ice cream base.
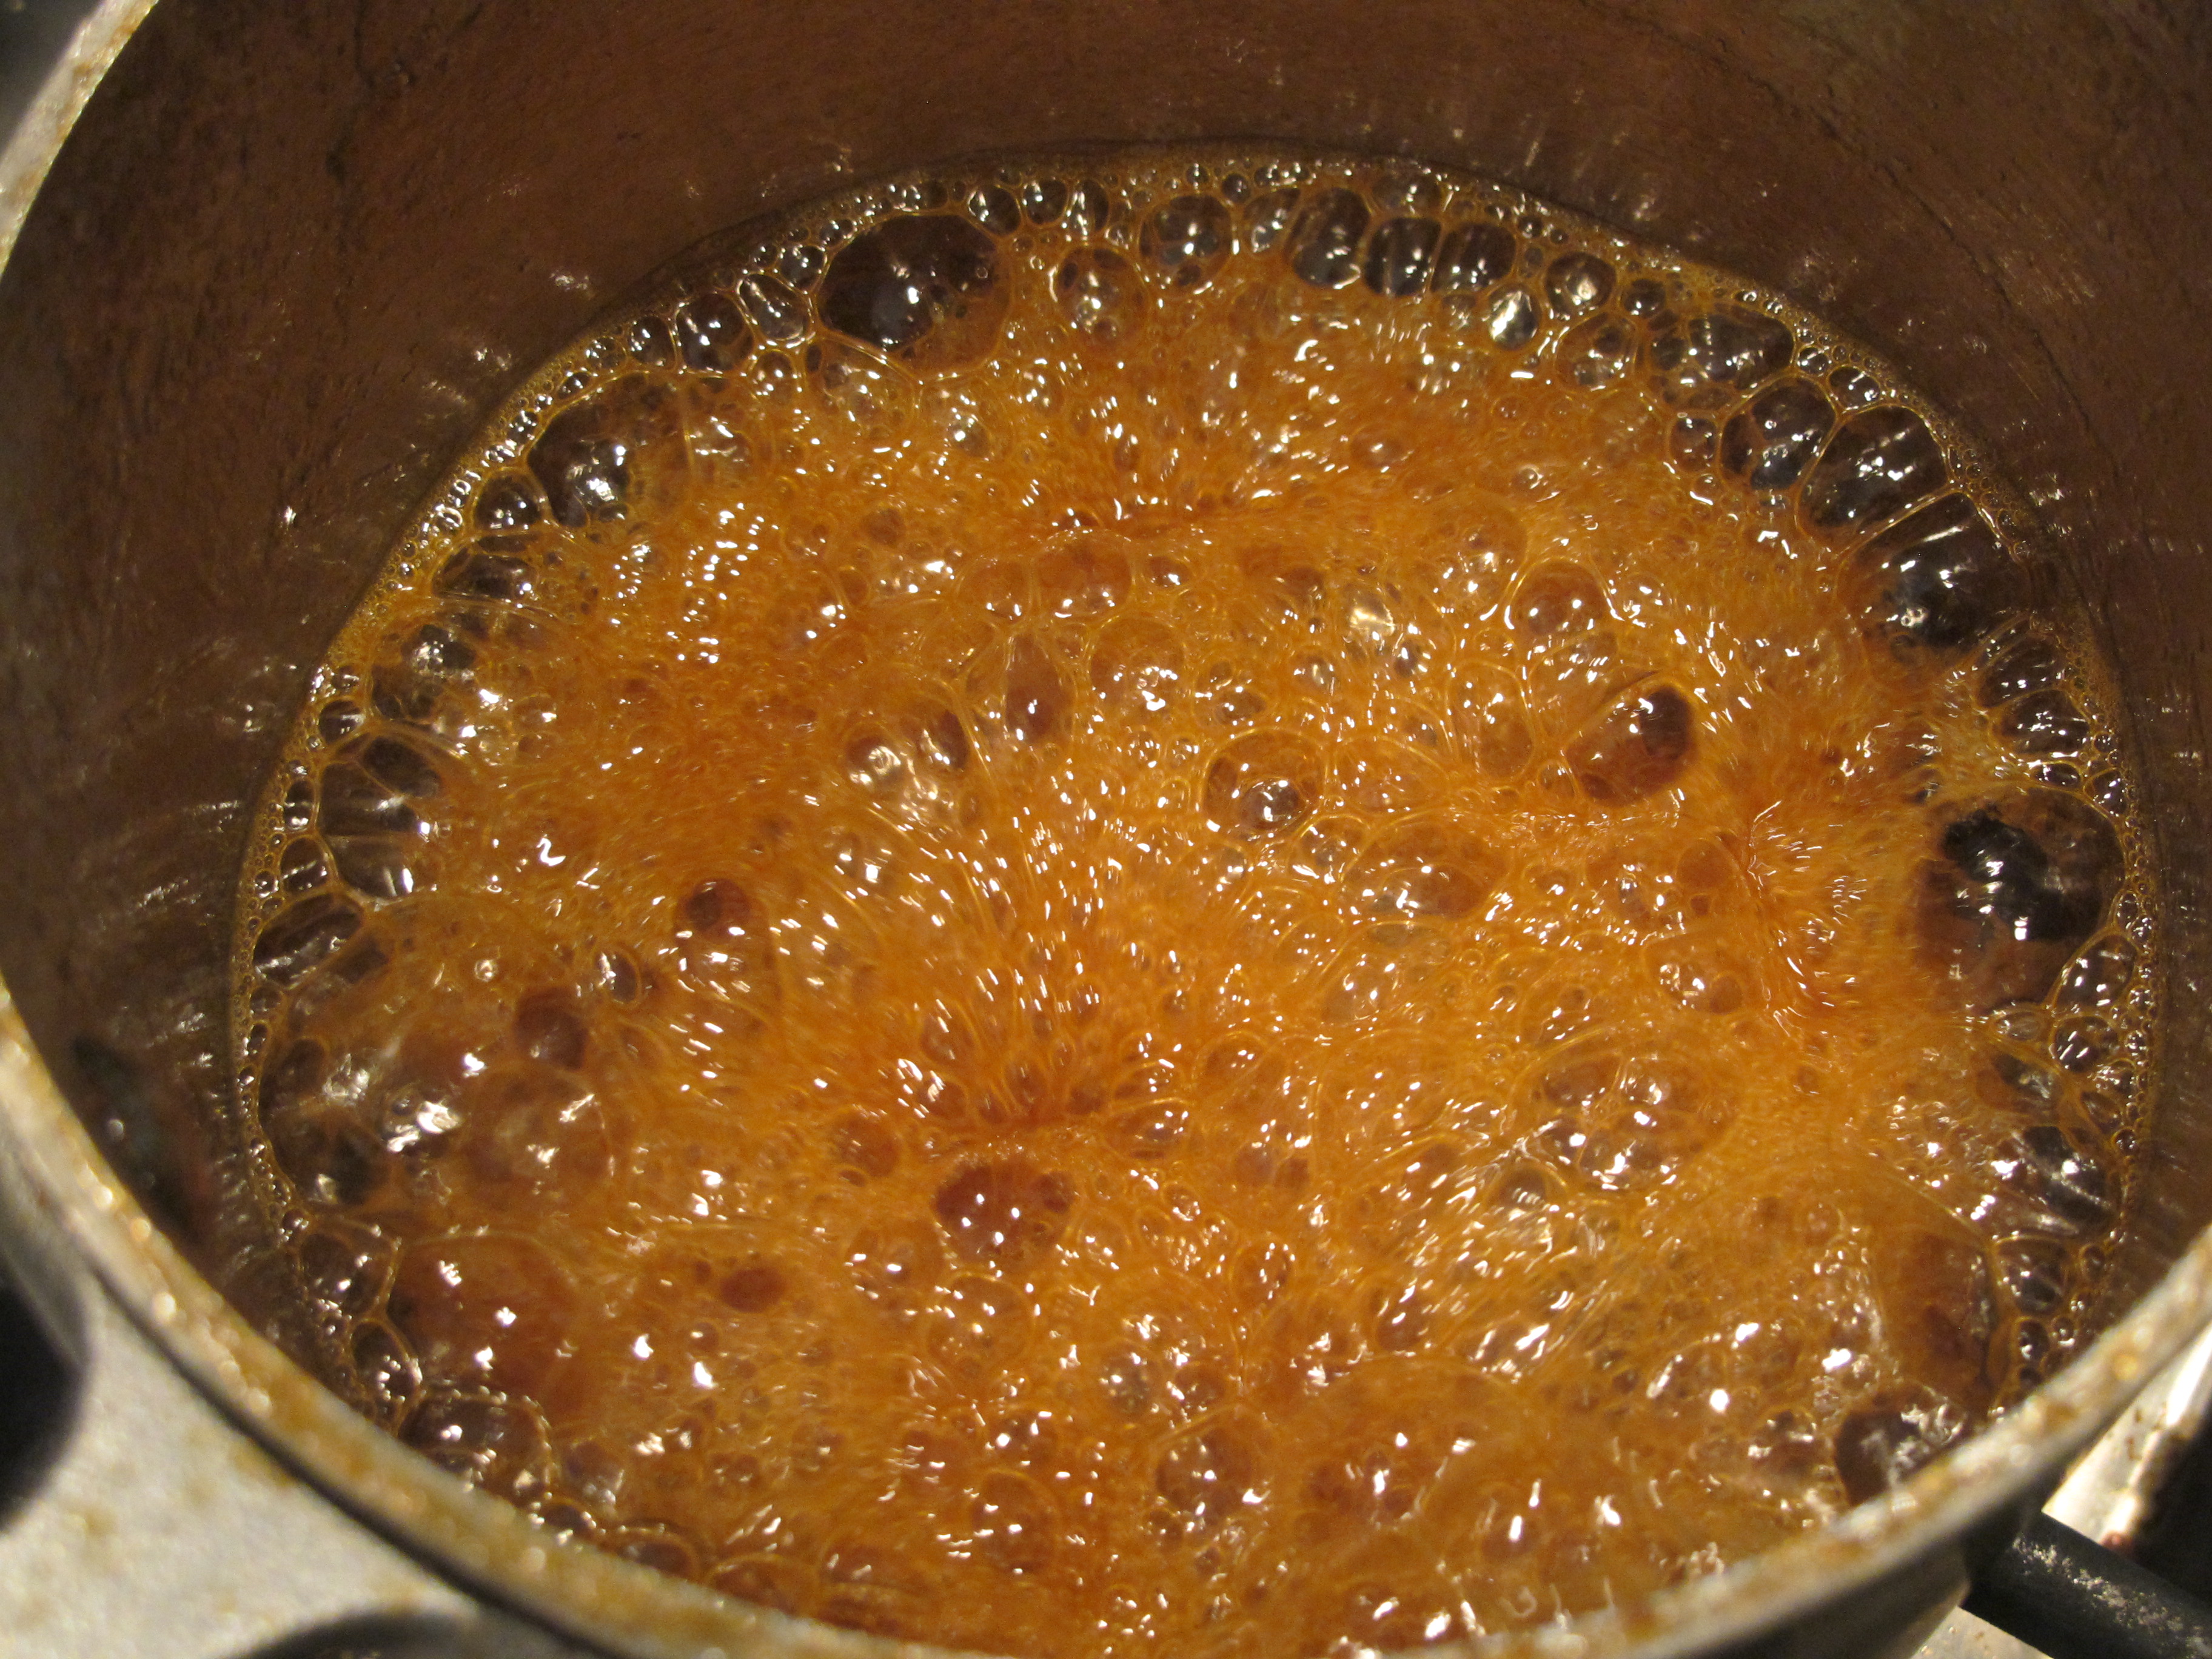
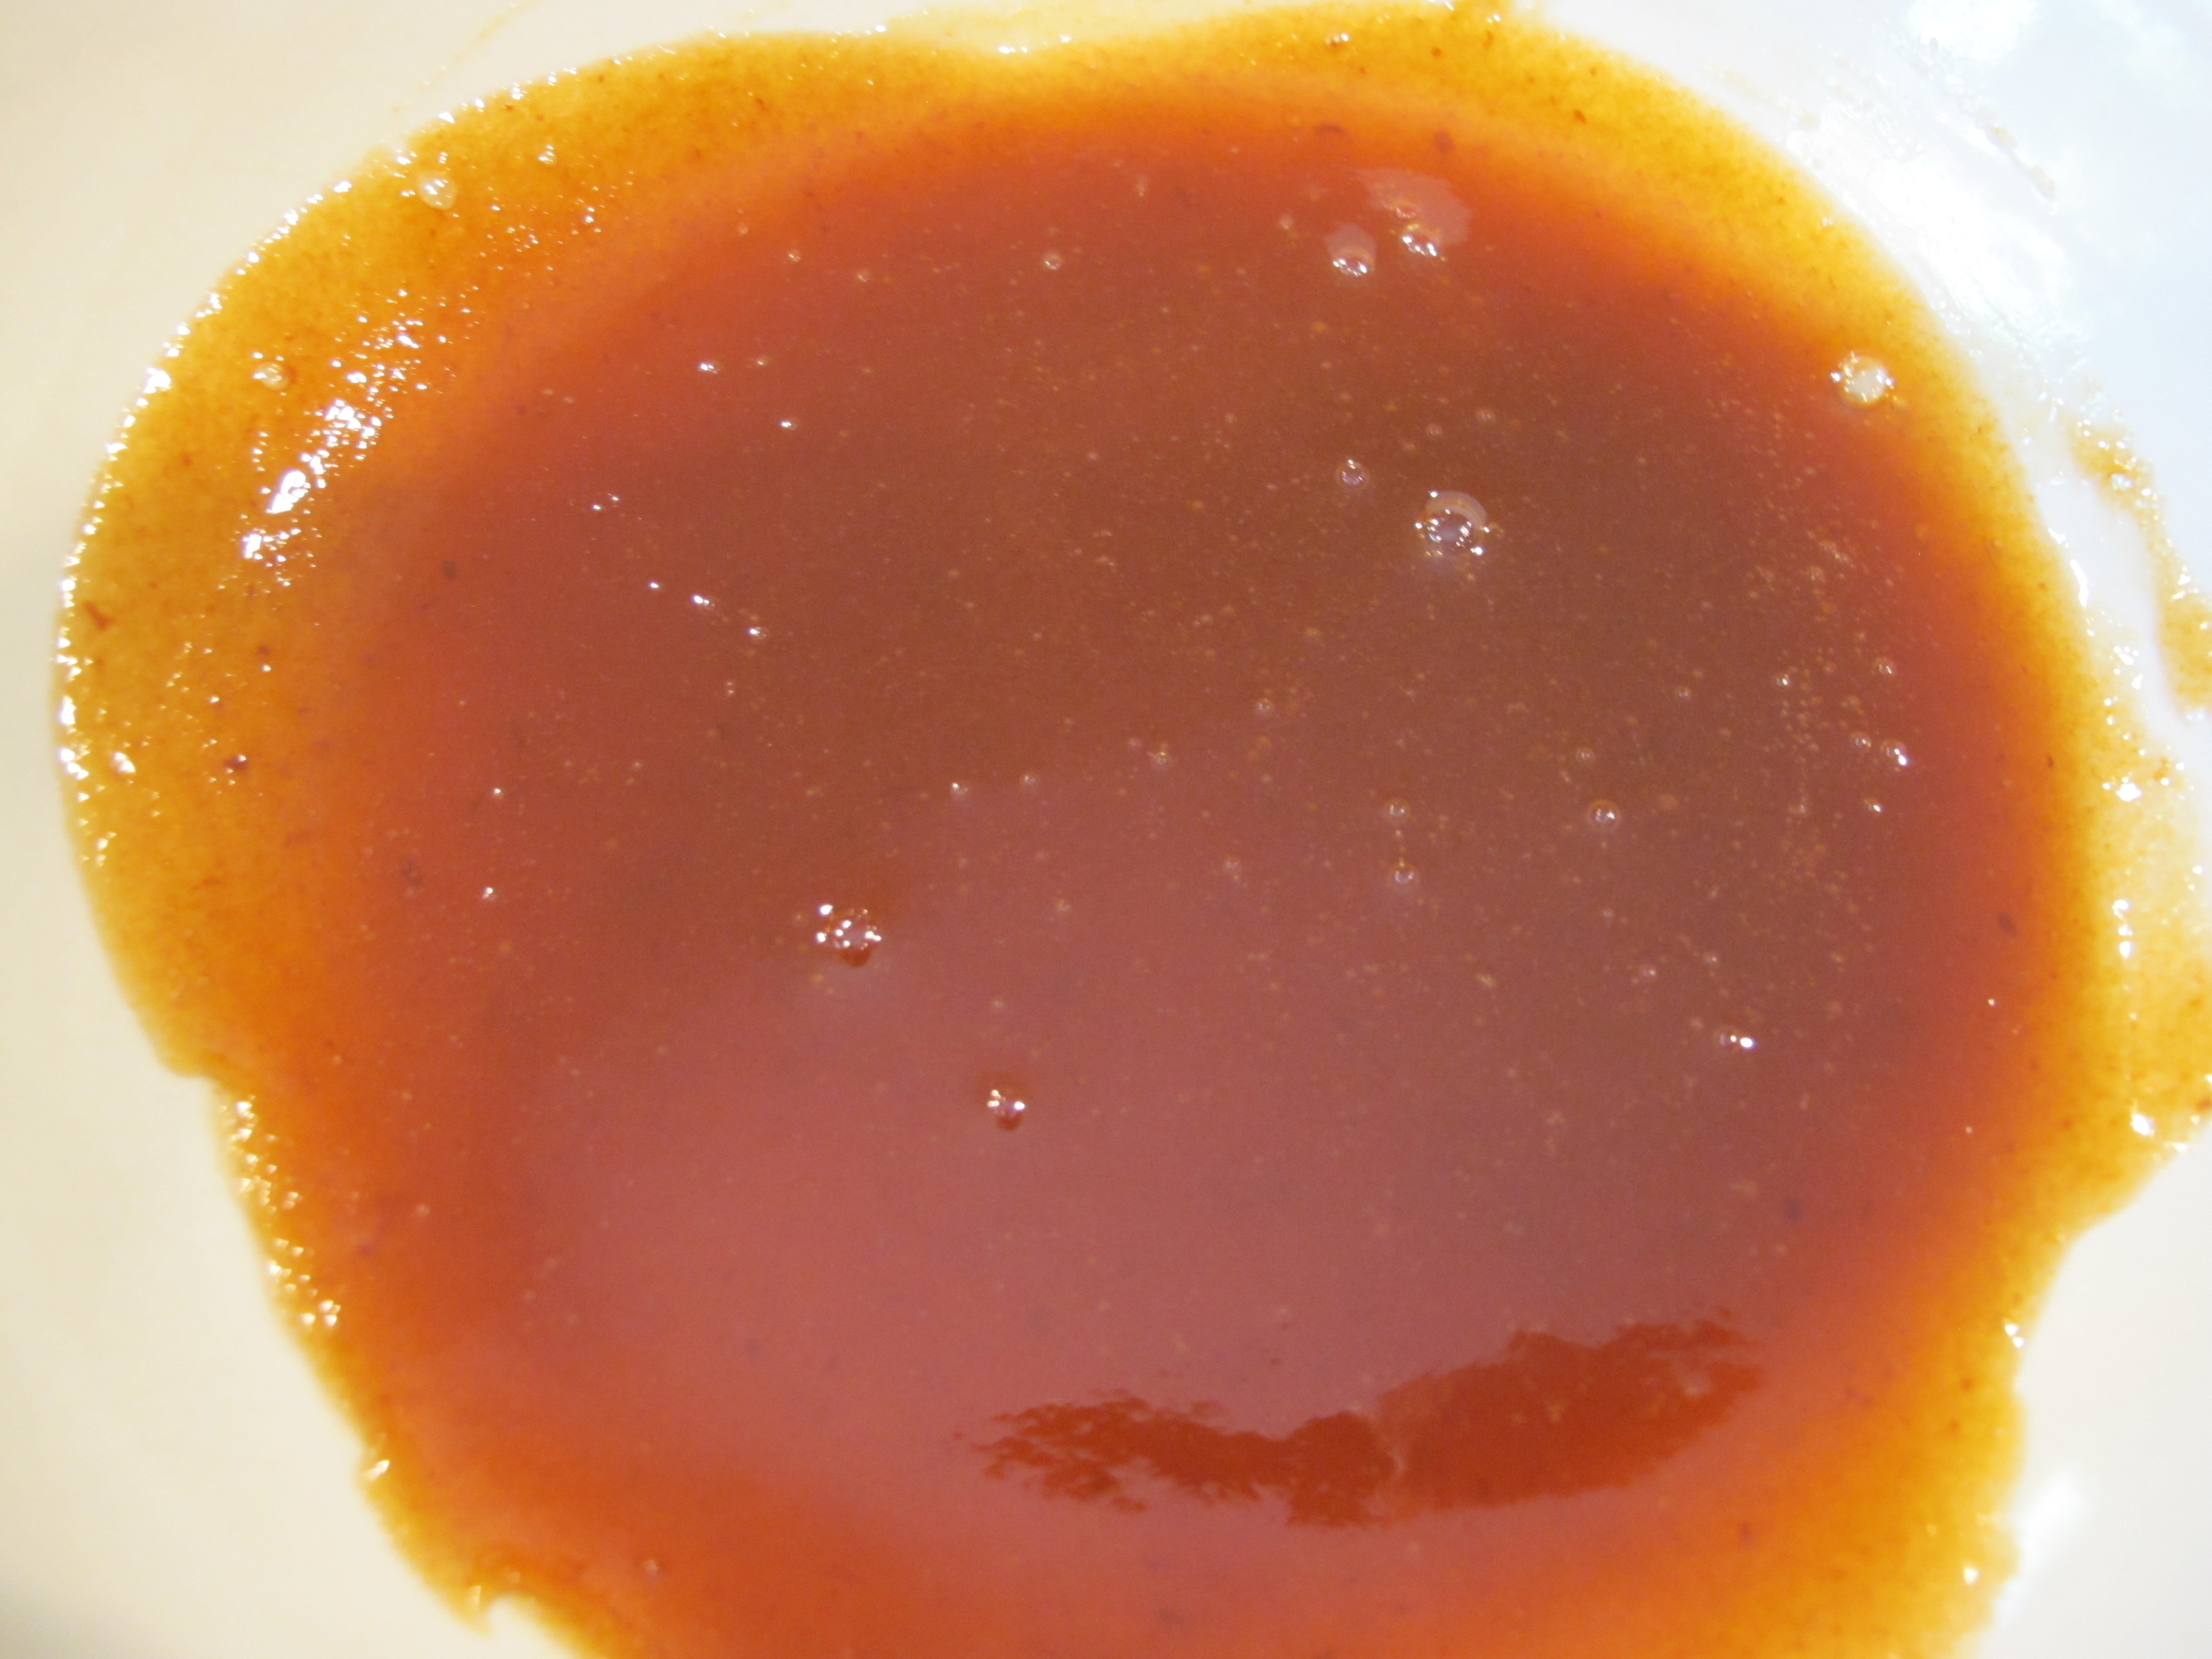

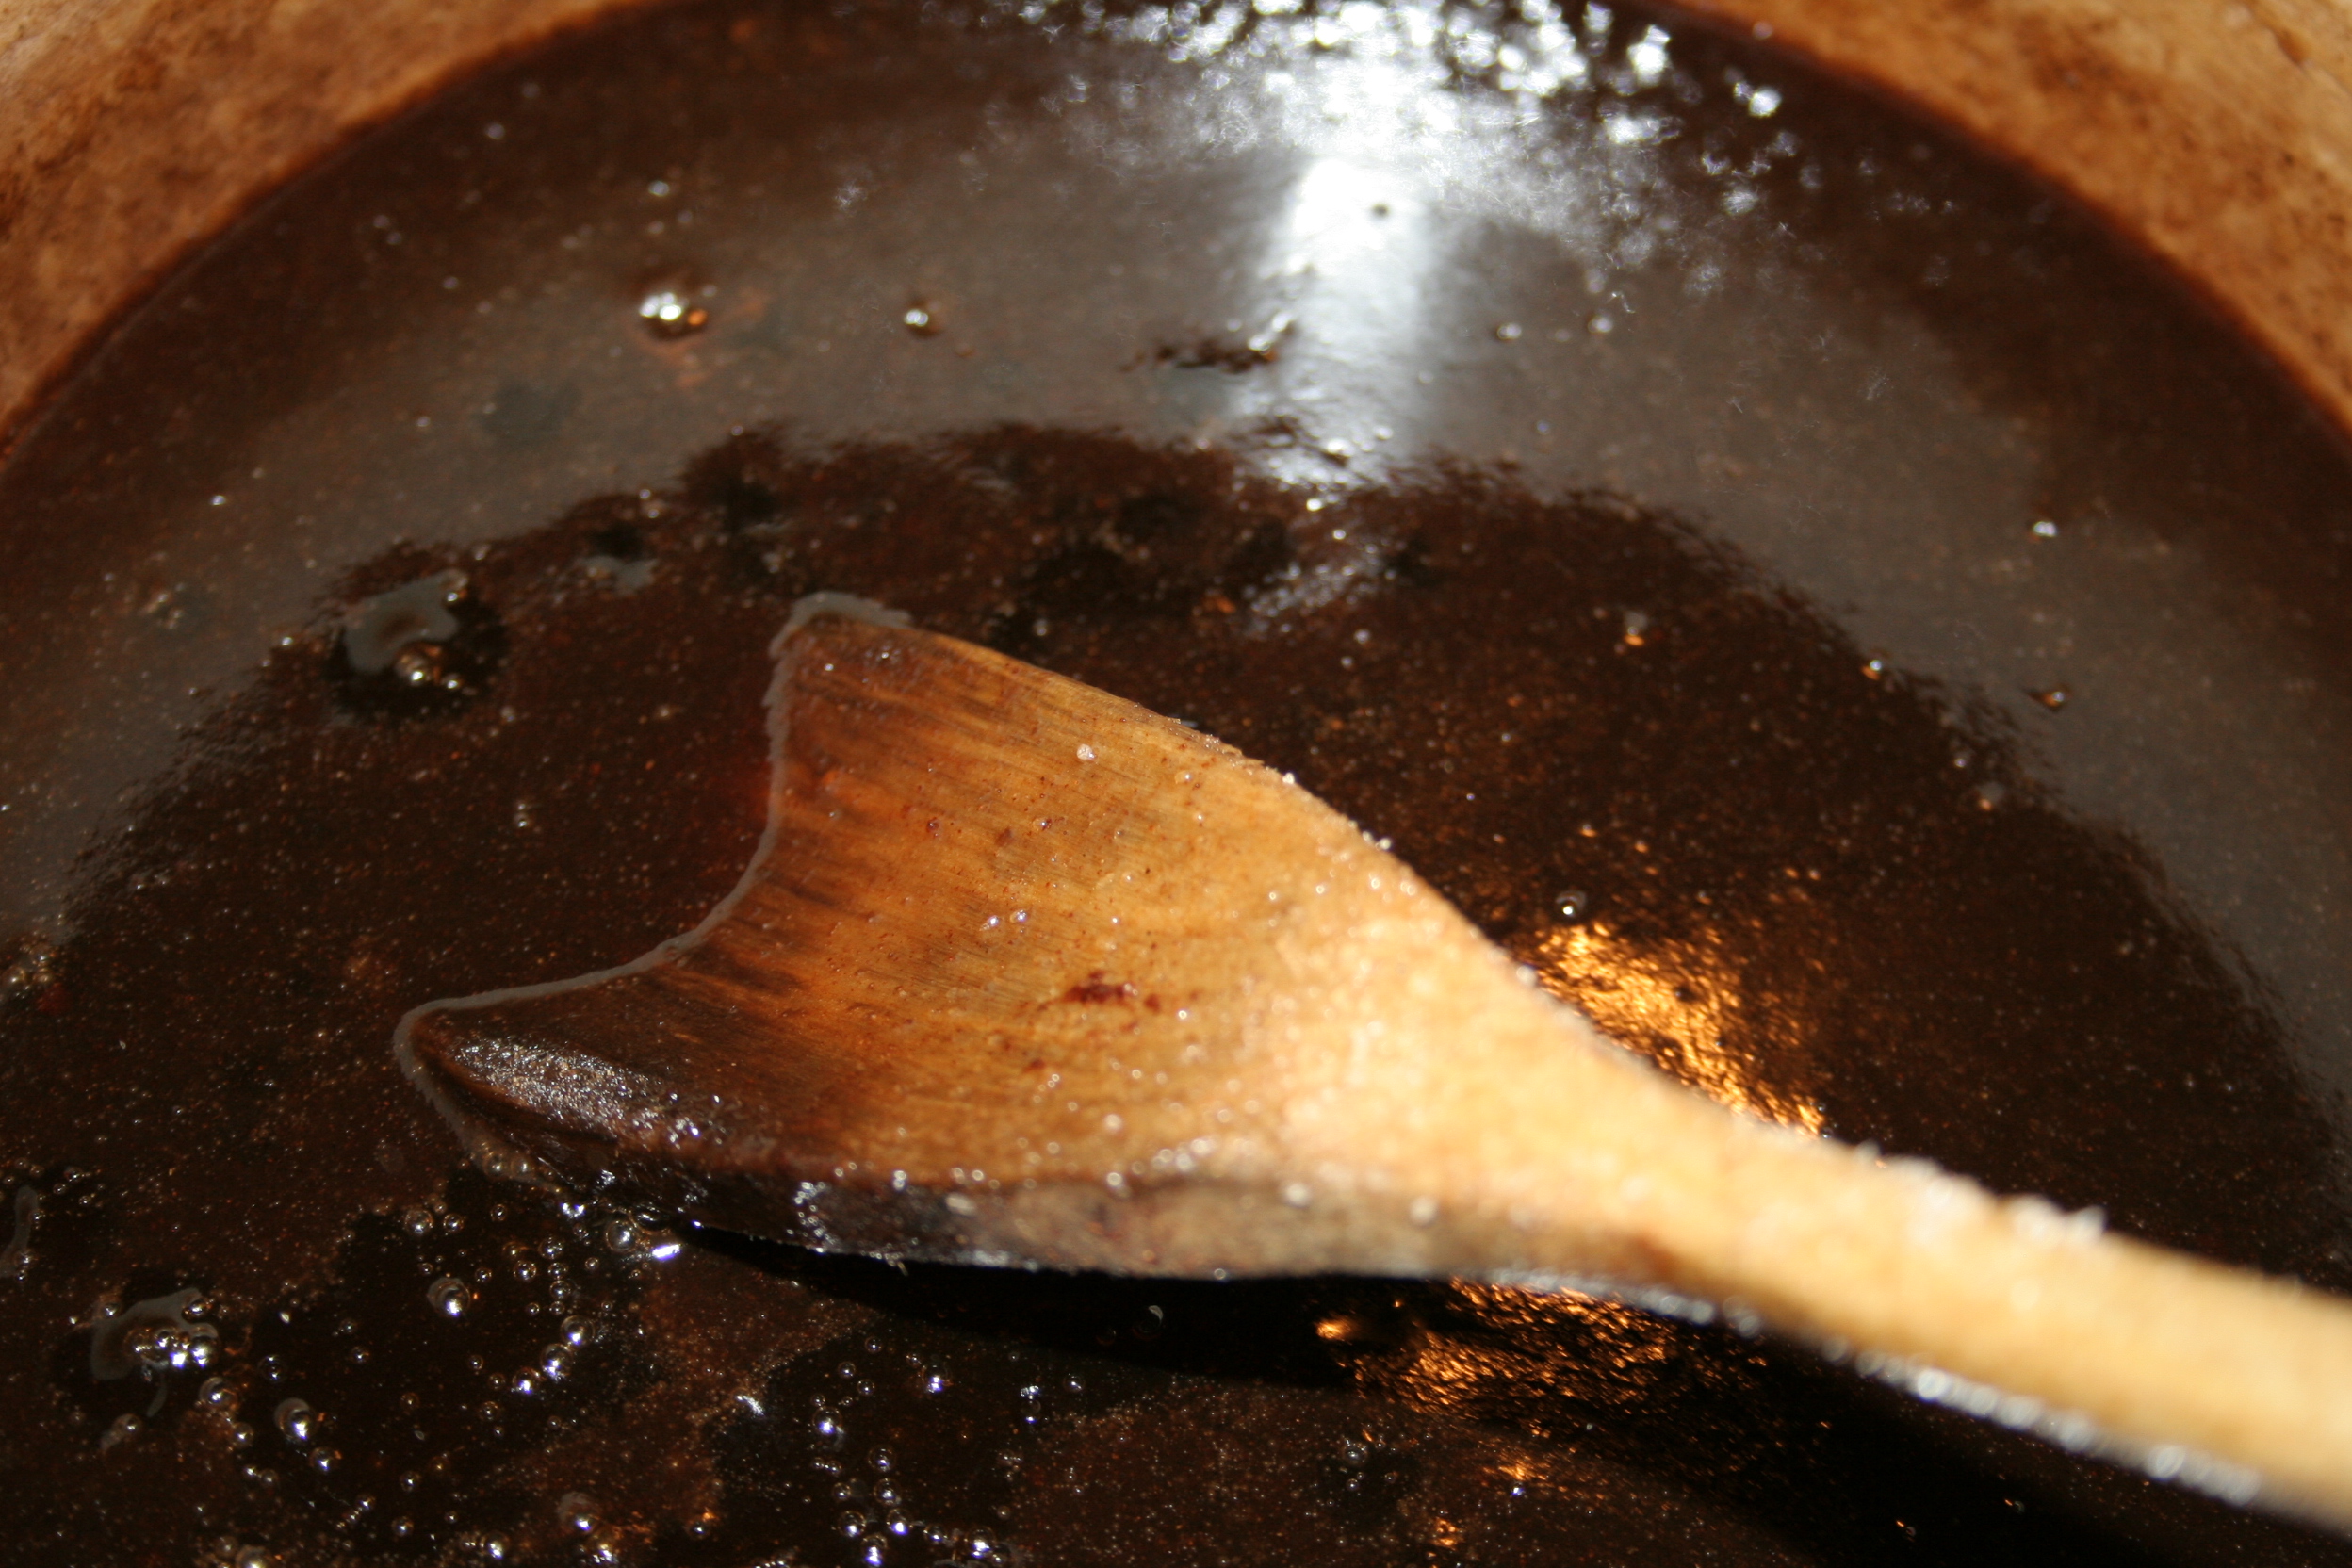
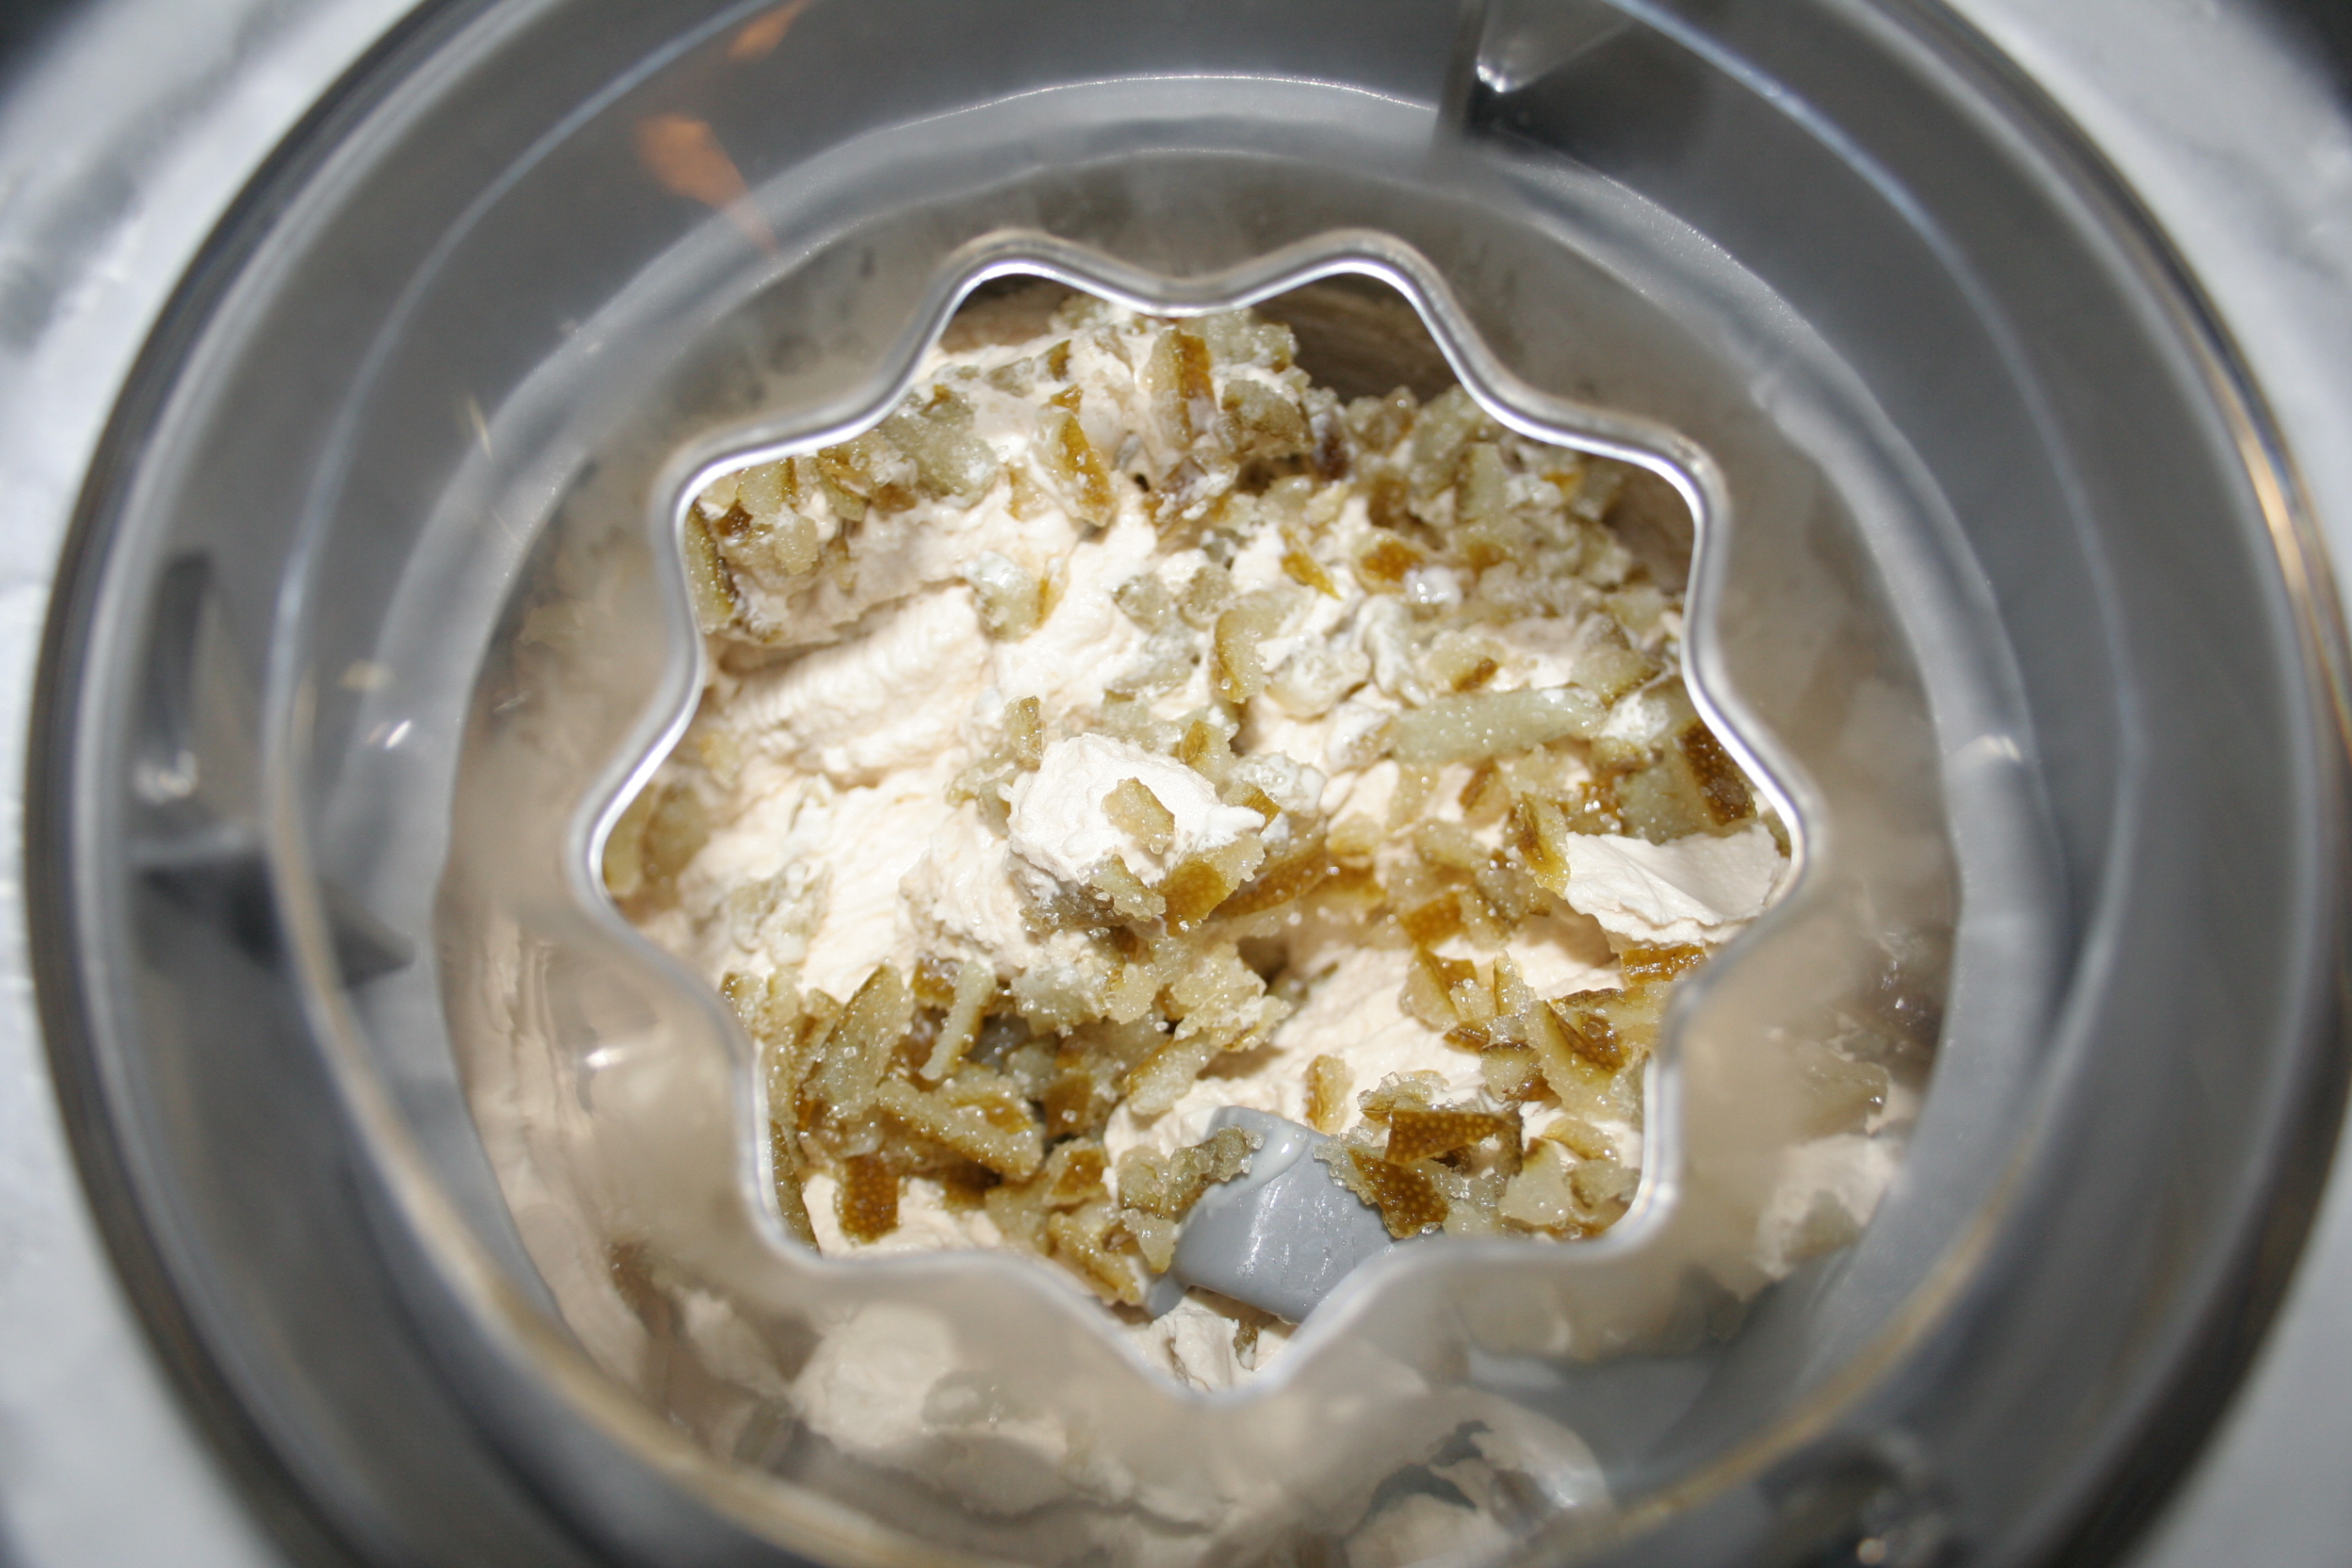
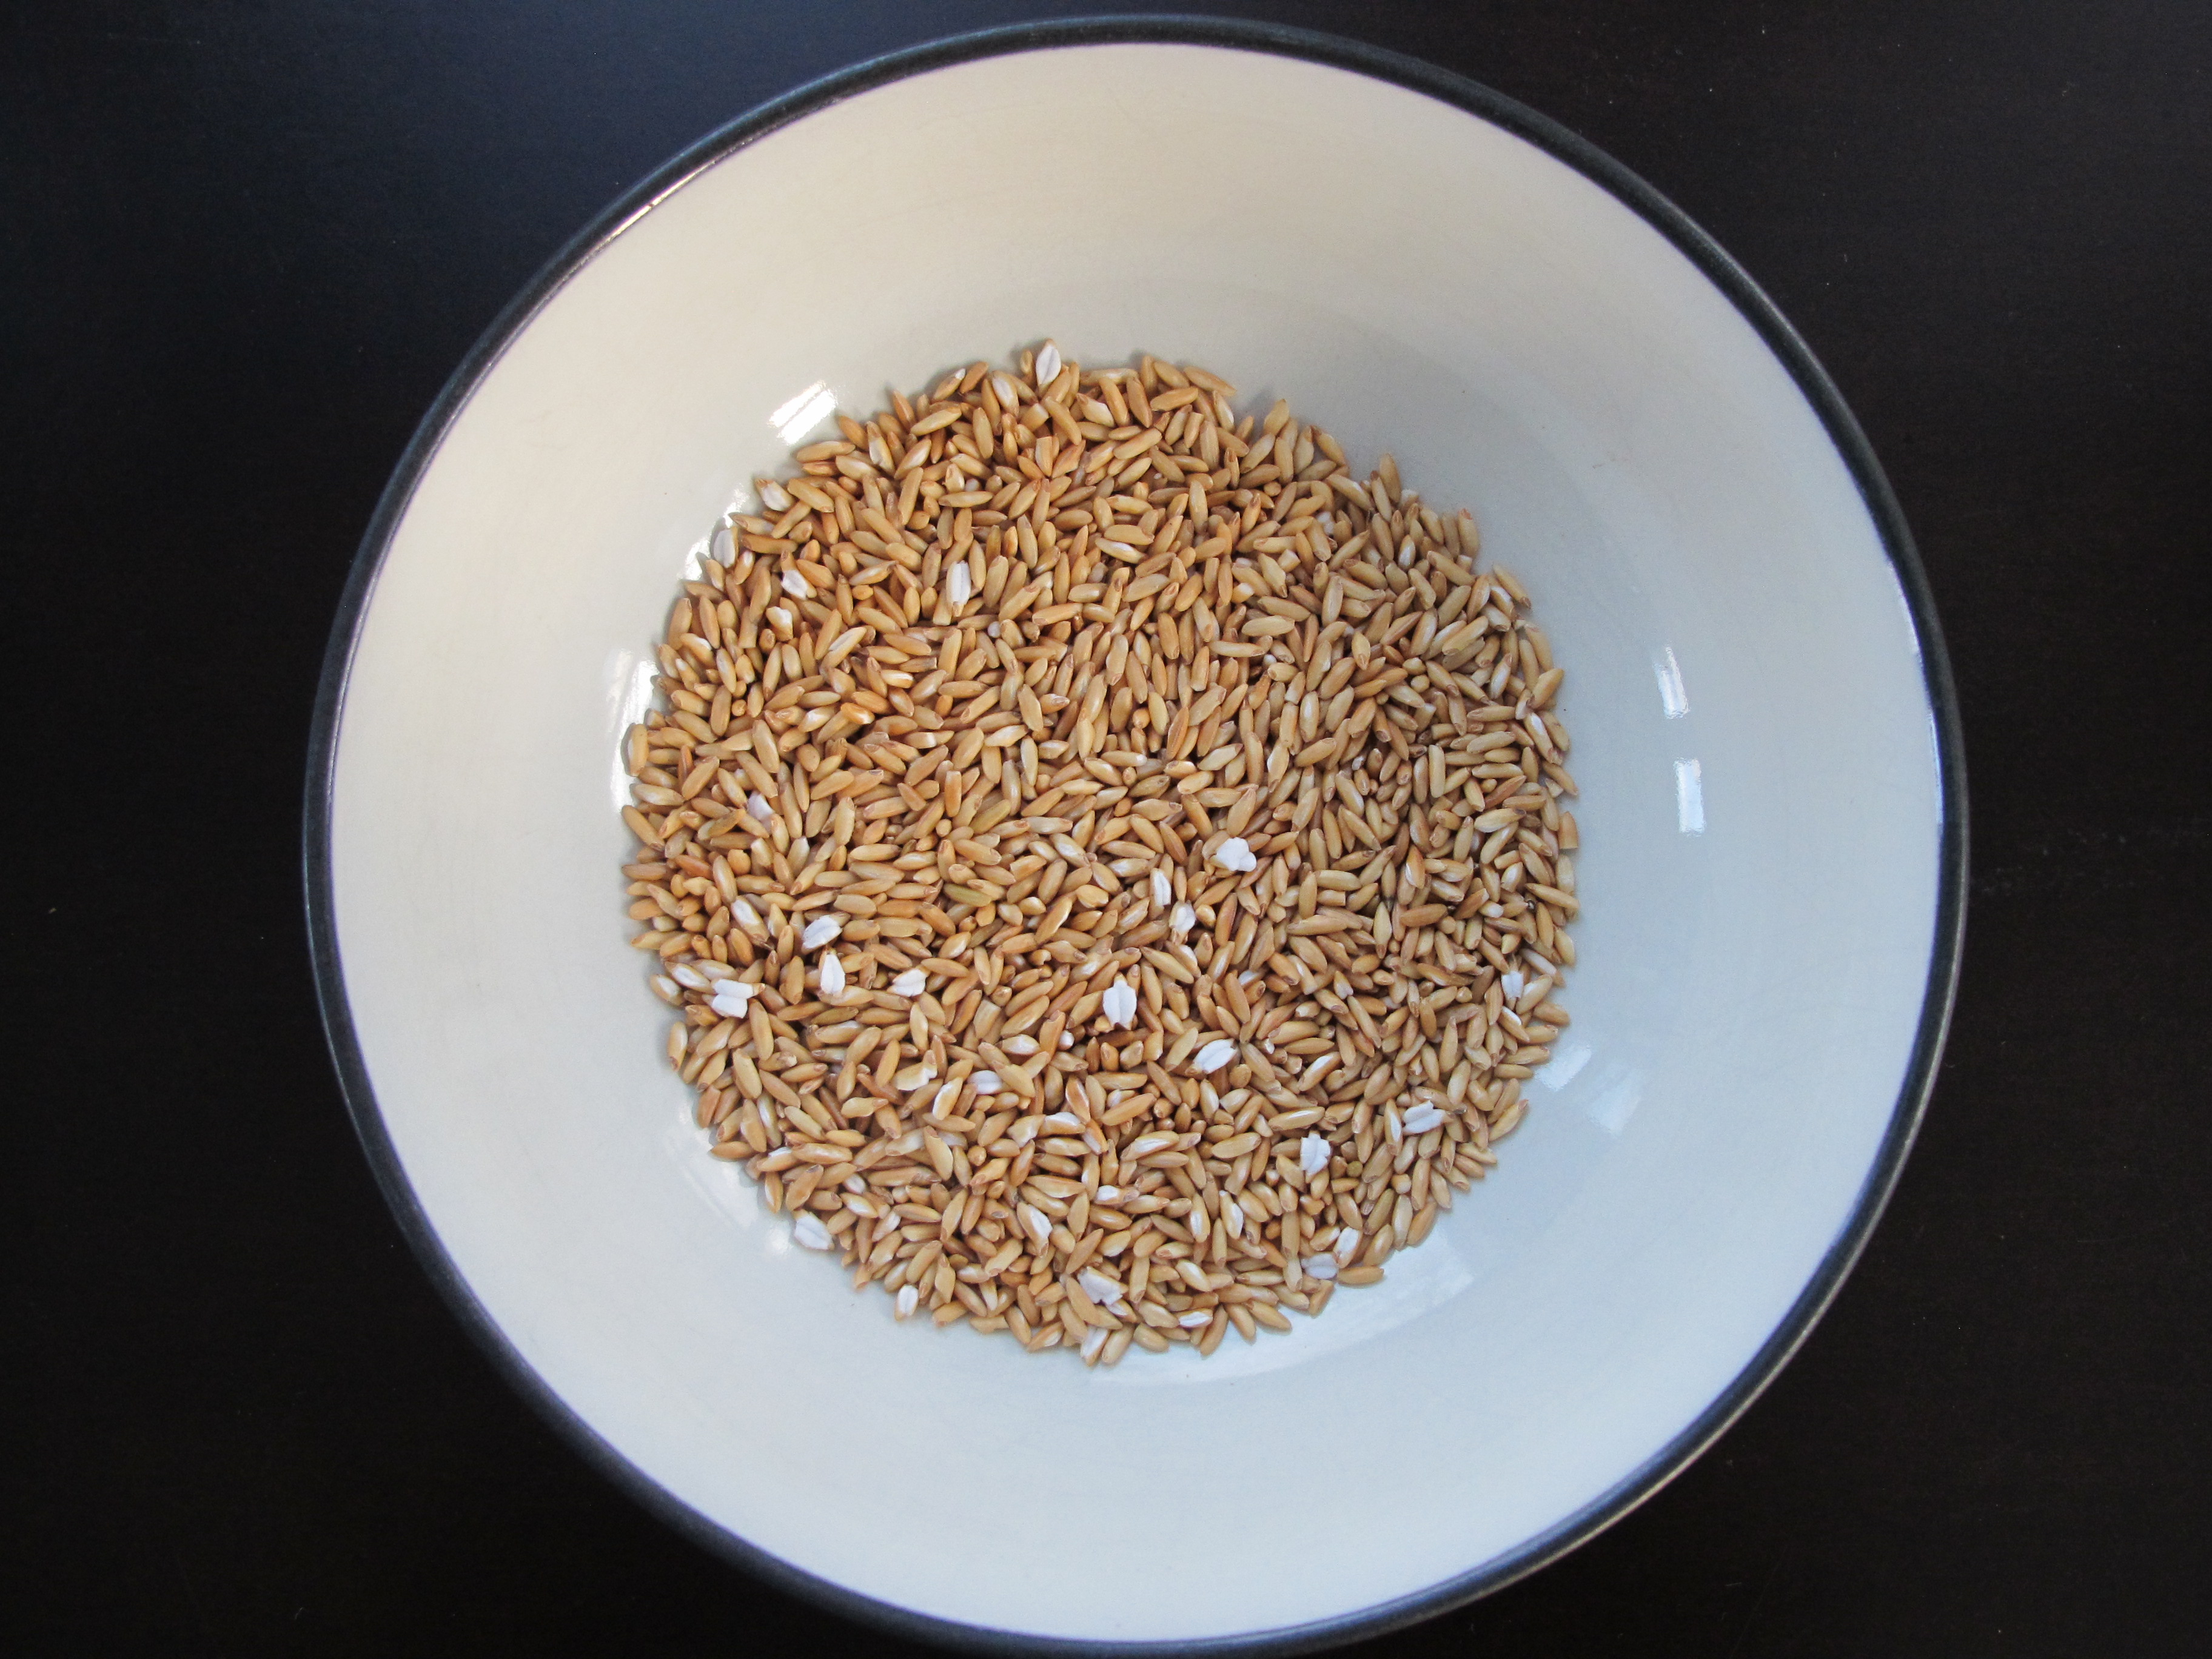
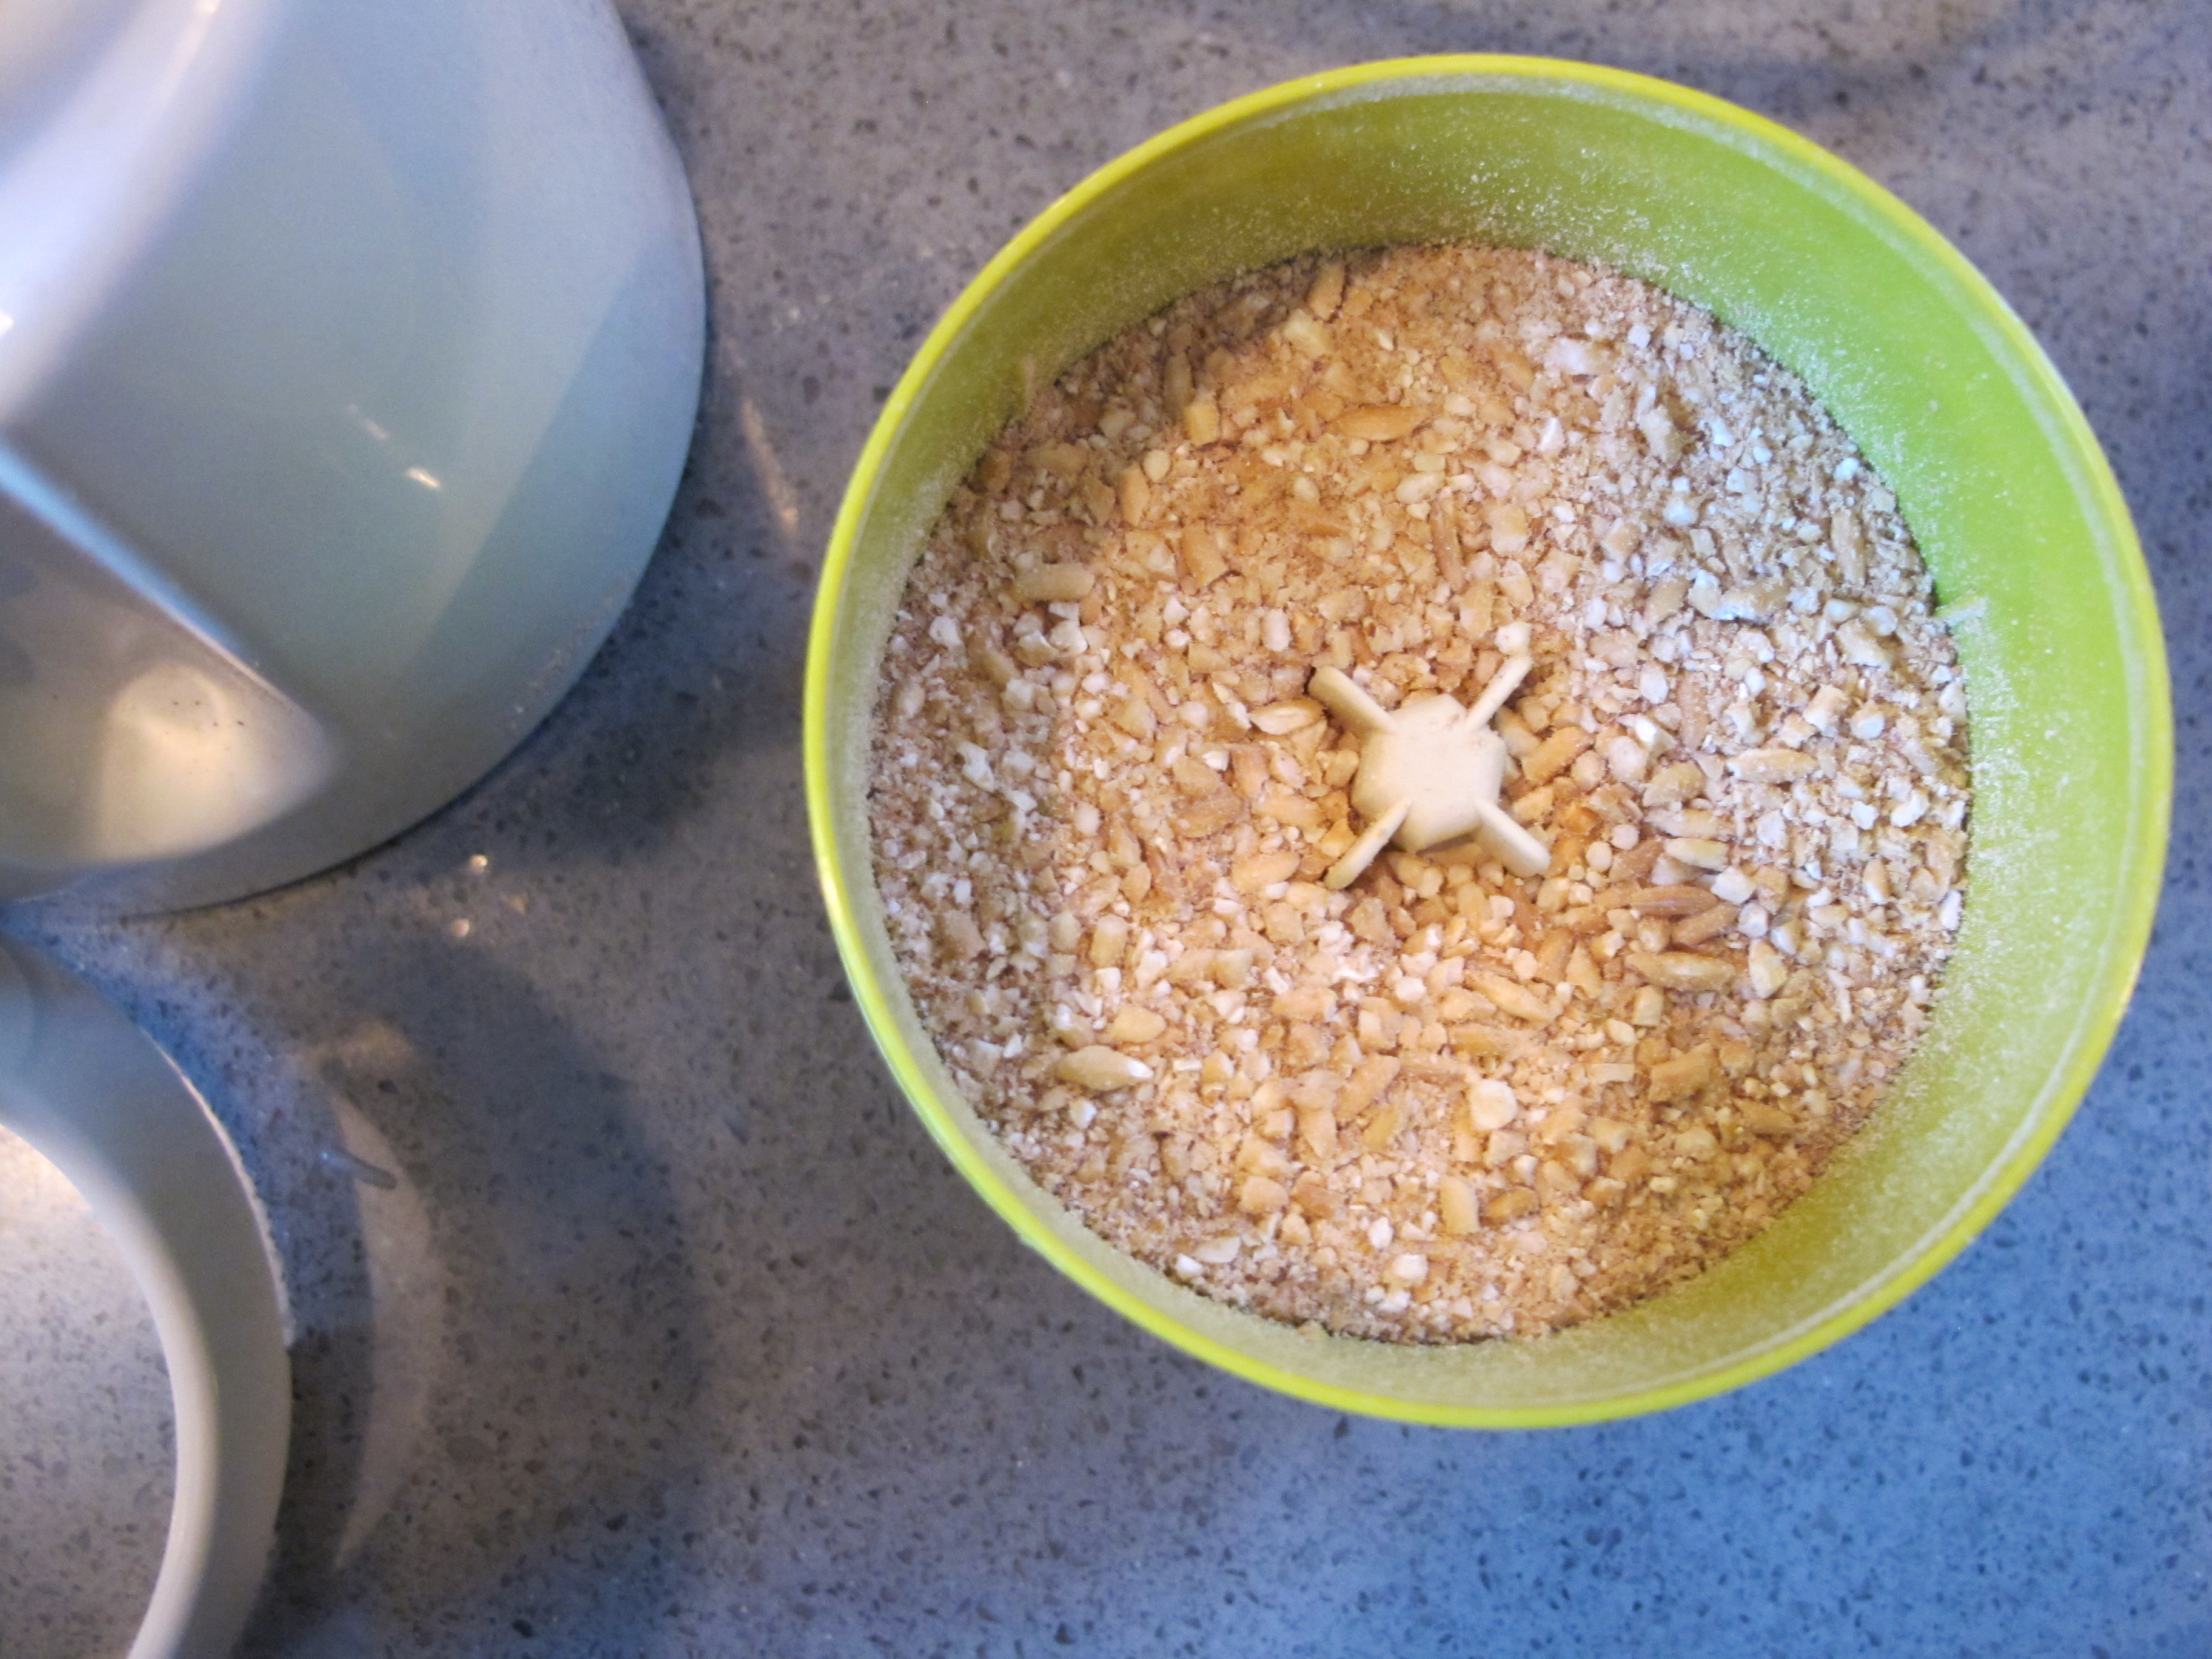
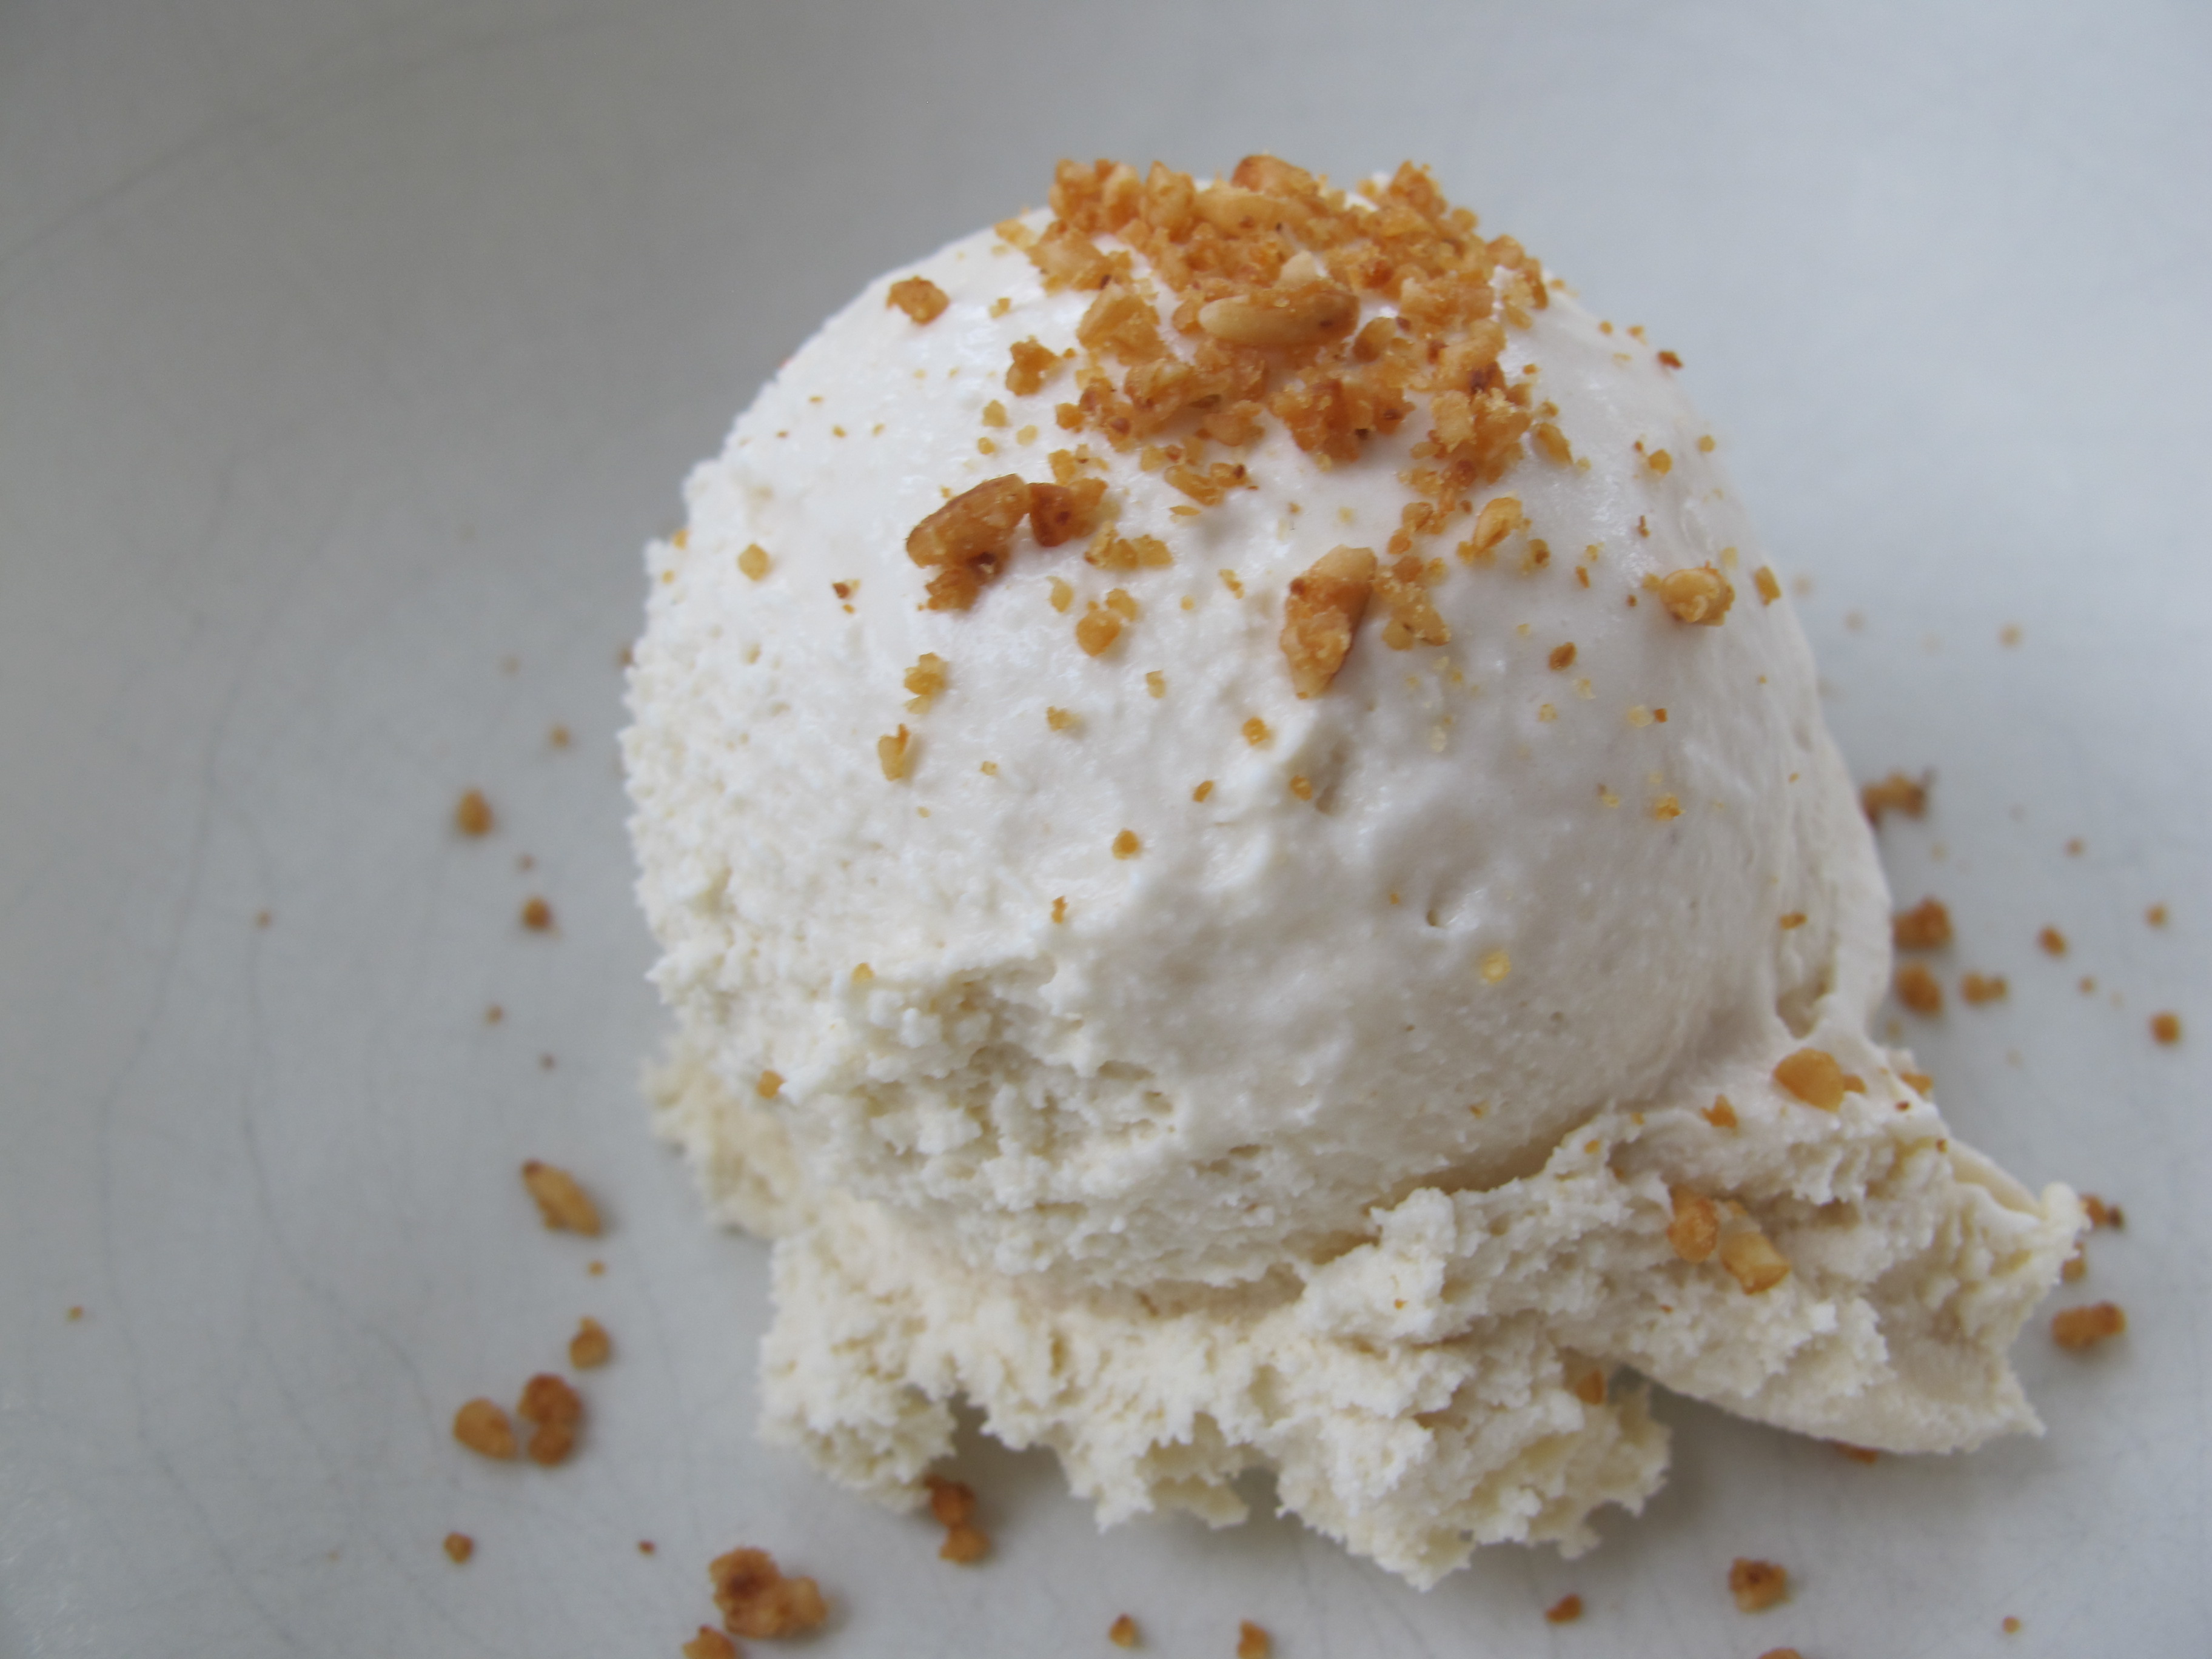
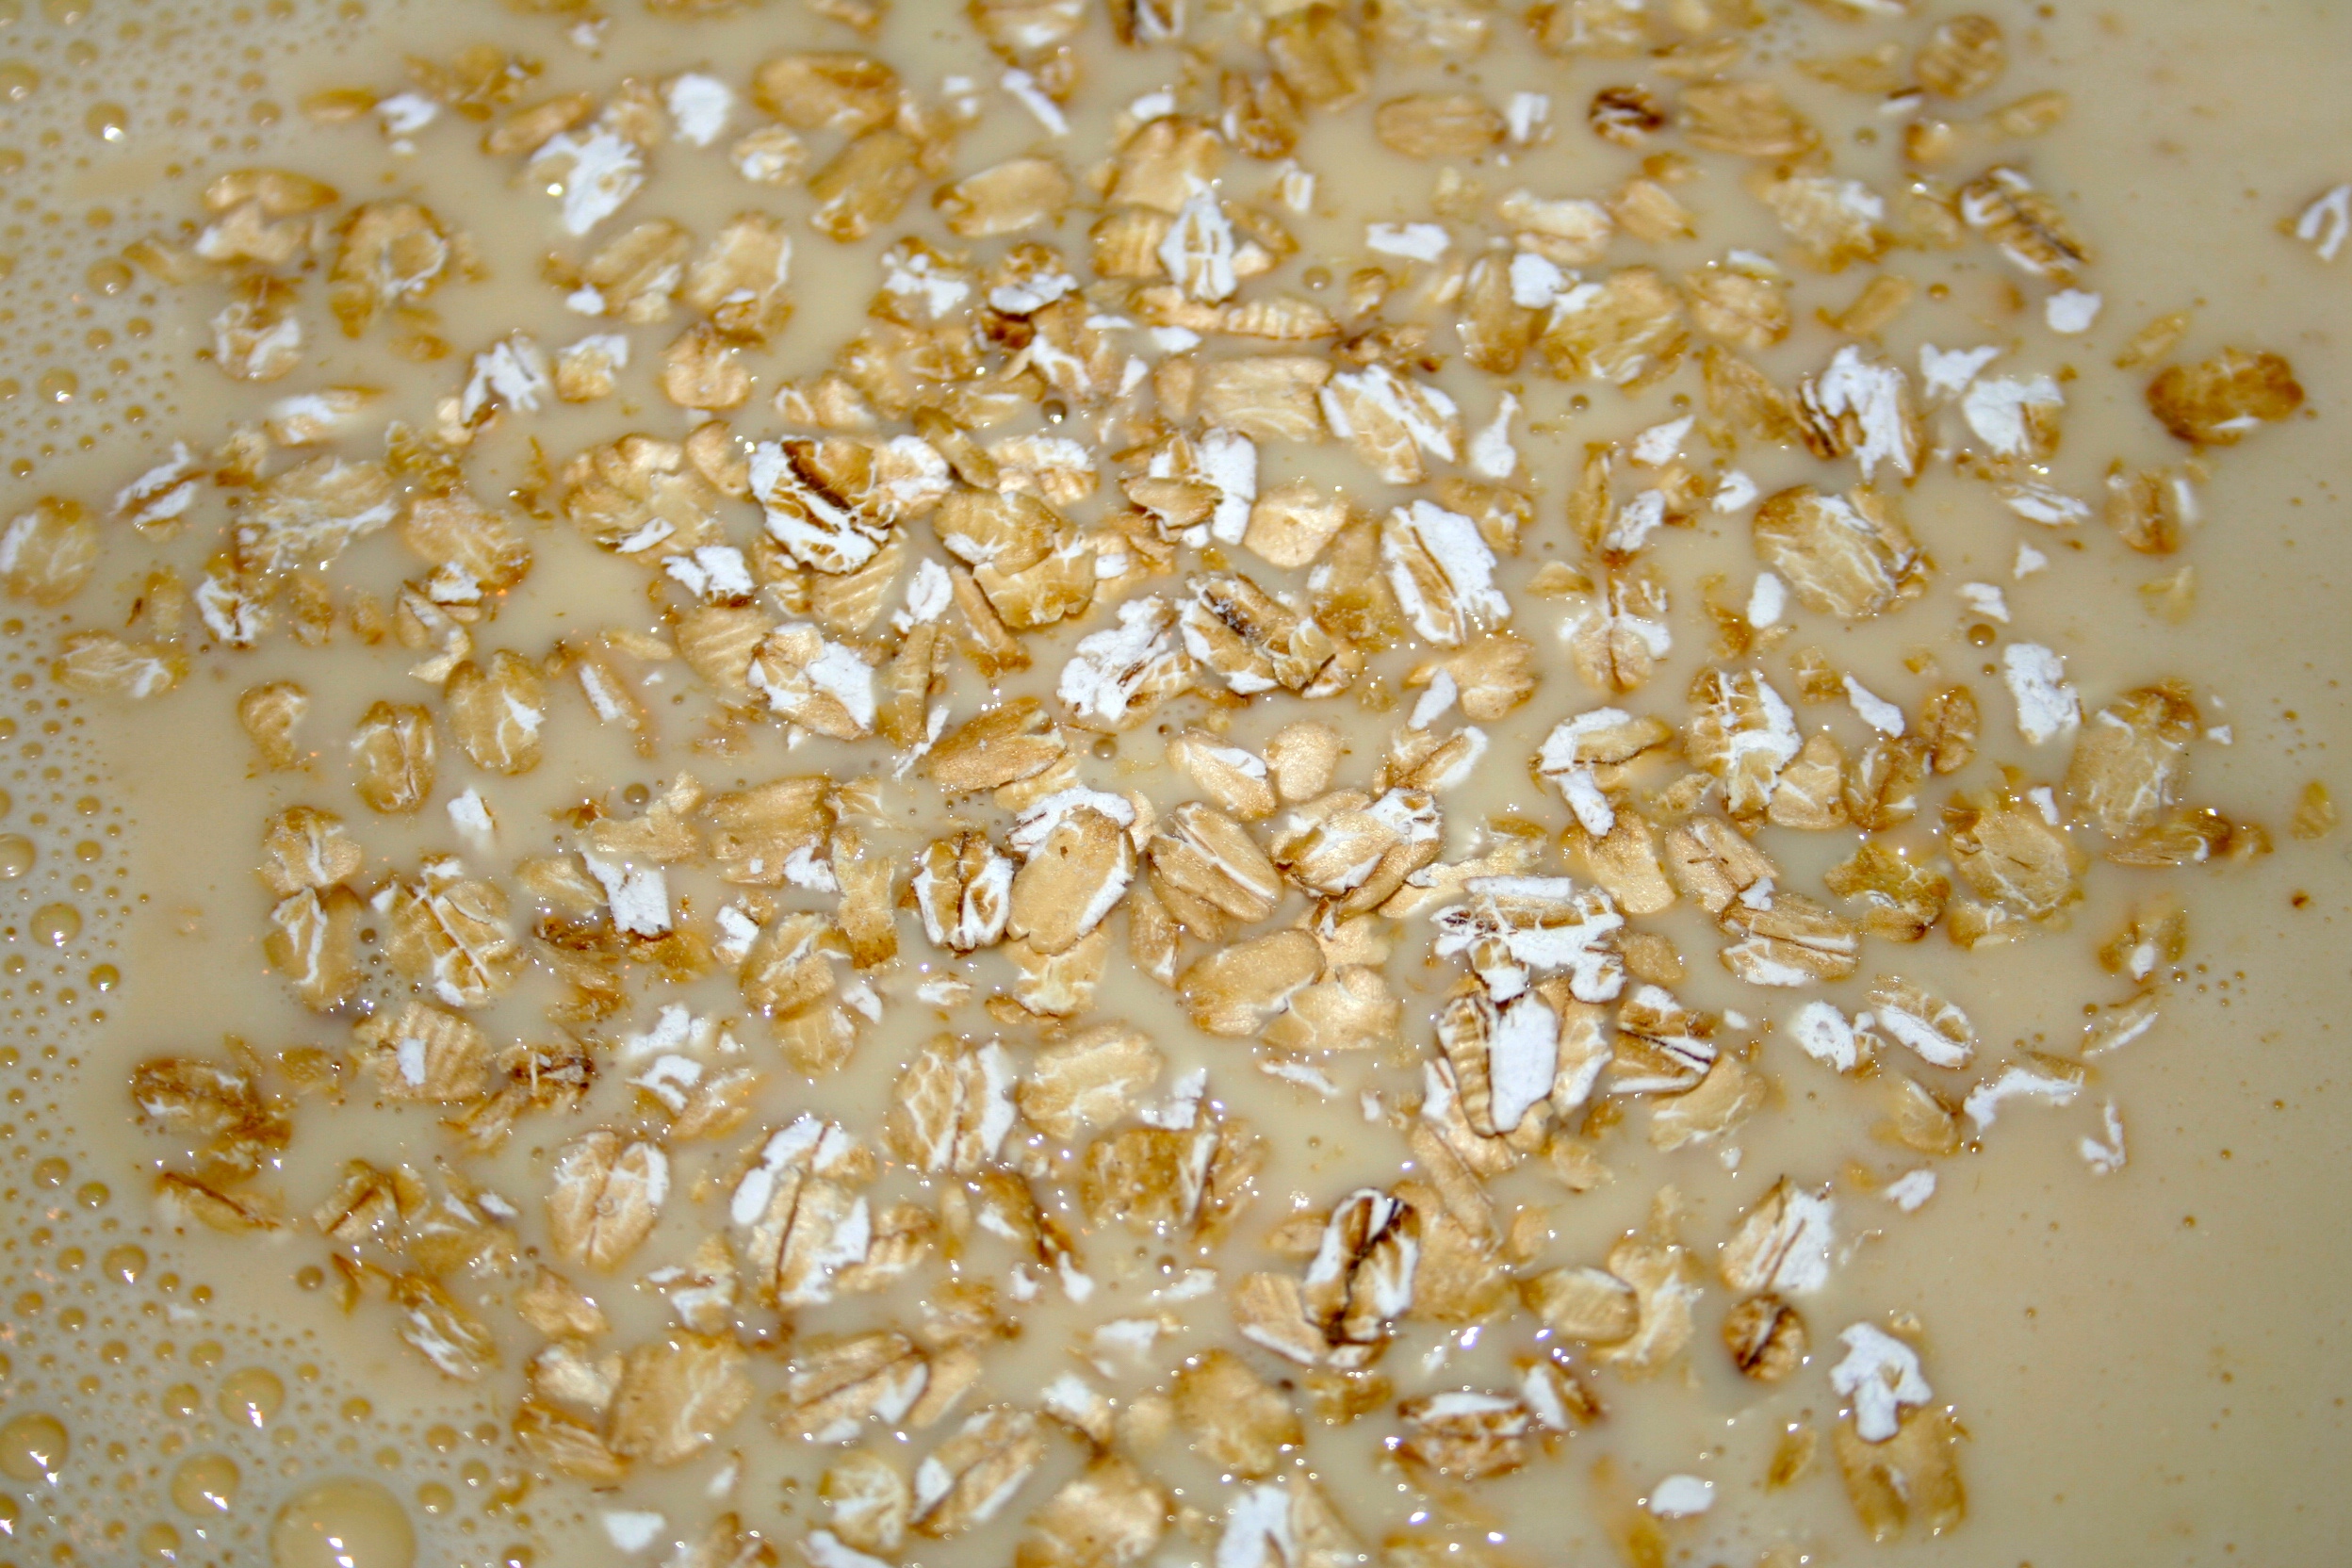
Next, we use the reserved apple cider. With the addition of a very small amount of cane sugar, the cider is brought to a boil and reduced into a thick syrup. This syrup is ultra concentrated with apple flavor. The syrup is added into our brown sugar ice cream base, which I used for this flavor to bring out some deeper caramel tones. As I mentioned in my opening, I wanted to really bring on the creaminess with this flavor by infusing with rolled oats. The oats are added into the base before pasteurizing. During the cooking process, the oats release their starches into the base making for an ultra silky texture. The oats are strained out after the base is pasteurized and the reserved baked pulp is whisked in. After cooling, the base is ready to churn.
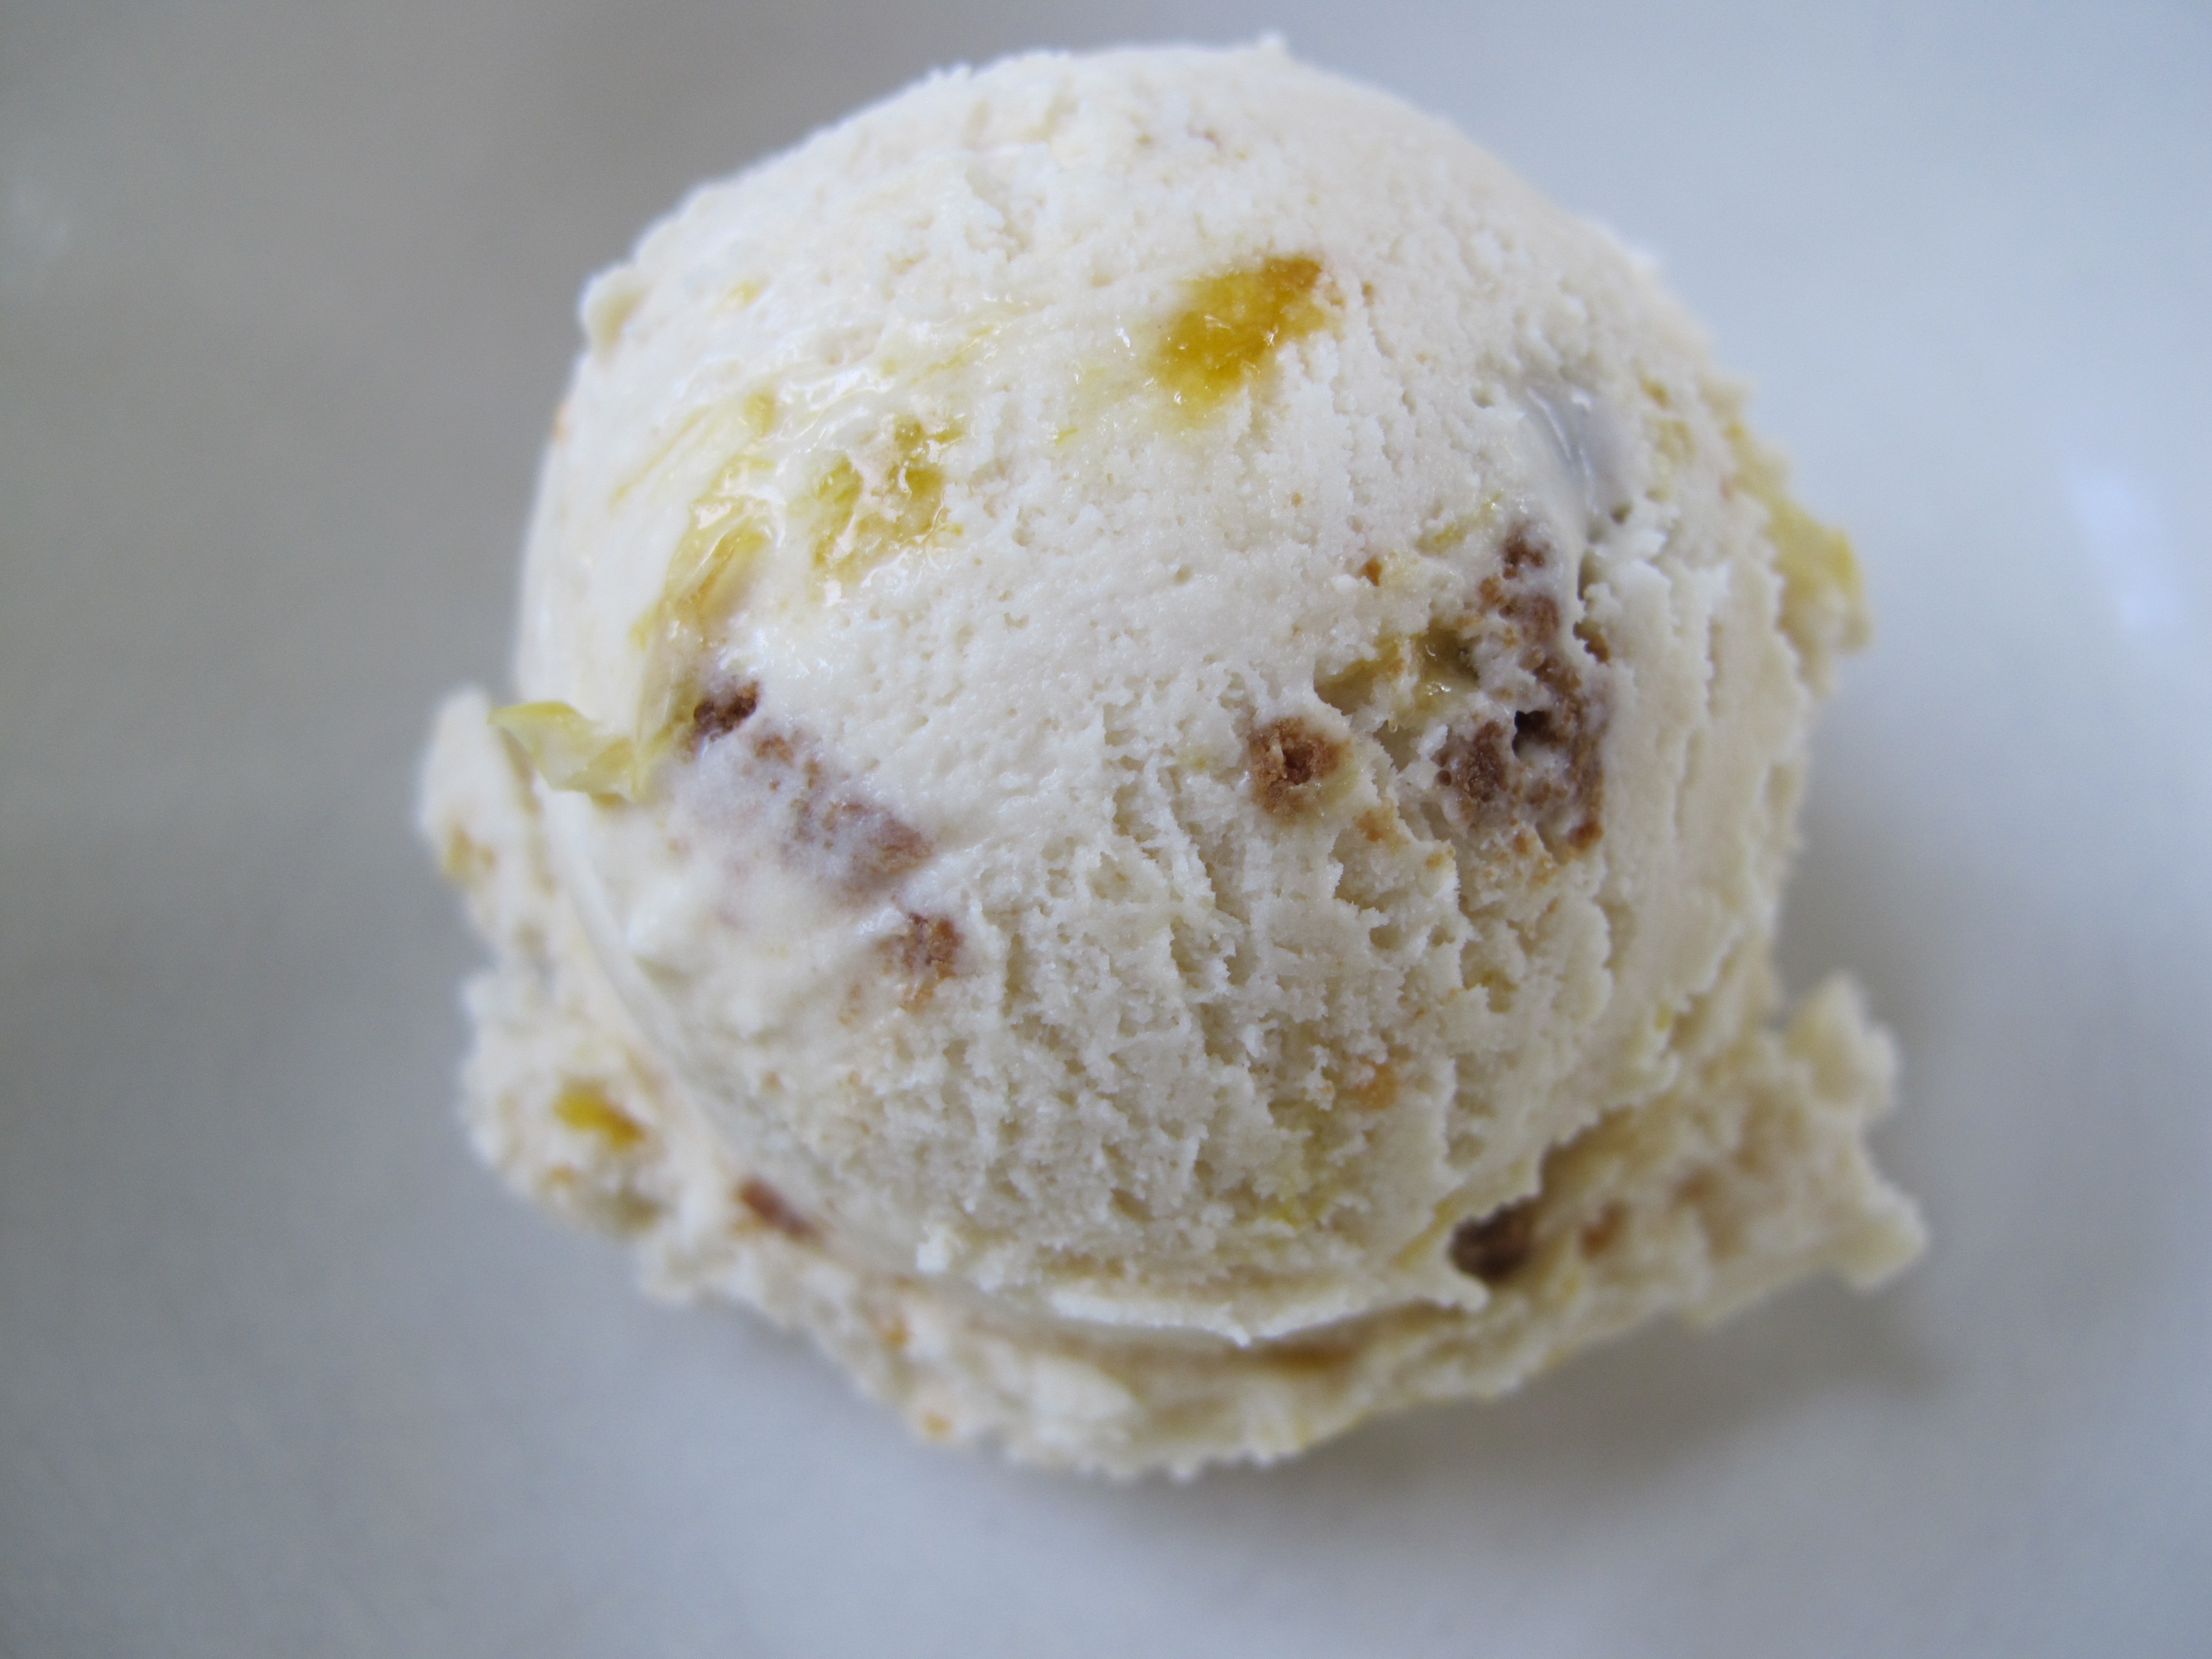
The road to apple ice cream stops here. A brown sugar ice cream made ultra creamy with an oat and apple infusion. Mission accomplished!
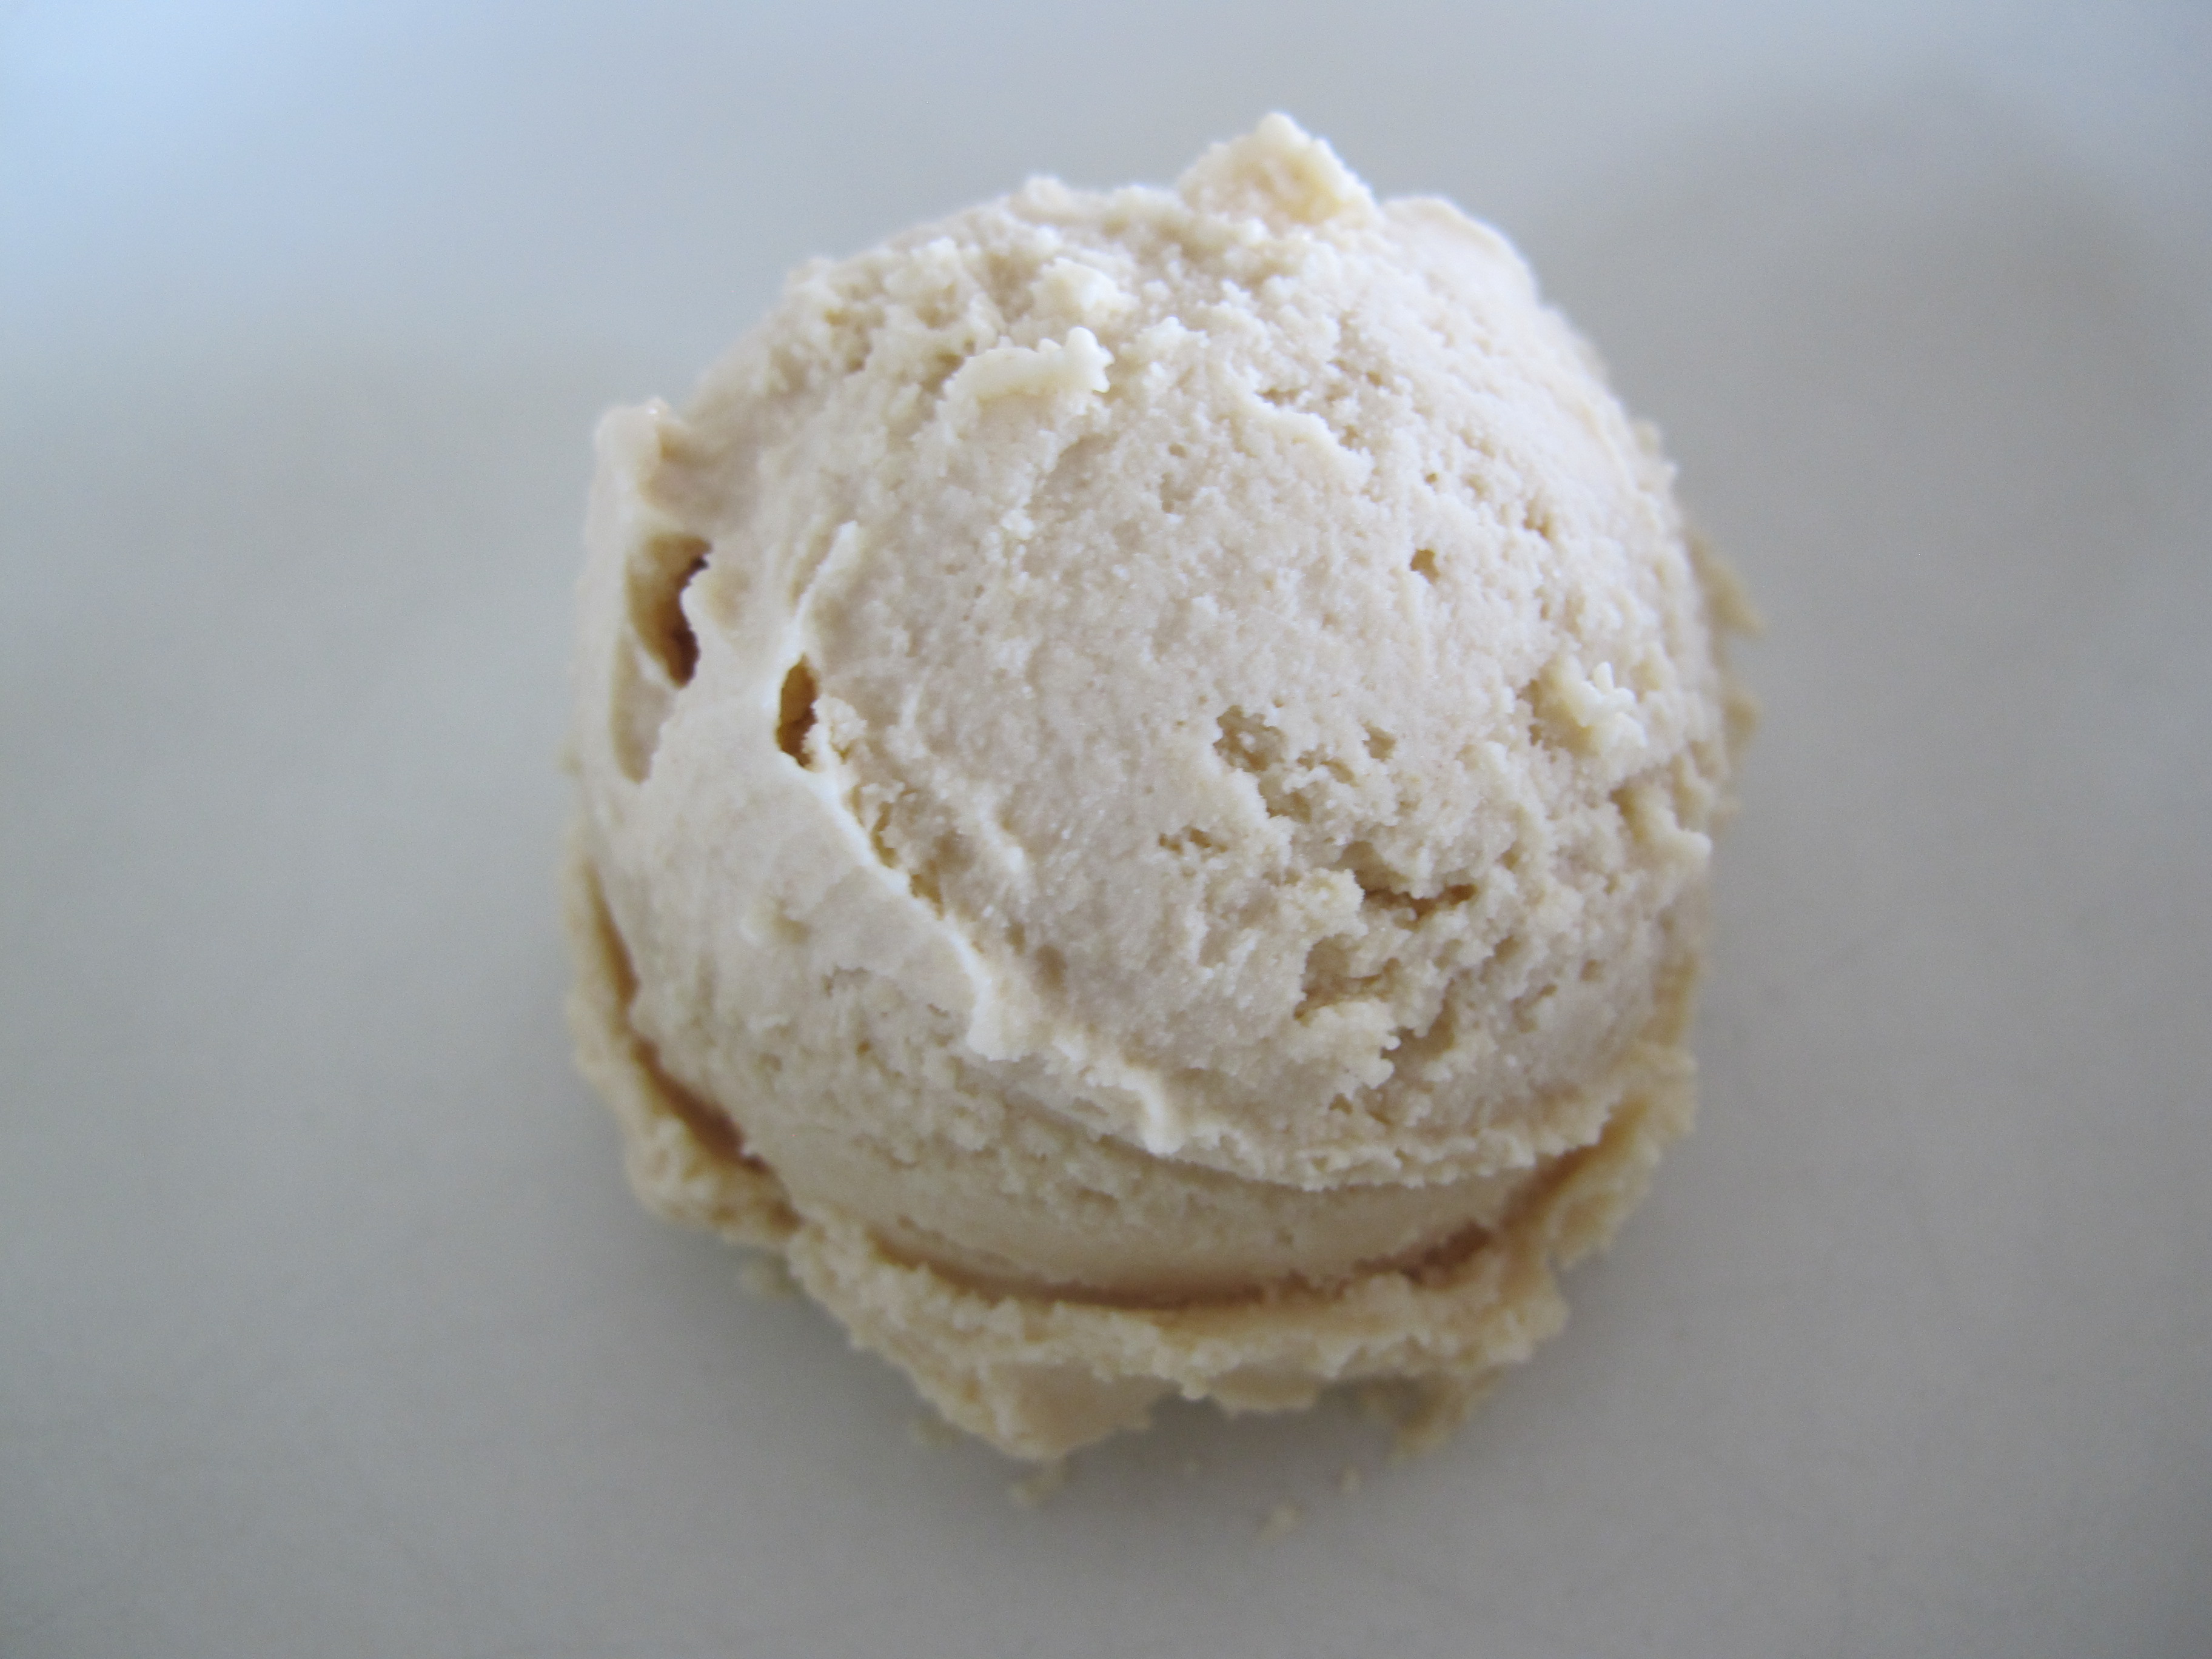
Apple Oat and Brown Sugar
Apple Prep:
4 Apples, Regent, peeled, quartered, and cored
2 teaspoons sugar
Ice Cream Base:
2 cups Heavy Cream
1 cup Milk
3/4 cup Brown Sugar
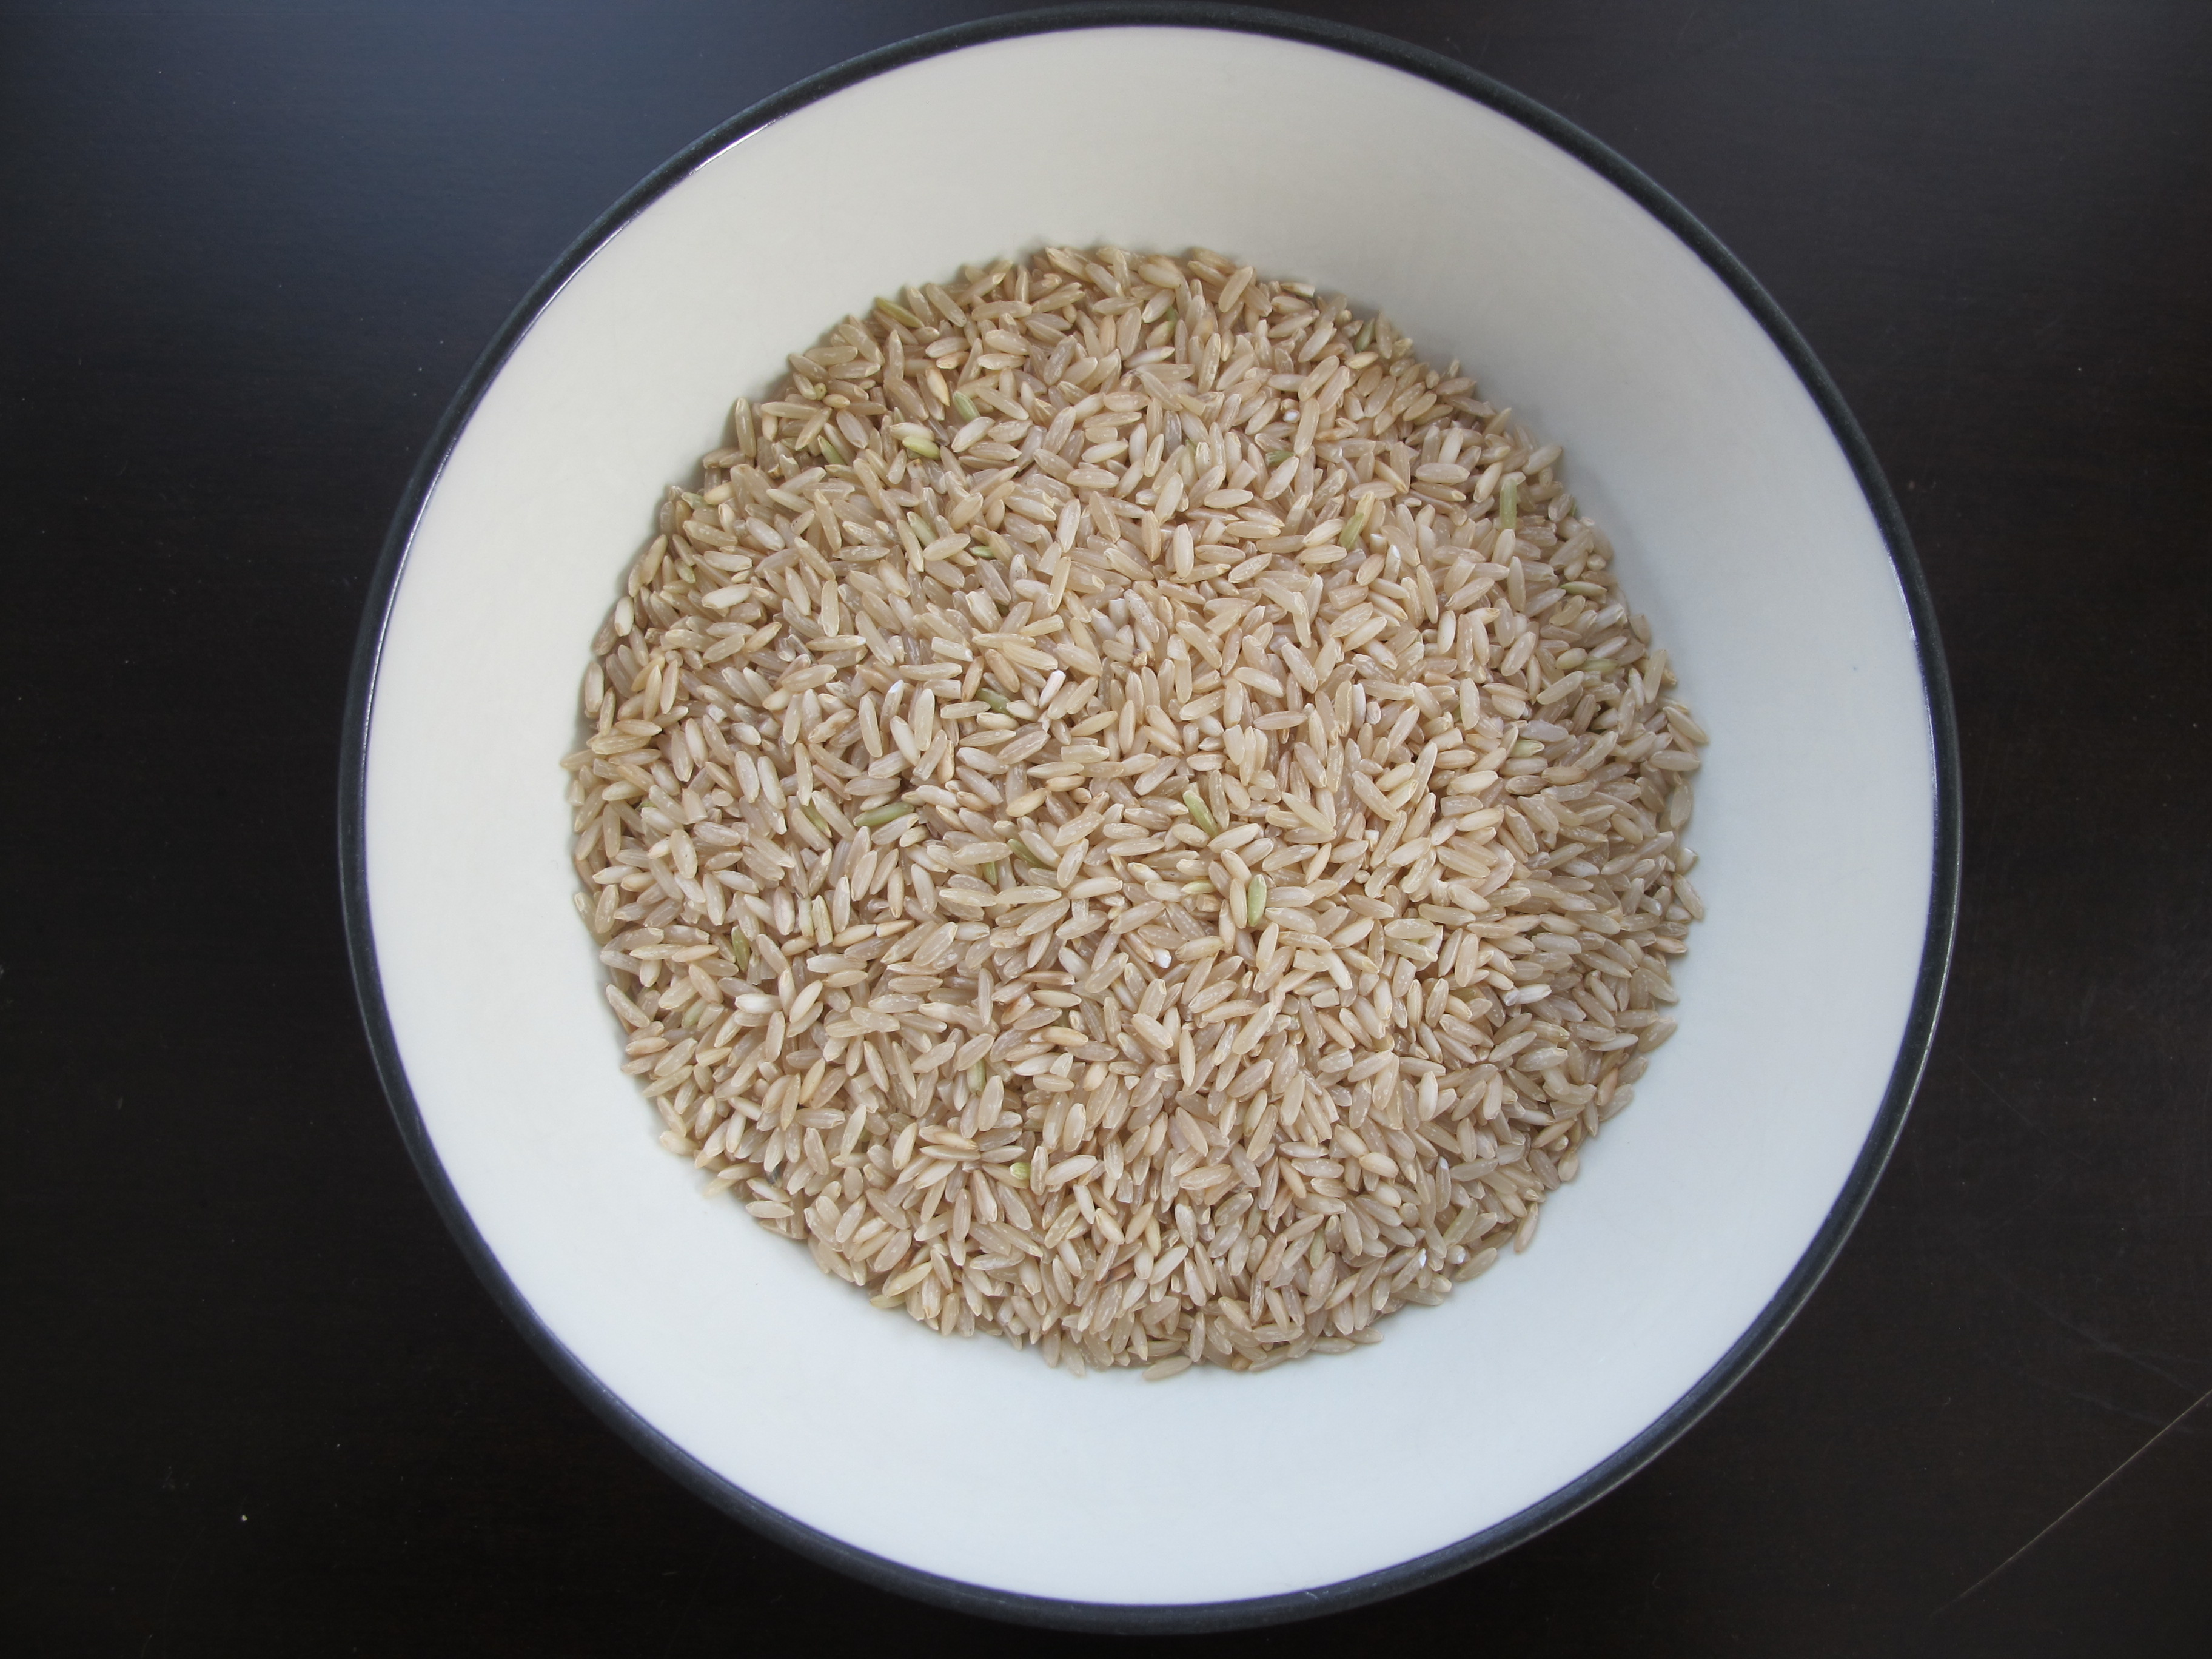
1/2 cup Rolled Oats
2 Eggs
3/4 teaspoon Sea salt
1/4 teaspoon Cinnamon
reserved apple syrup and paste
Instructions:
1. Prepare Apples: Using a blender or food processor, puree apples. Place a fine mesh strainer over a bowl, and pour apple puree into strainer. Using a spatula, press all of the liquid through the strainer until all that is remaining is paste. Reserve paste. Pour the apple liquid from the bowl into a medium sauce pan with 2 teaspoons of sugar. Over medium high reduce the liquid, stirring constantly so it doesn’t burn to the bottom of pan. Continue reduction, until a thick apple syrup forms. Remove from heat and reserve apple syrup.
2. Bake Apple Pastea: Preheat oven to 250 degrees. Spread apple paste in a thin layer onto a sheet pan lined with a silpat or other baking mat. Bake for 20-25 minutes until relatively dry. Remove from the oven and reserve for ice cream base.
3. Make ice cream base: Crack eggs into a mixing bowl and whisk fully. Add brown sugar and whisk. Add heavy cream, milk, salt, and cinnamon. Whisk until ingredients are combined. Add rolled oats and whisk to combine.
4. Cook/pasteurize ice cream base: Over medium heat, whisk or stir base continuously until temperature reaches 165-170 degrees. Remove from heat, and strain through a fine mesh strainer. Add both apple syrup and apple paste to strained ice cream base and whisk vigorously until combined. Cool ice cream base to room temperature (an ice bath will do this in about 15-20 minutes). Cover base, and chill in refrigerator overnight.
5. Churn ice cream base in ice cream machine according to manufacturer’s instructions. Store ice cream in air tight container in freezer until chow time.
*Yields approximately 2.5 pints
If you’d rather not make it, you can be one of two lucky winners of this fabulous, scratch made craft ice cream in our weekly pint giveaway. Enter your name in the comments section here, or on our facebook page under the posted contest. Two winners will be drawn randomly on Friday 10/9/15 at 4pm. Winners must be able to pick up locally in Minneapolis. Prizes must be claimed by email within one week or we will redistribute. 🙂 Good luck!
![]()
![]()
![]()