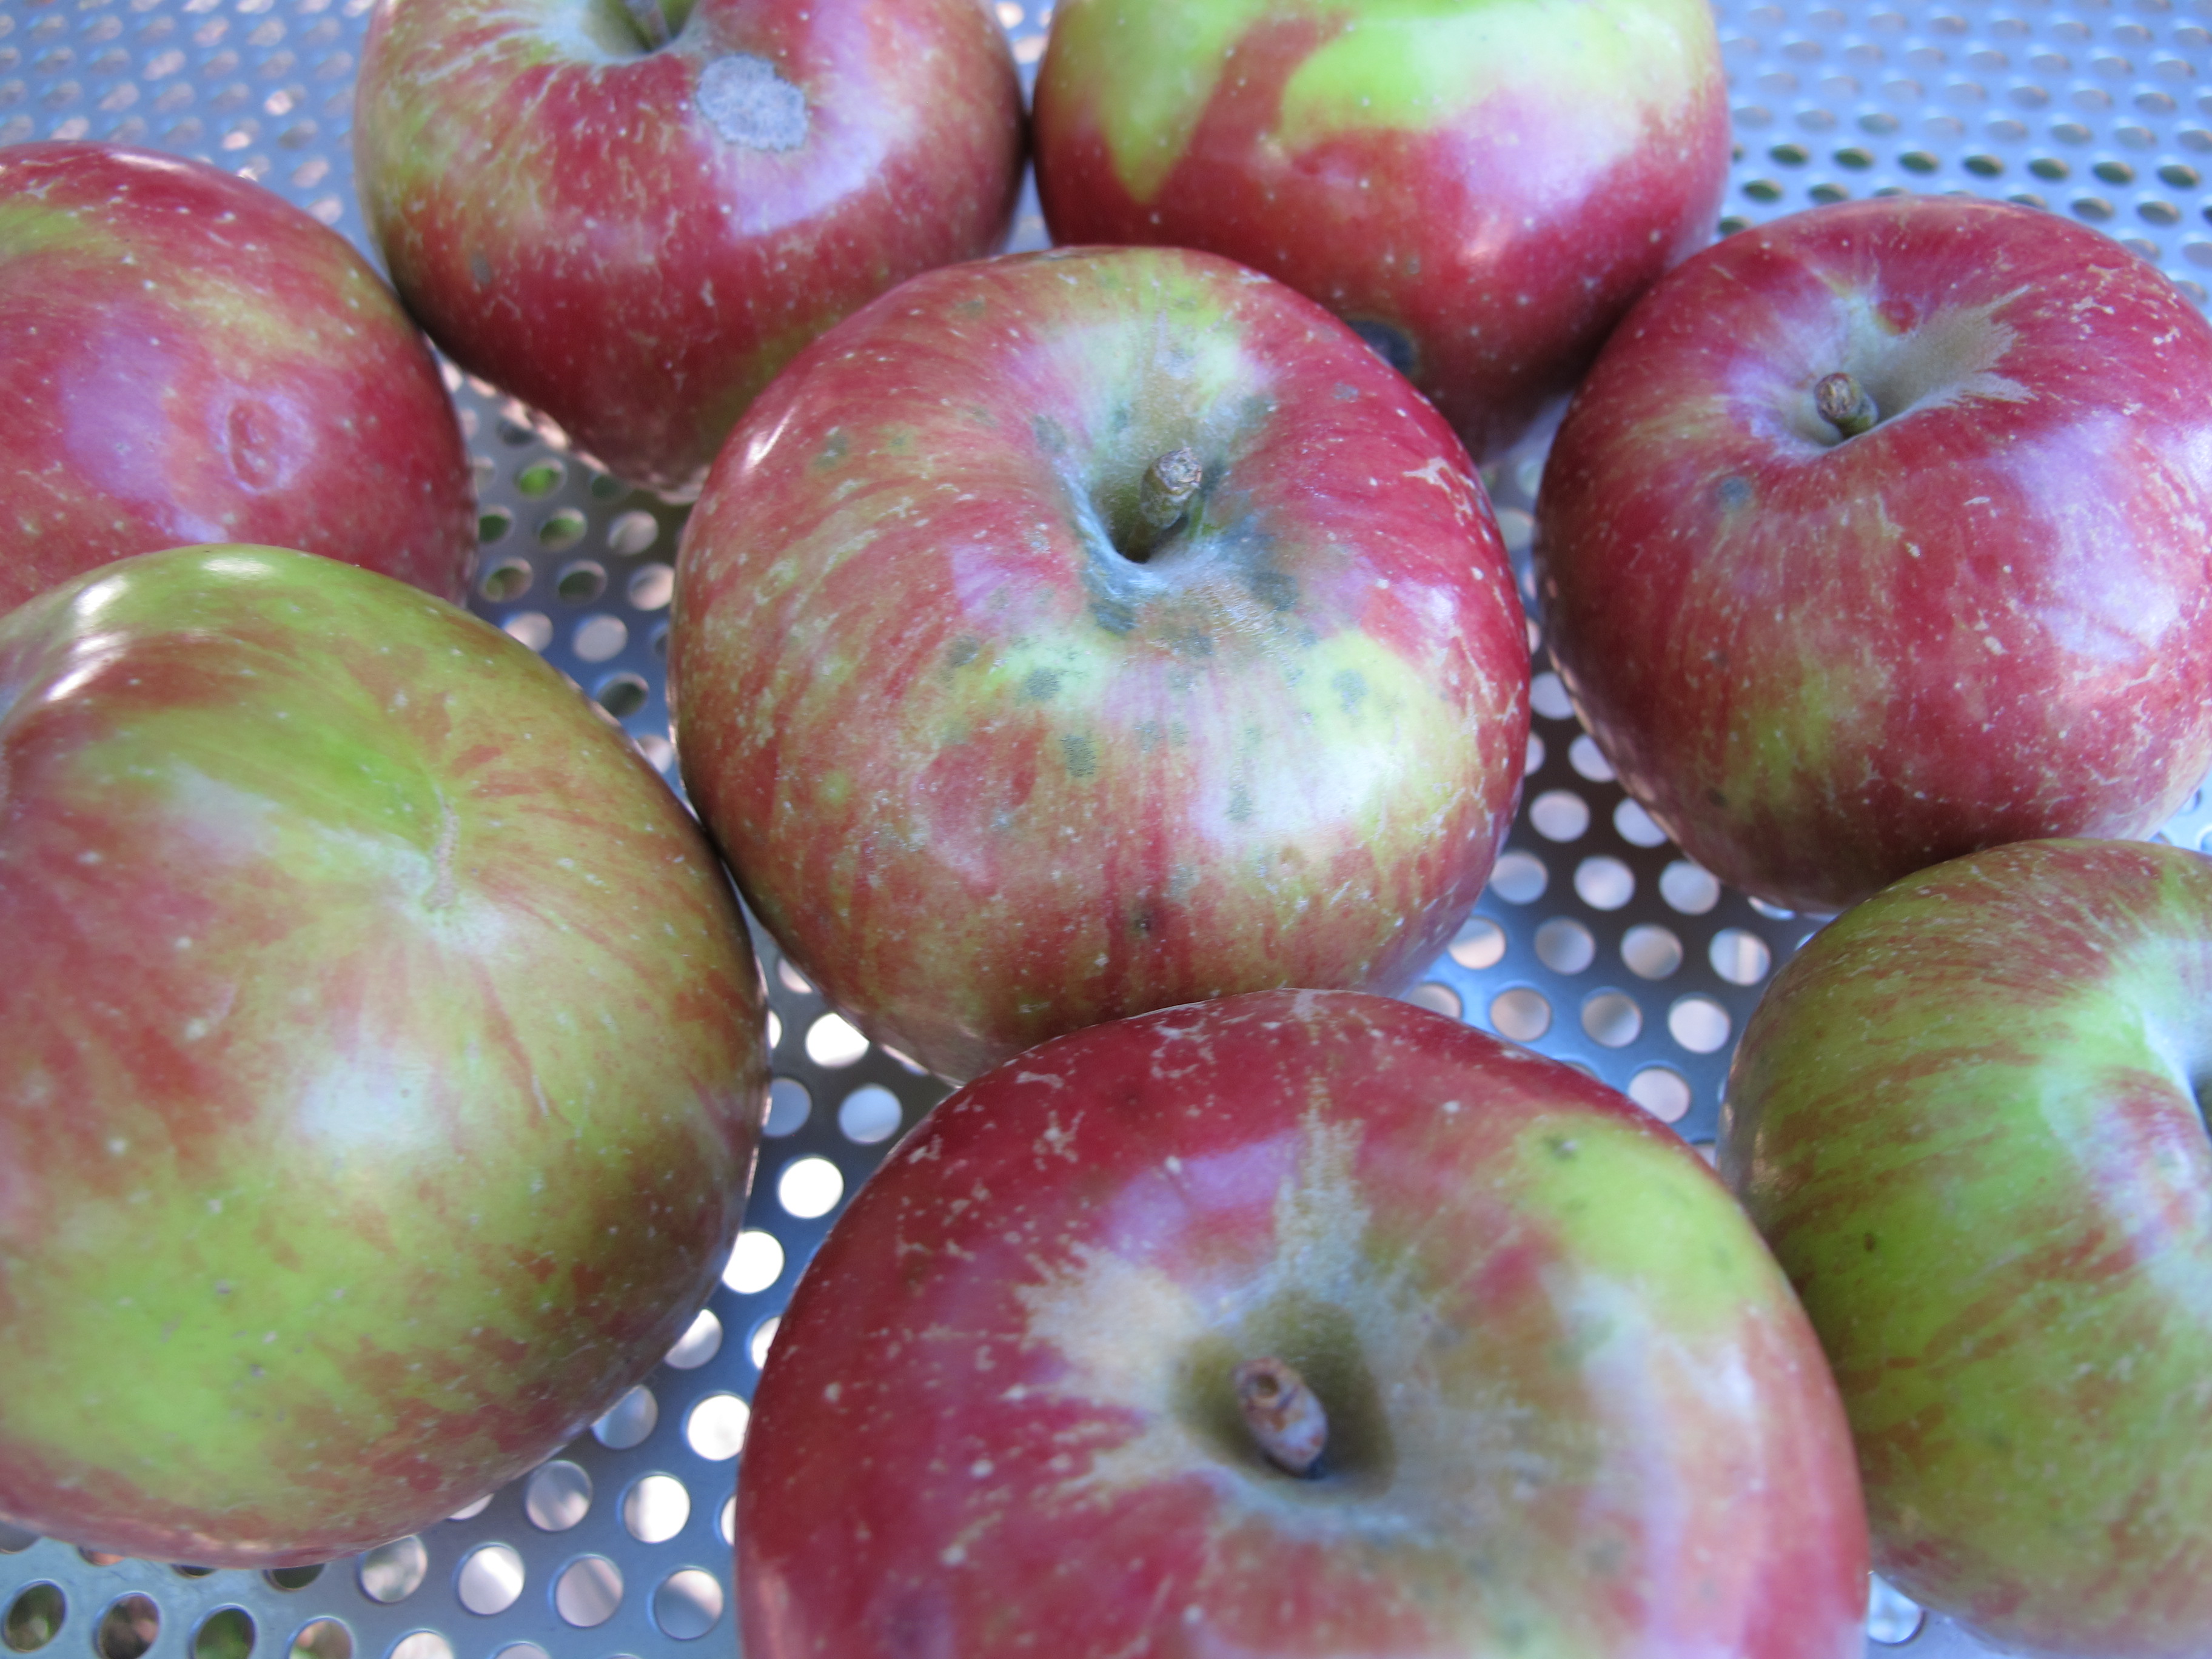
Every year I hear people remark how we’re obsessed with the weather here in the Midwest – myself included. And it’s entirely true. With 4 radically different seasons, it’s hard not to be a little wrapped up in it. They robotically tune us in to change every 3-4 months and we rarely notice how are eating habits are affected as well. A lot of the reason for that is related to what was/is available and what is hardy enough to store through winter. Which is why, when the nights turn cold, squash suddenly becomes a little vegetable elf, seemingly popping up everywhere you are. And as usual, it also pops up in our ice cream.
This week’s flavor deserves a direct nod to our kindred flavor spirit Heidi Skoog from Serious Jam, since a few weeks ago I said “Butternut” and she filled in the blanks before I could go any farther.
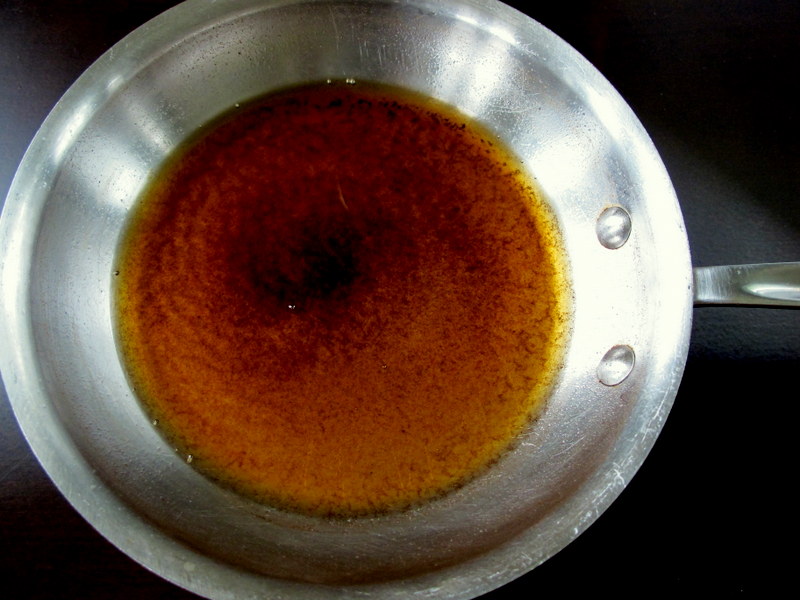
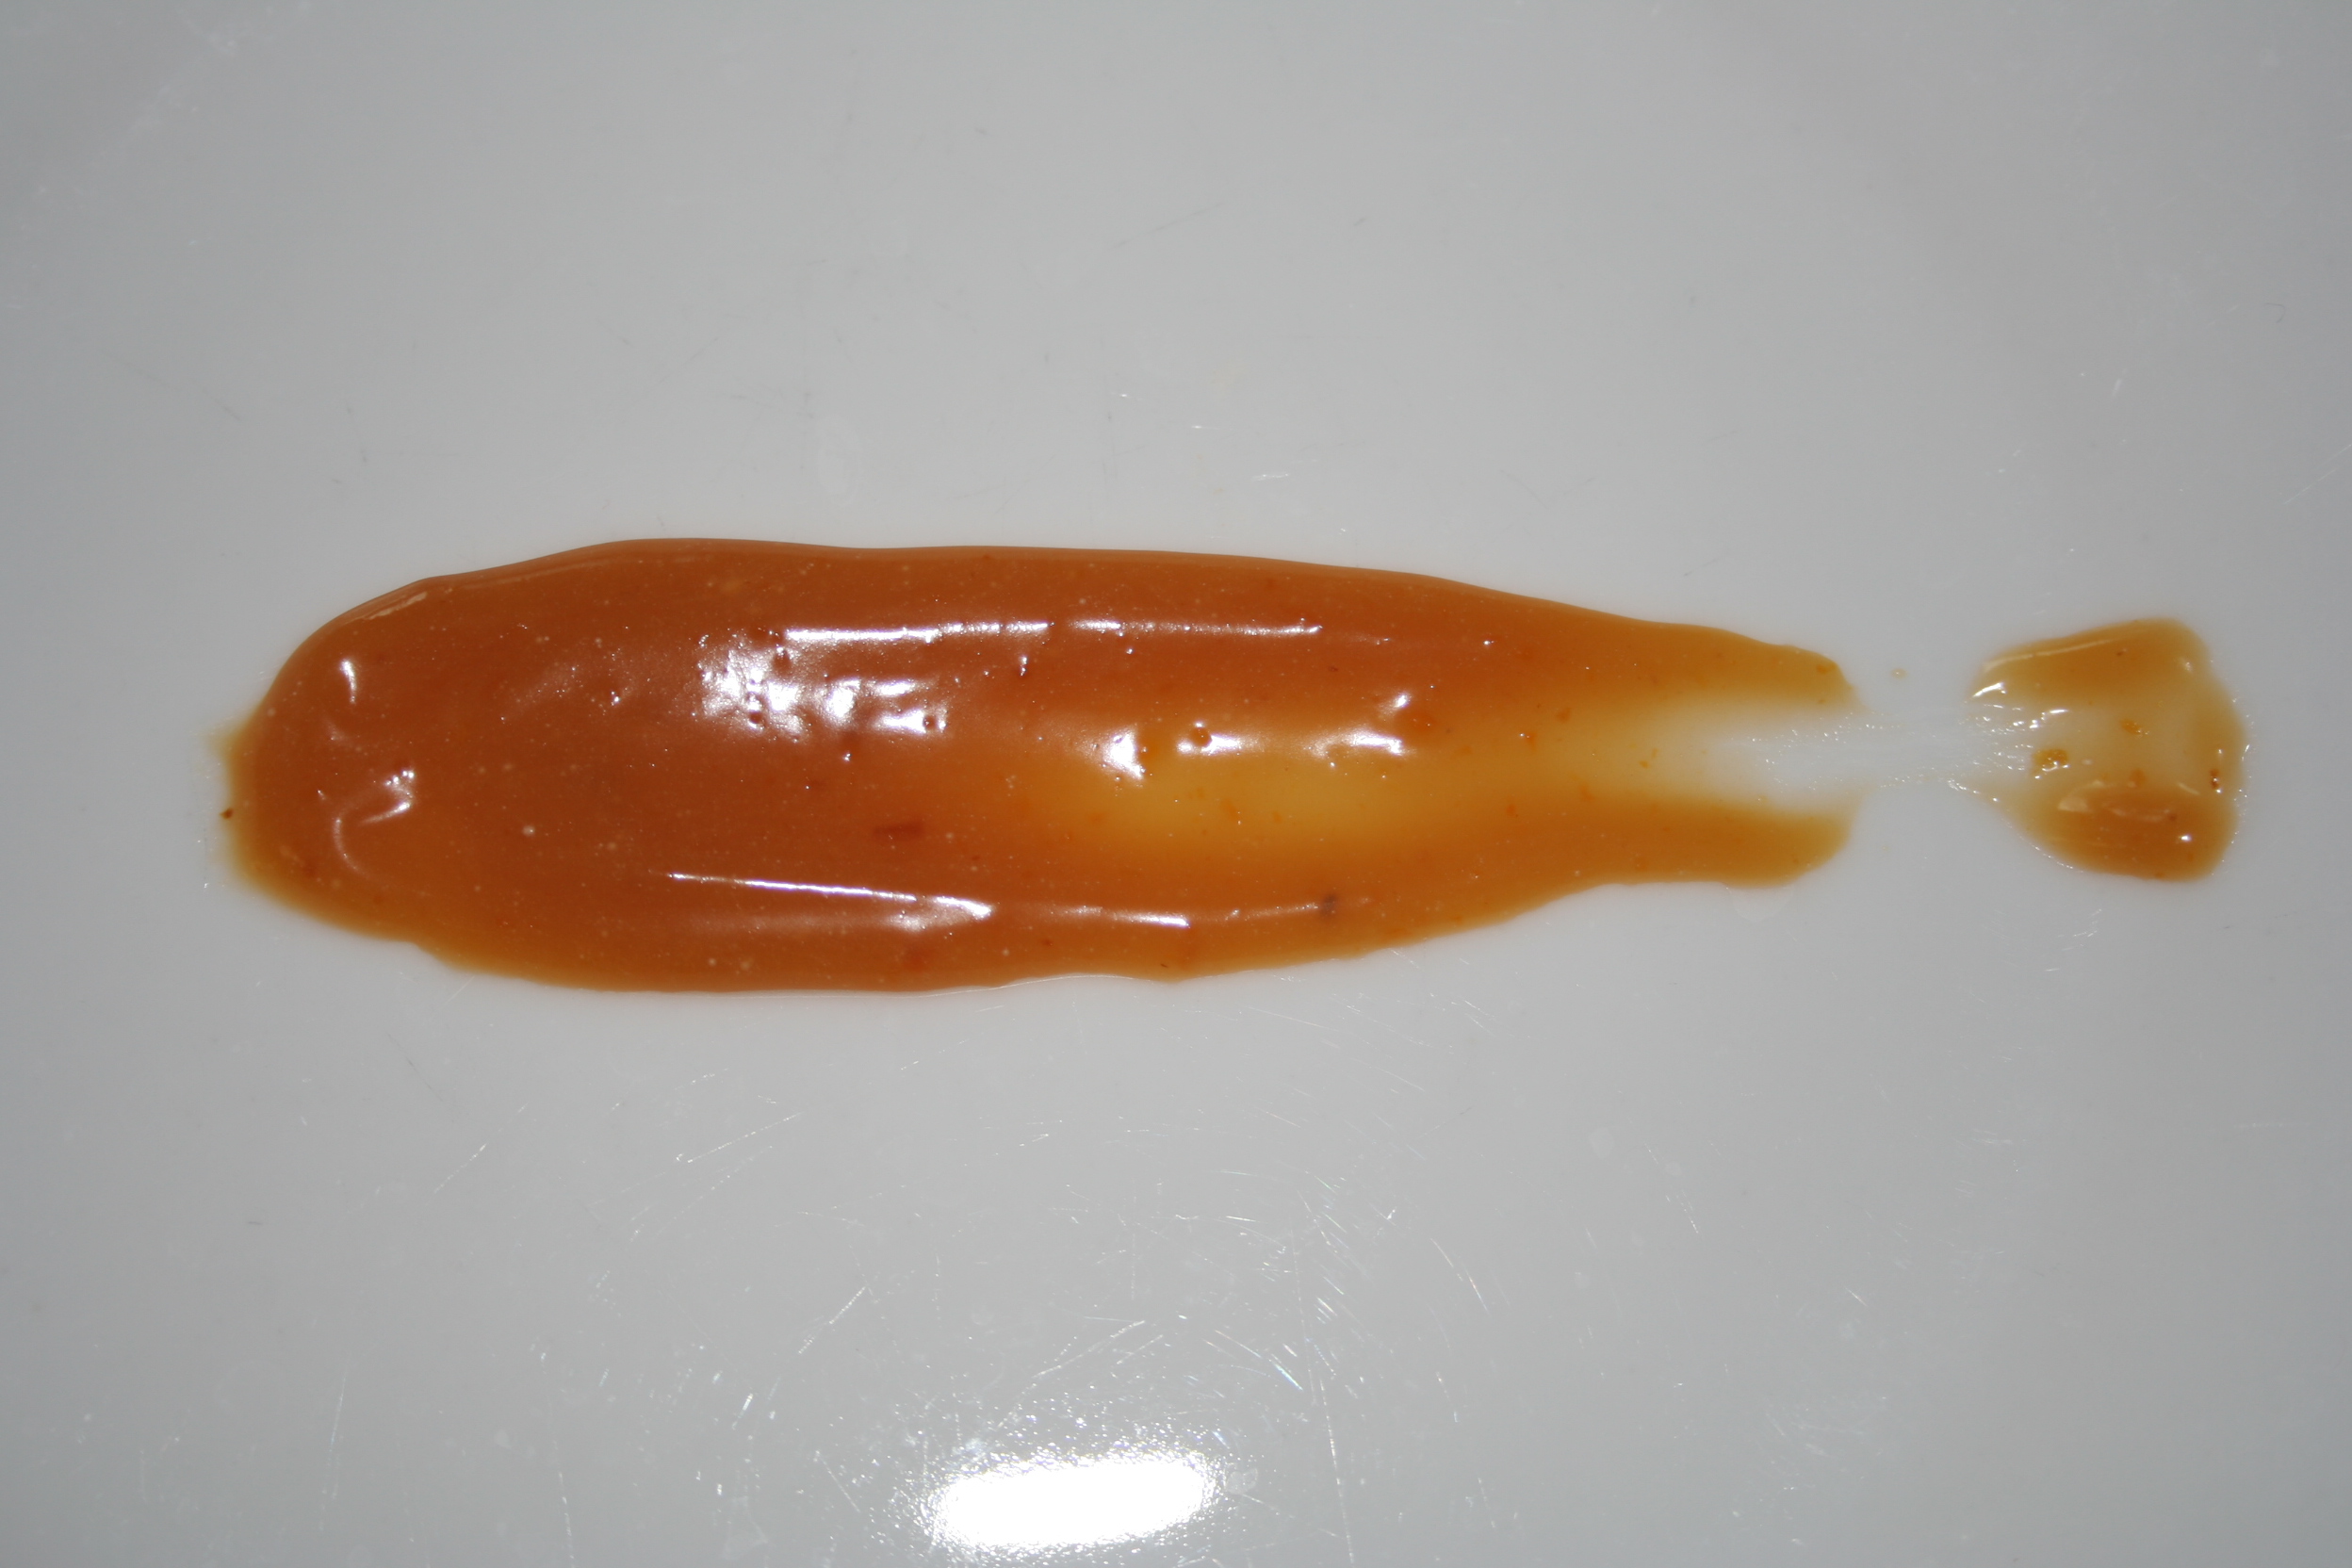
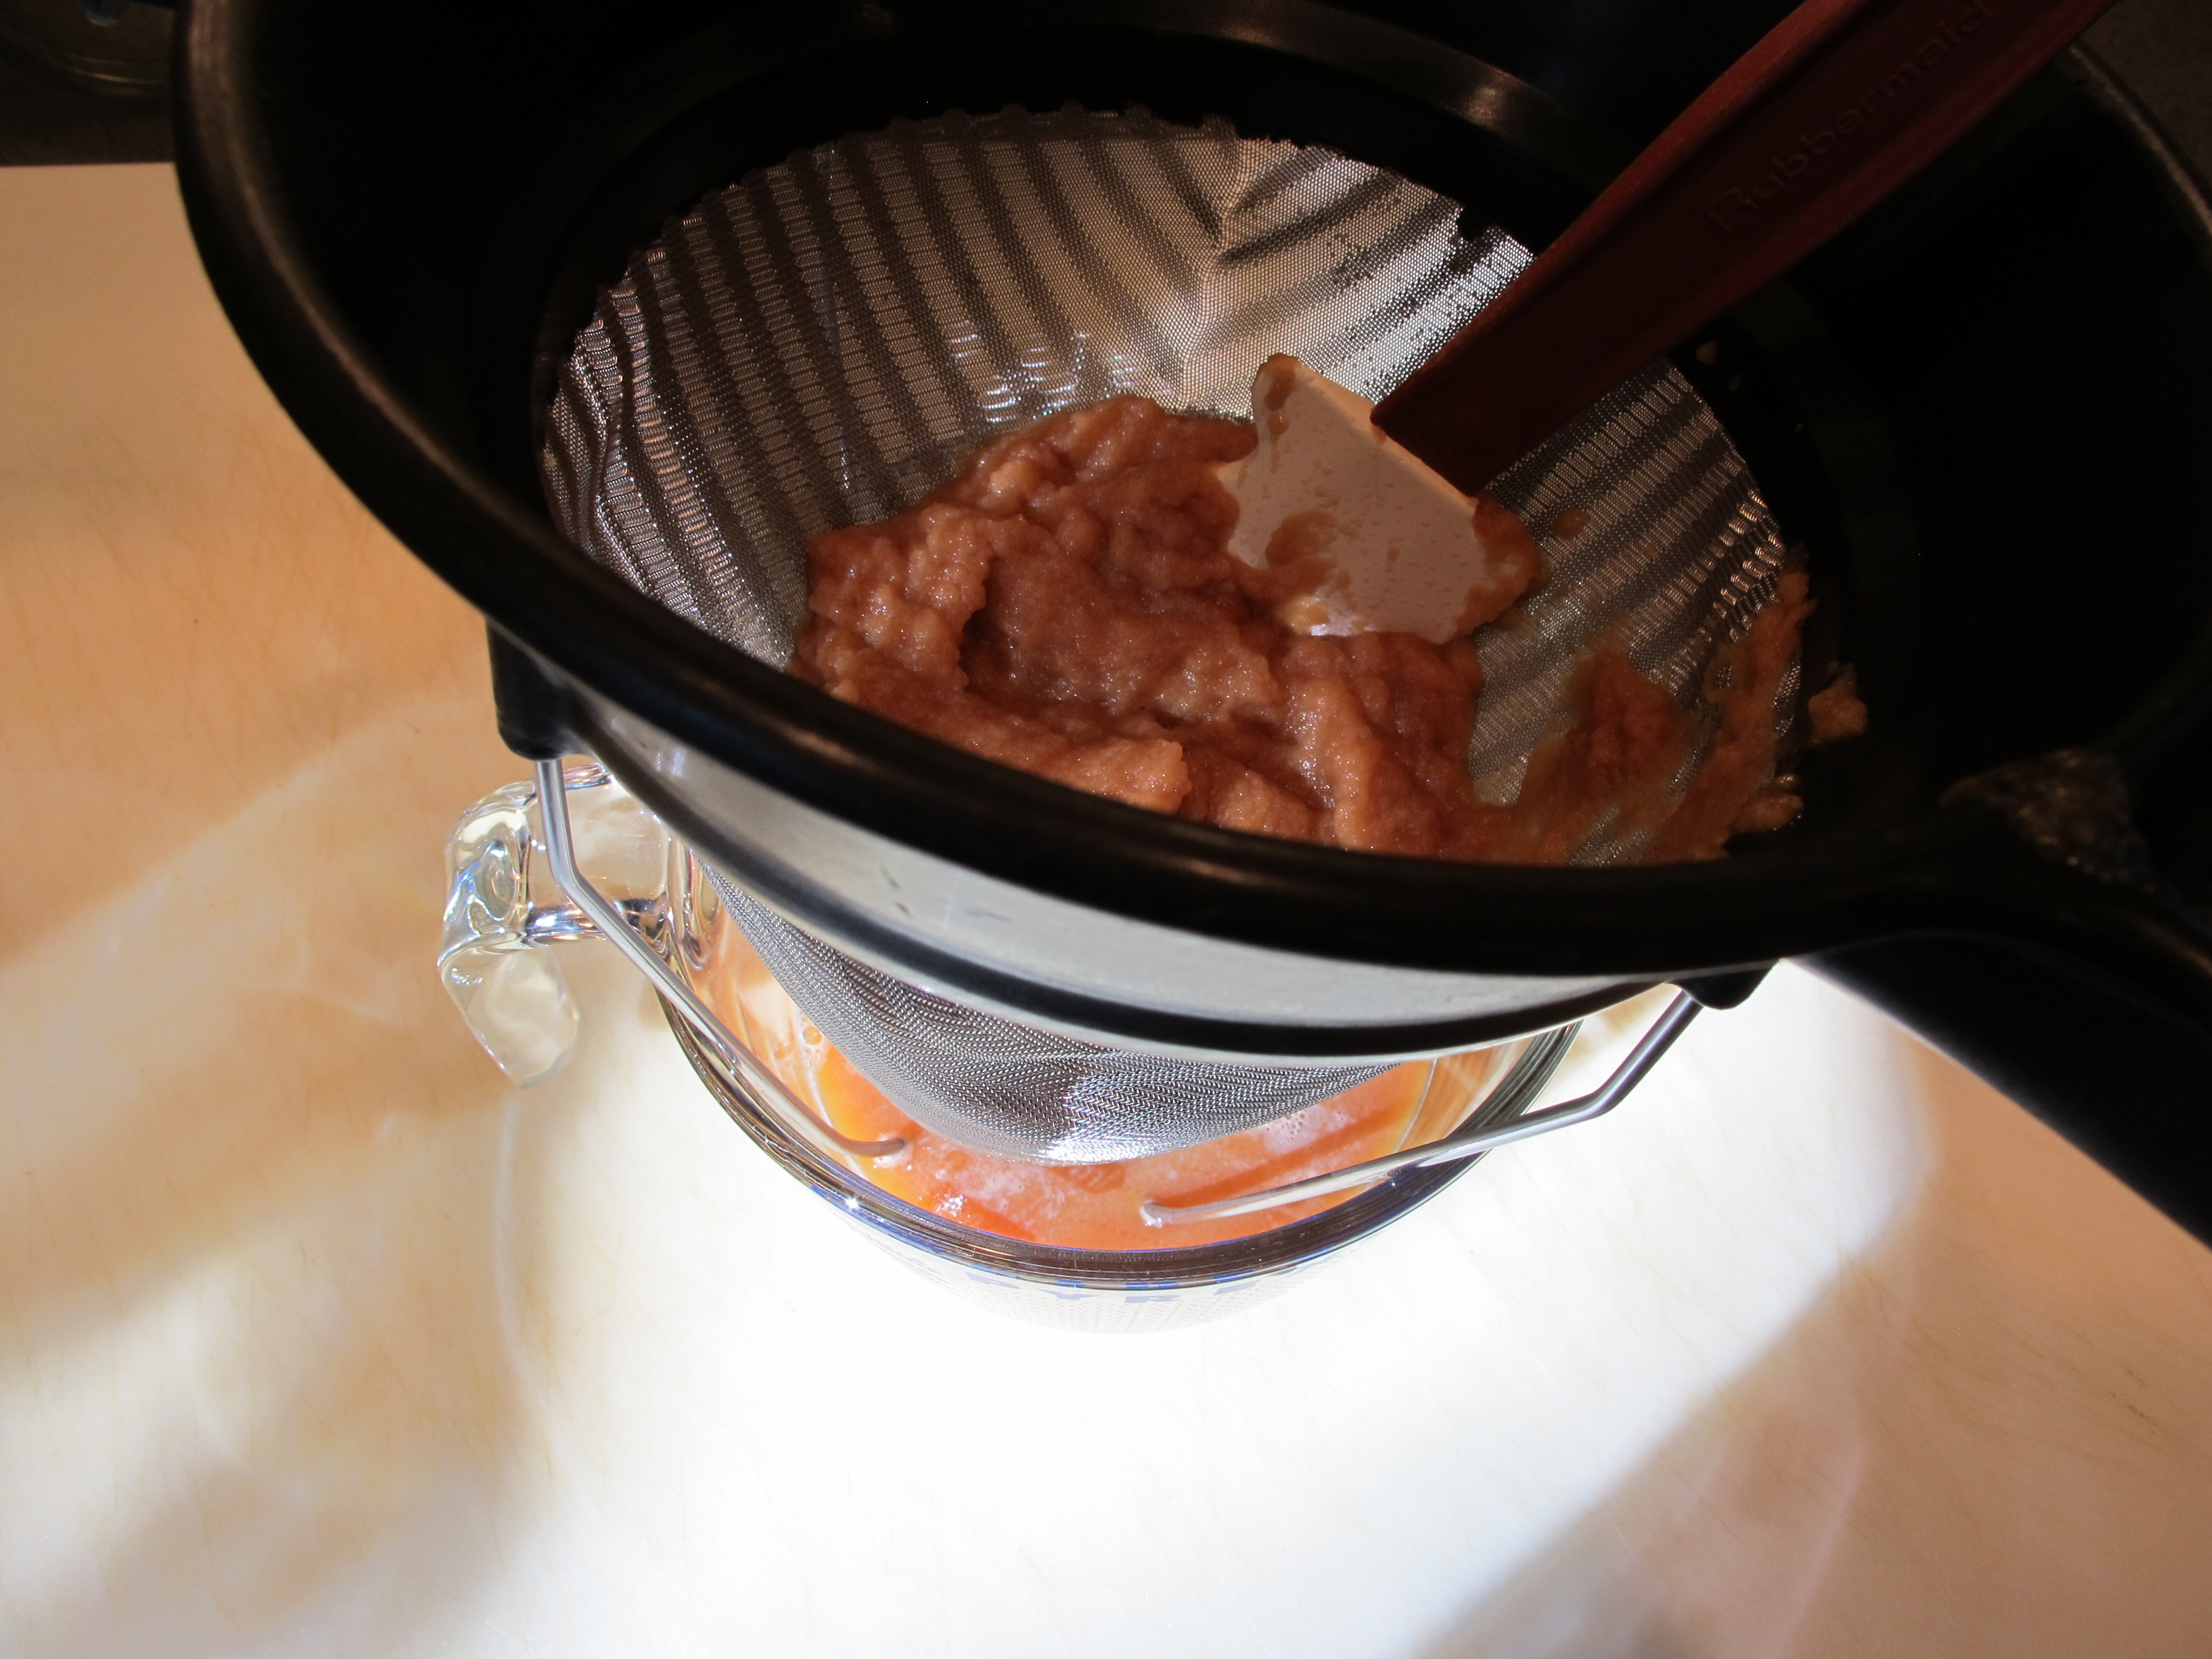
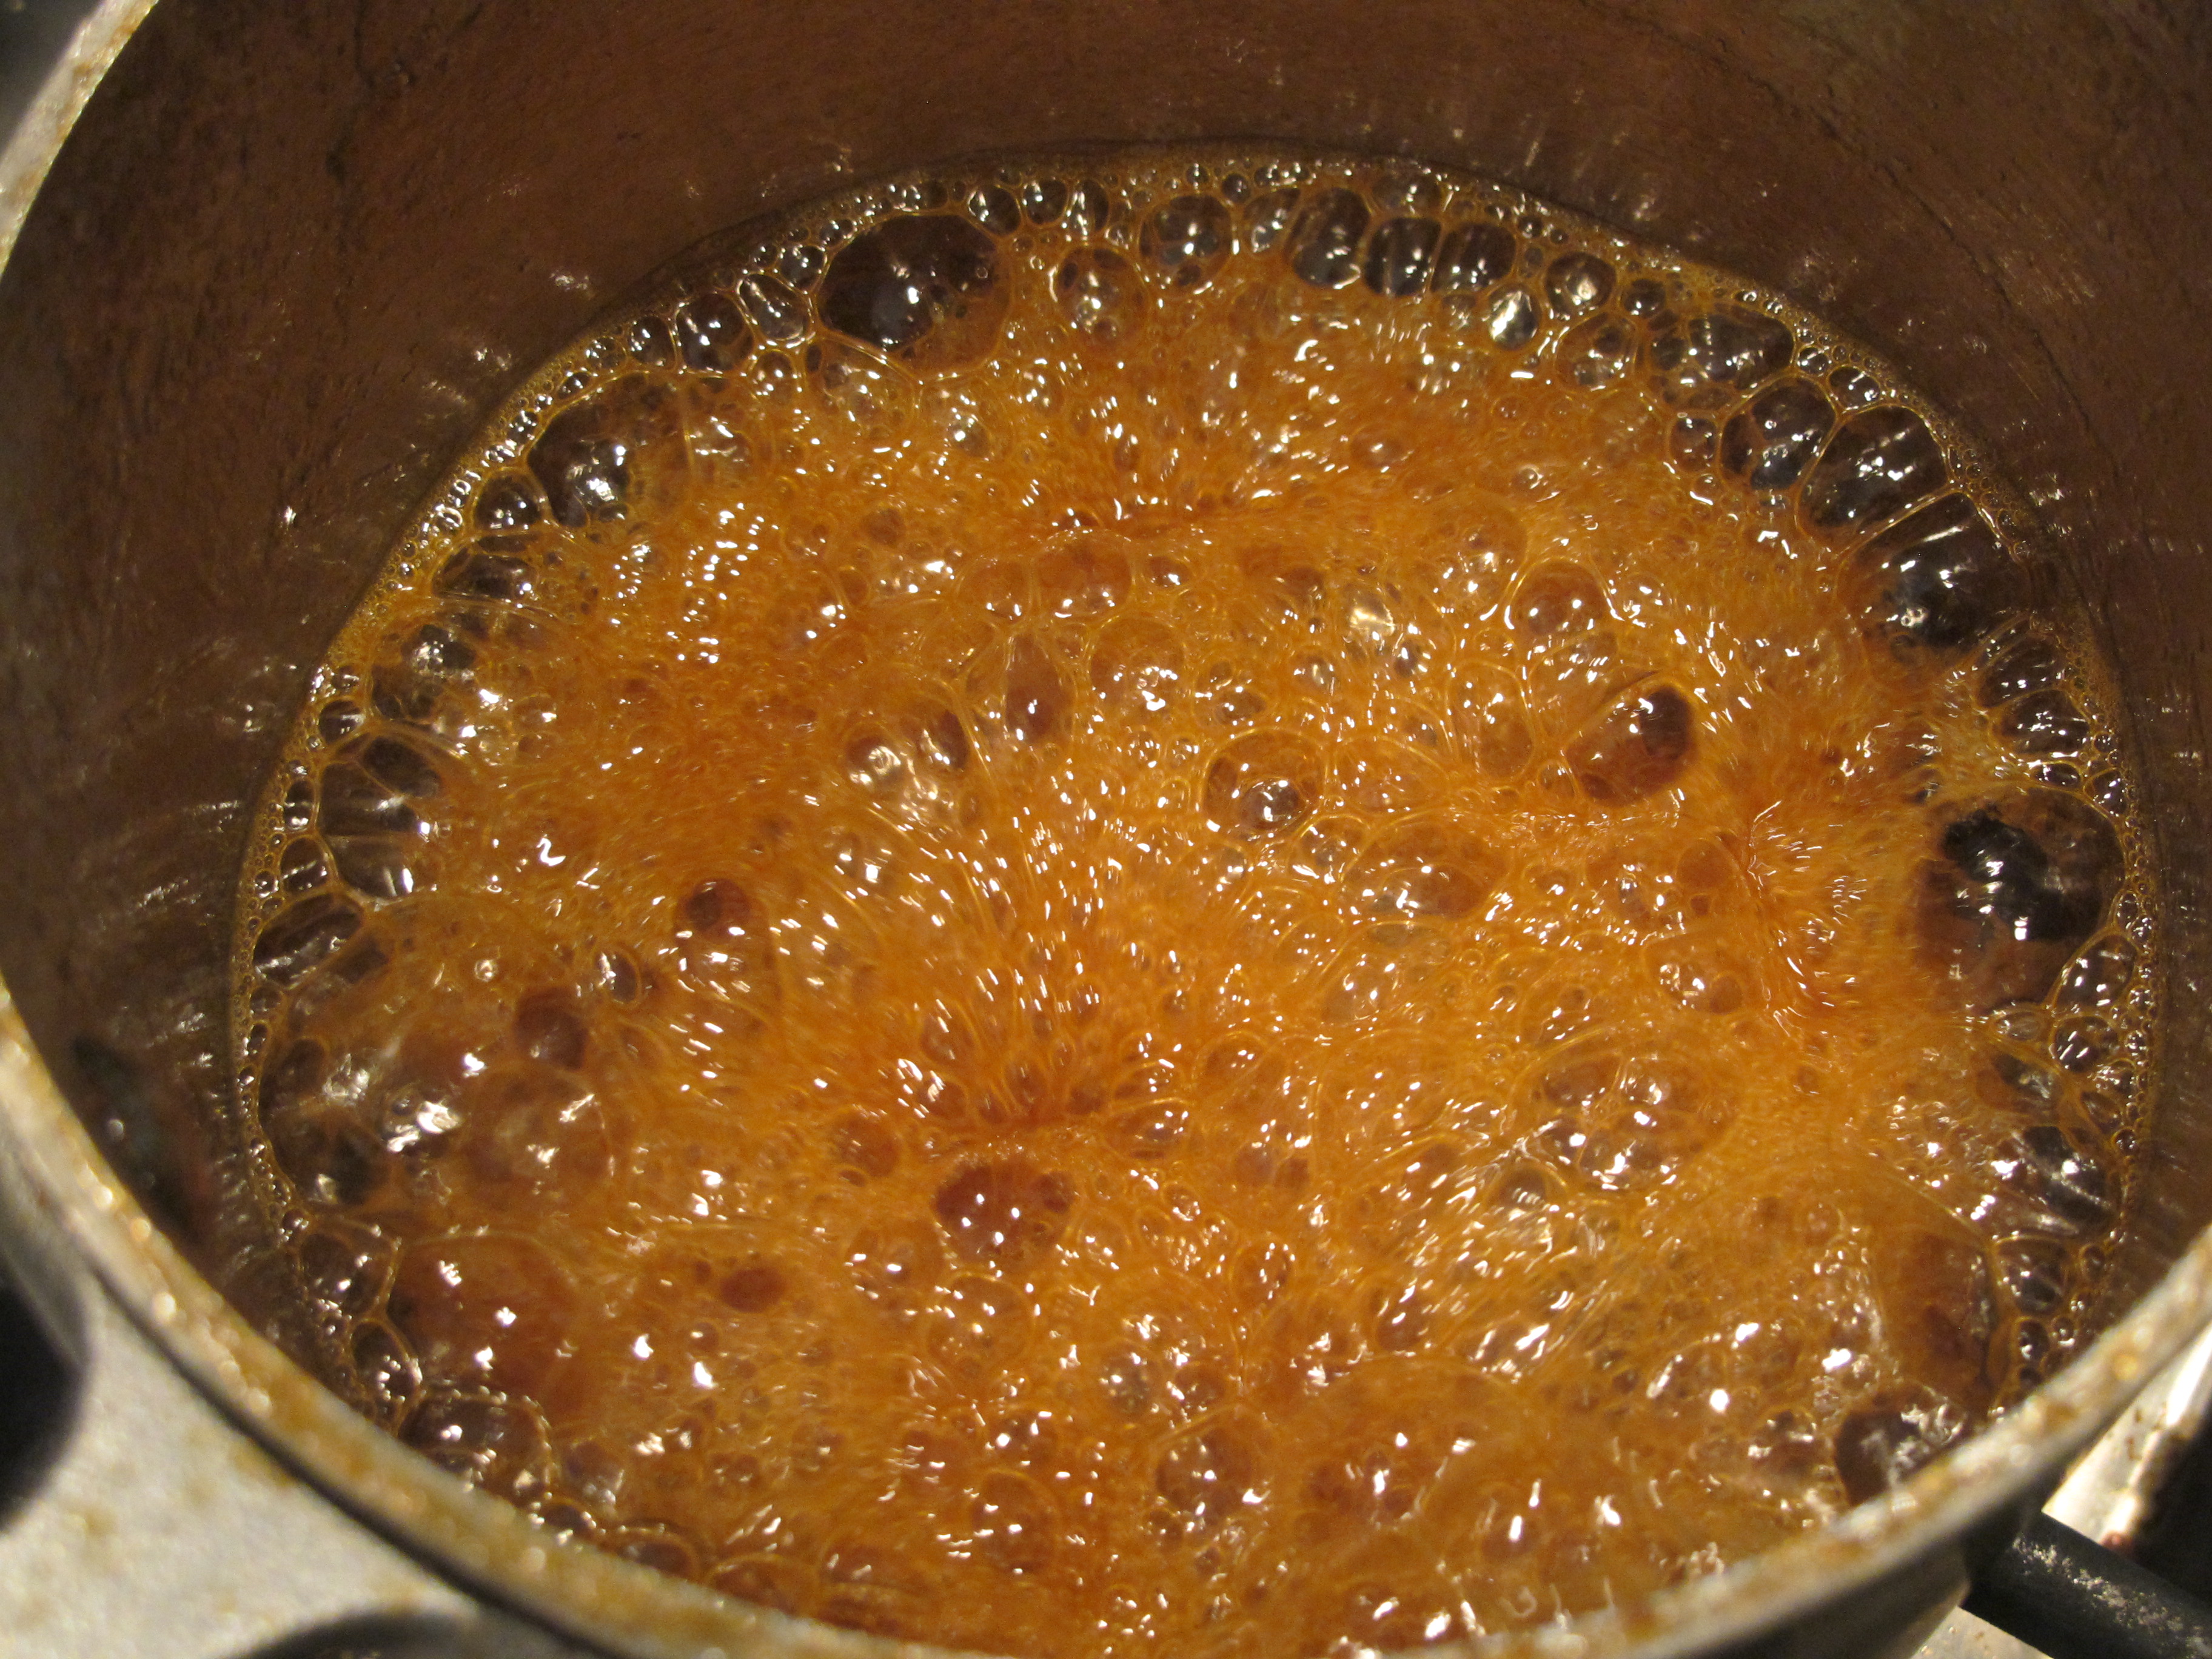
The caramel is the most complicated part of this recipe. Caramel can be tricky on it’s own, and now we’re trying to get squash into it. The key is getting the squash flavor into the cream that we add to the sugar to keep the caramel viscous.
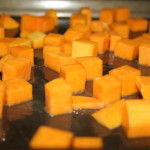

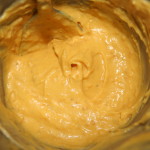
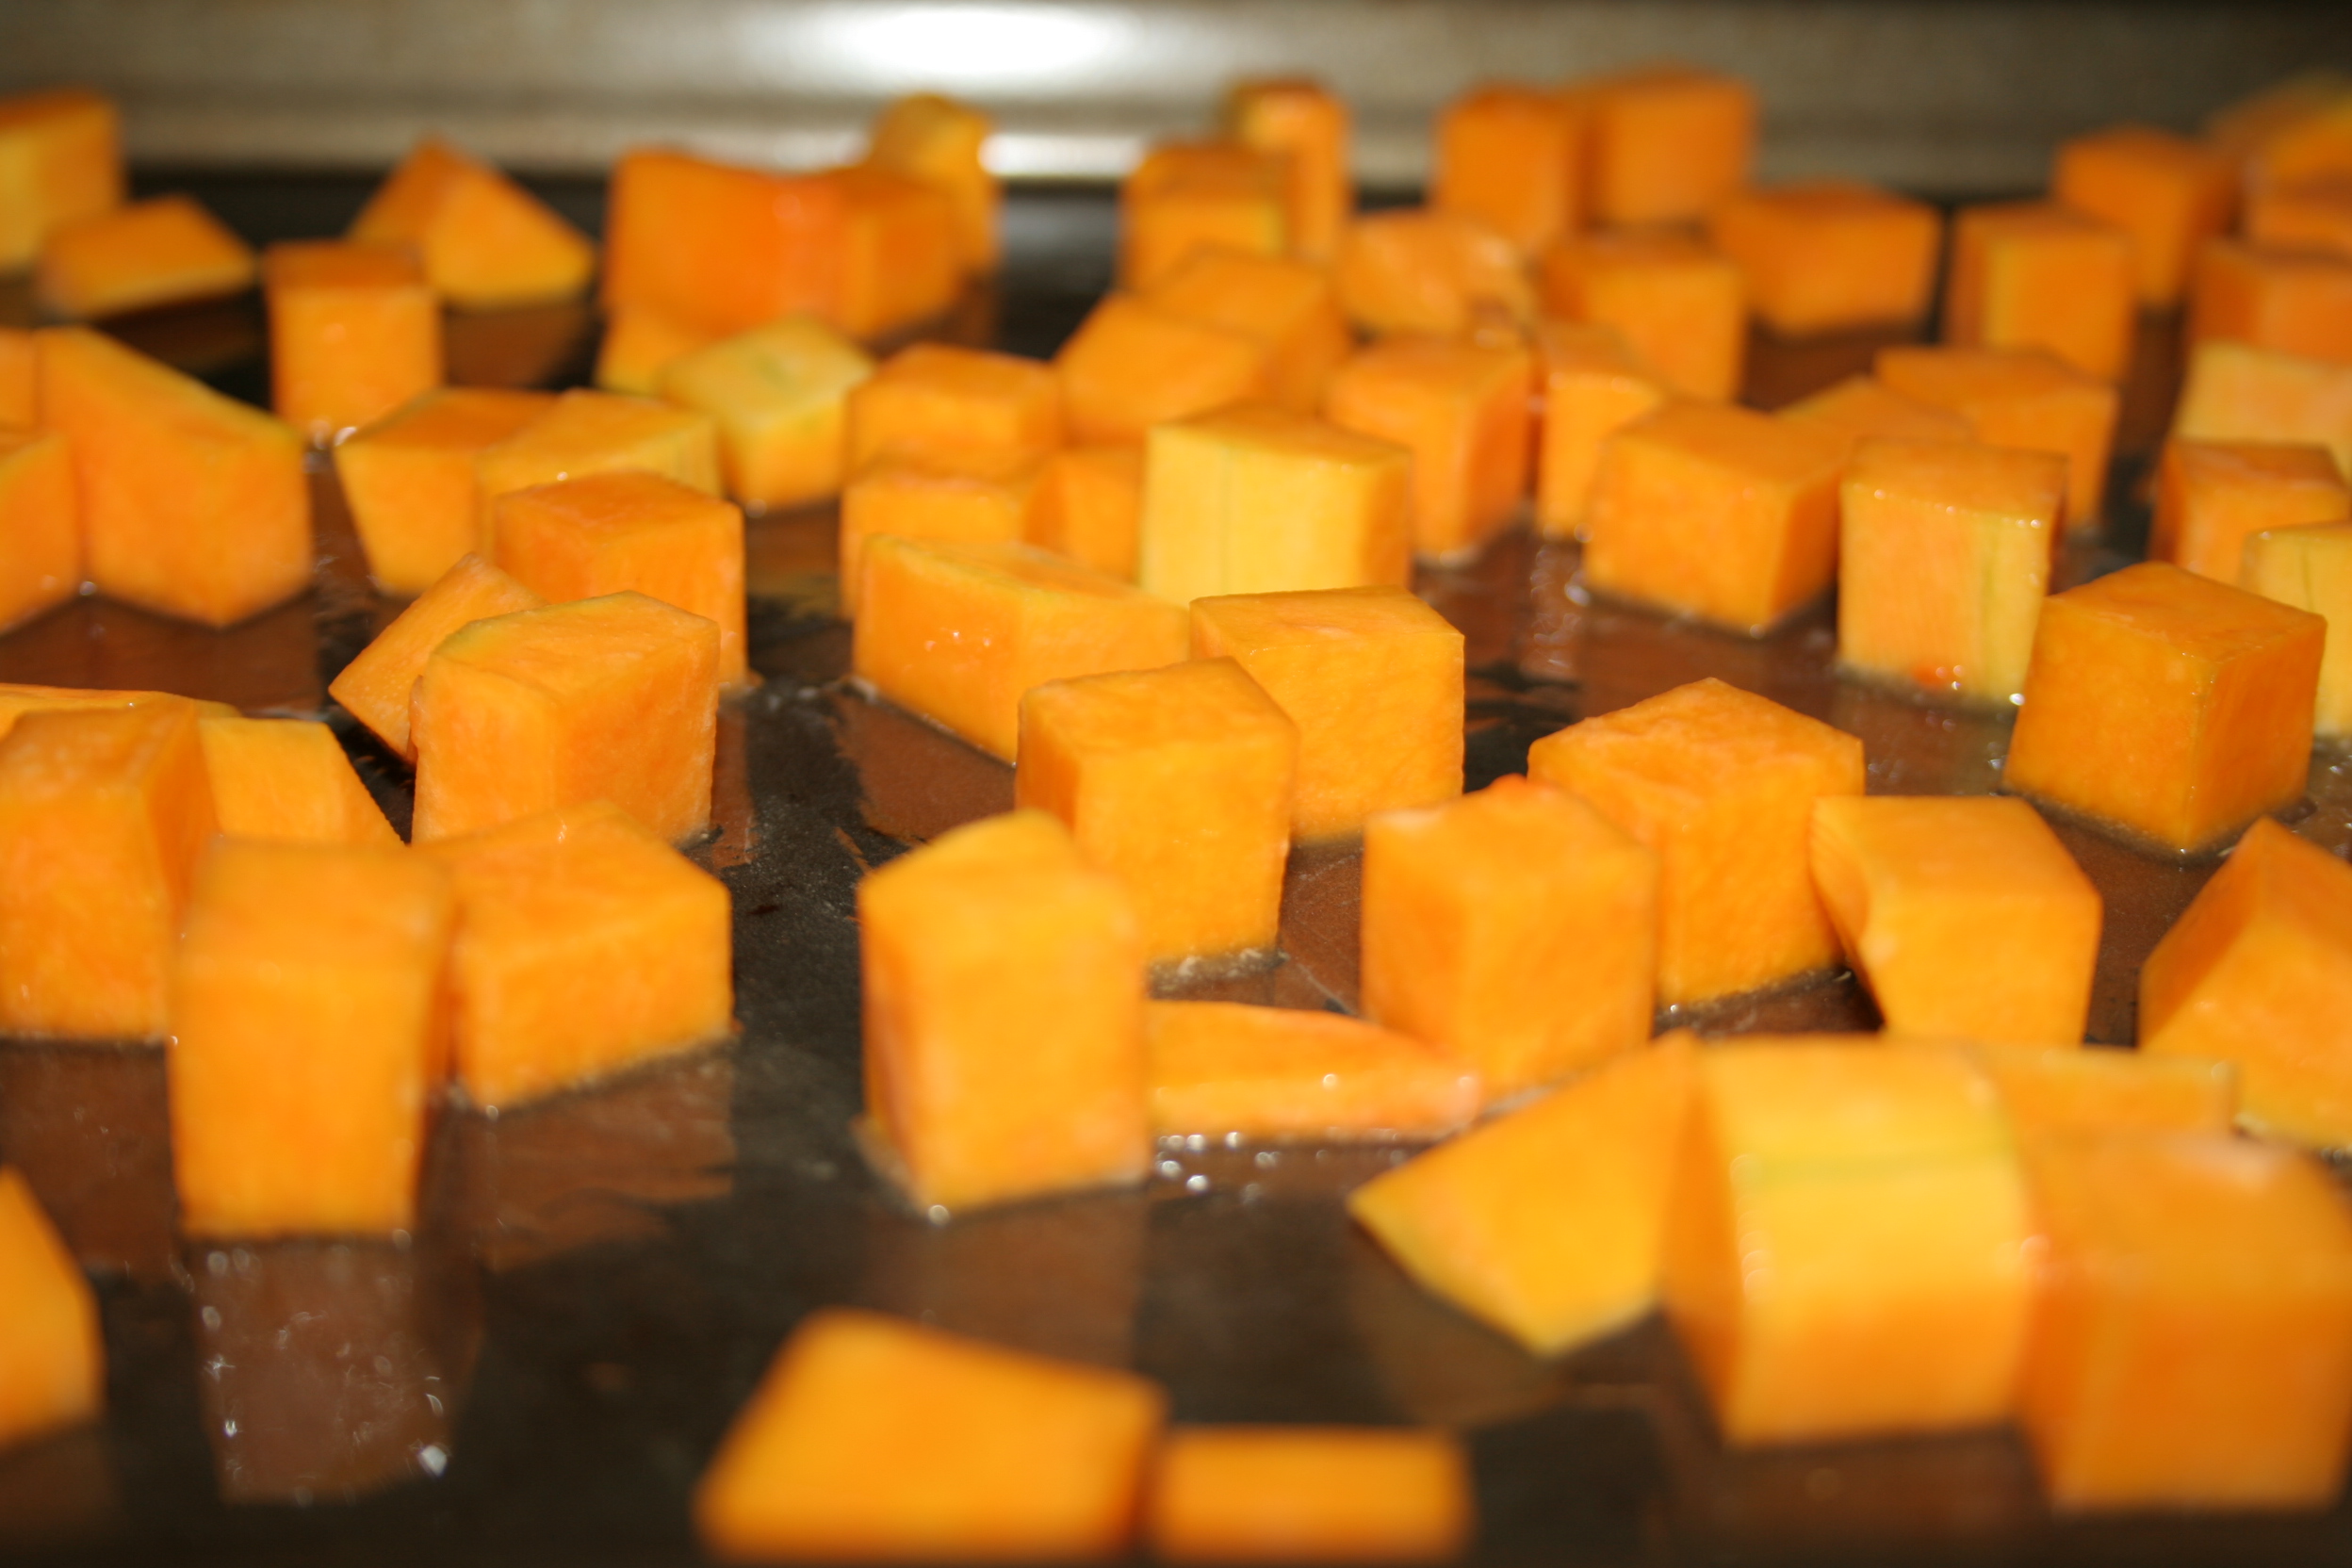
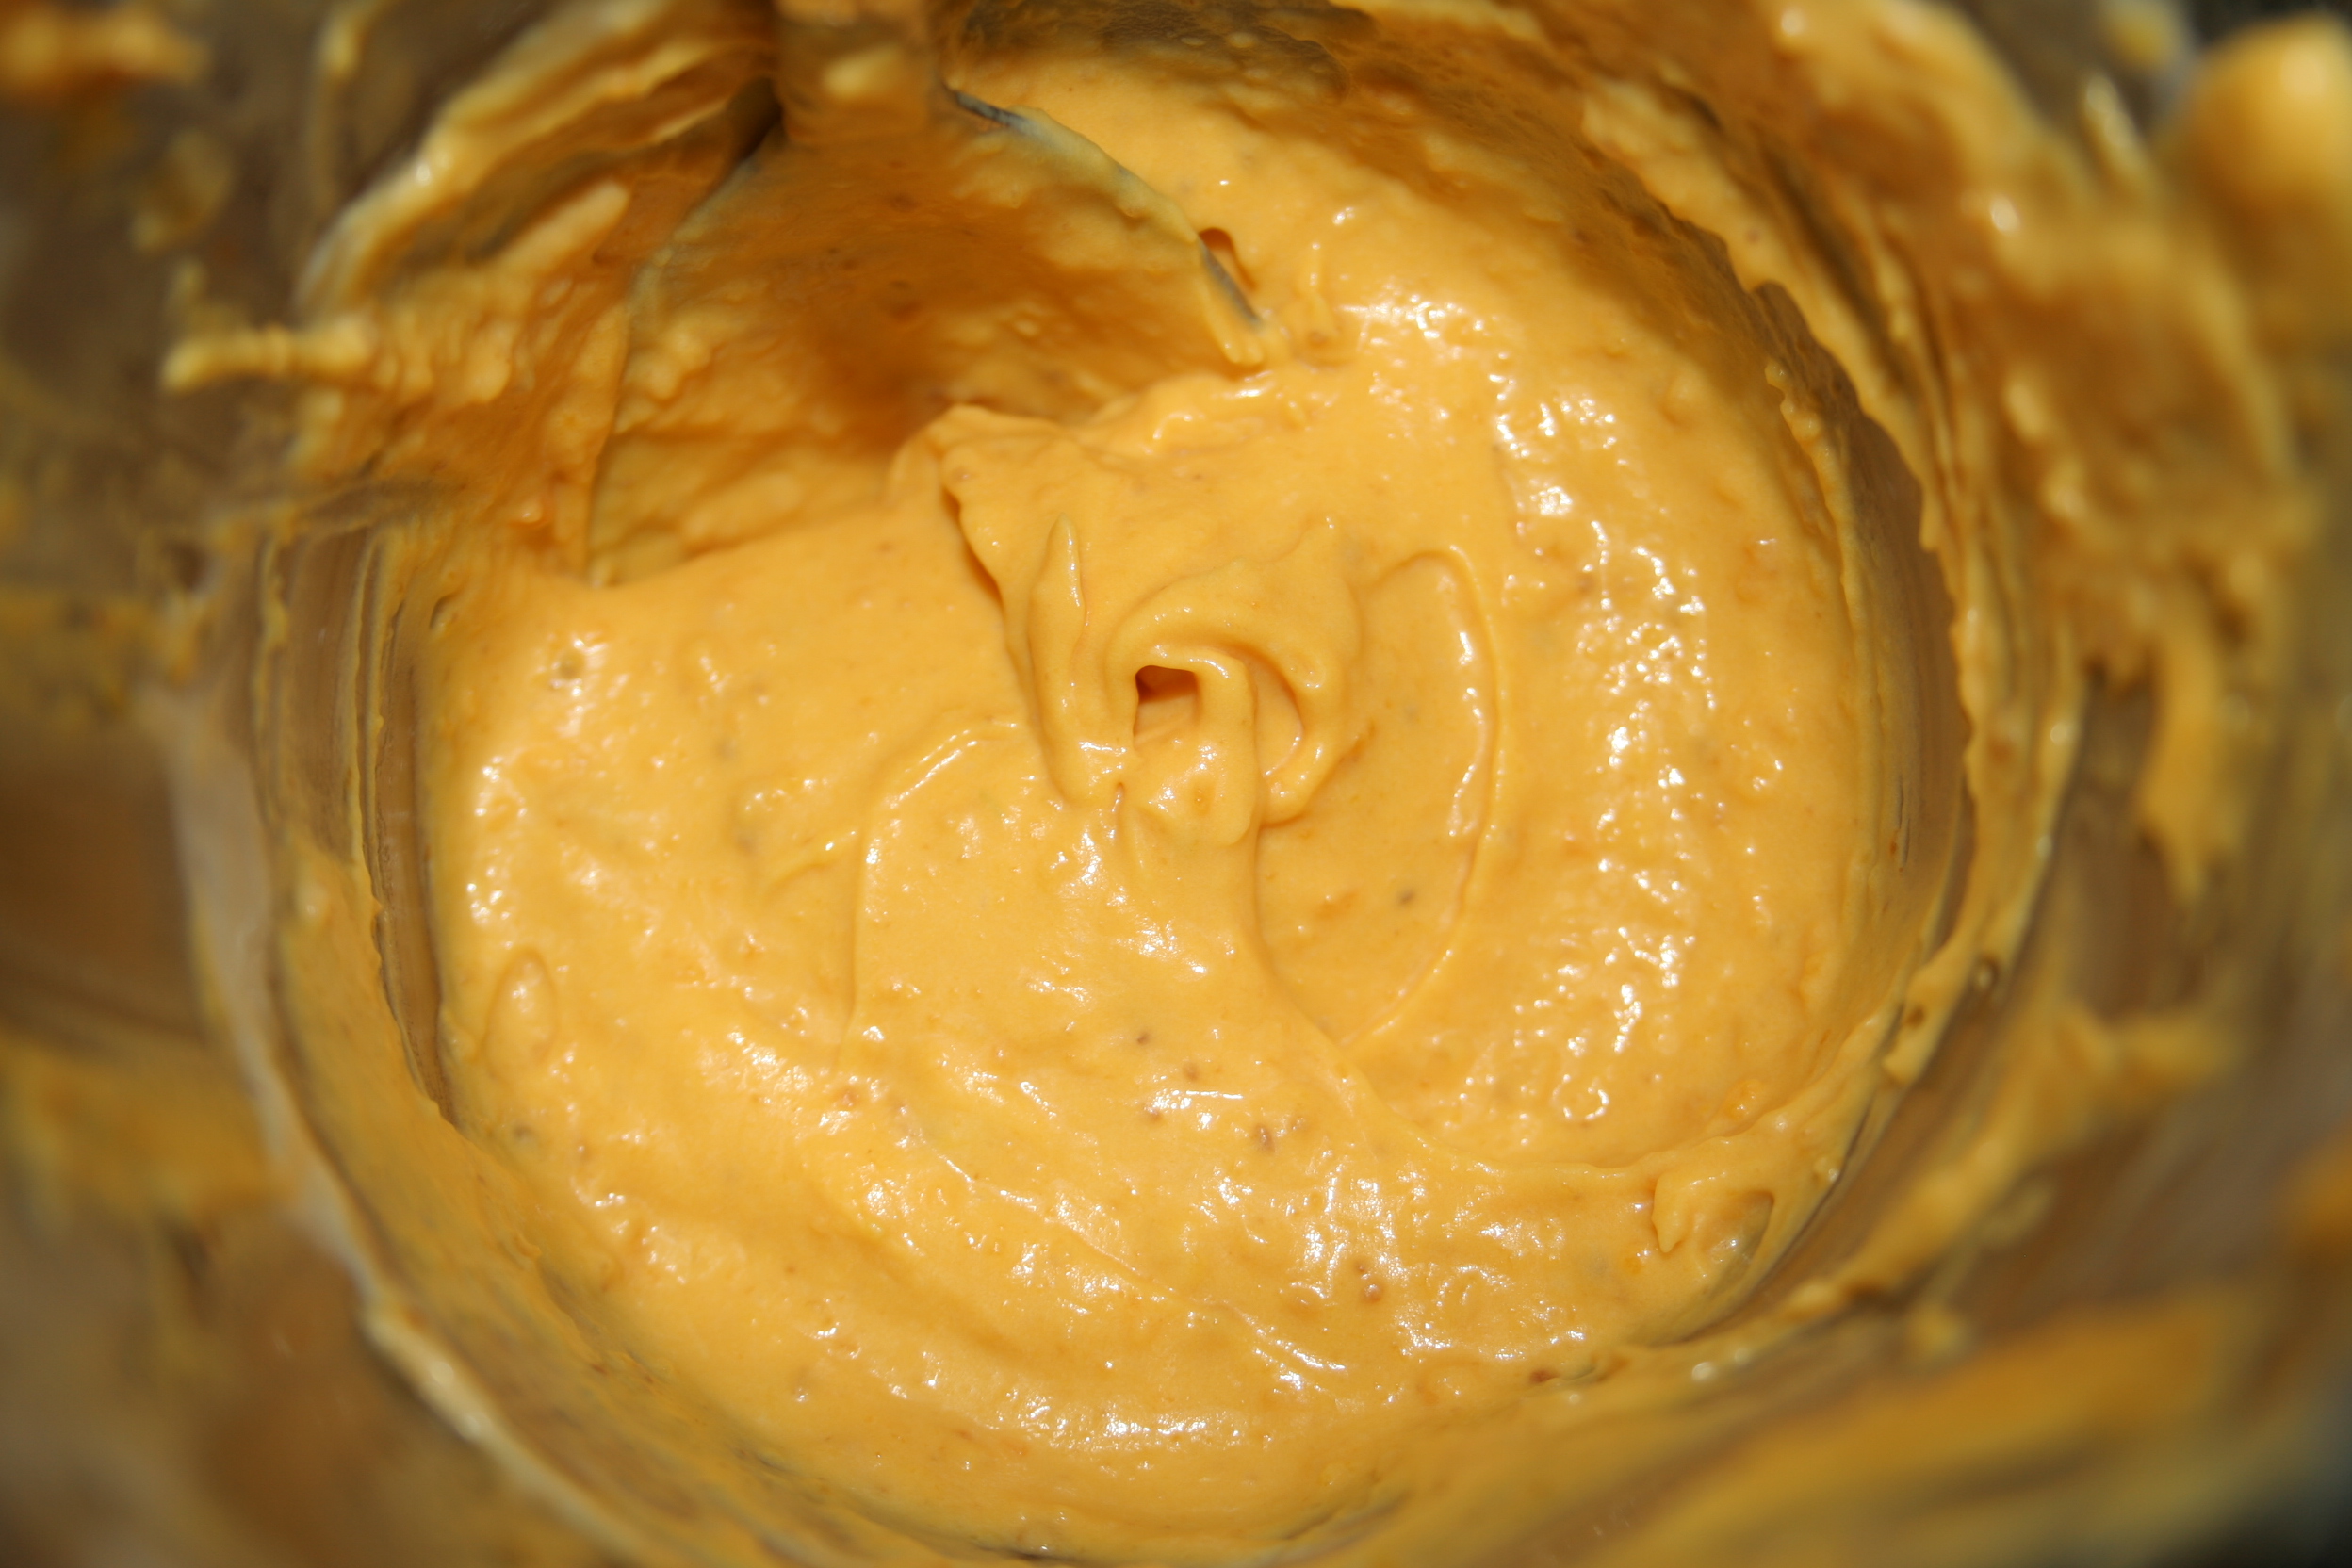
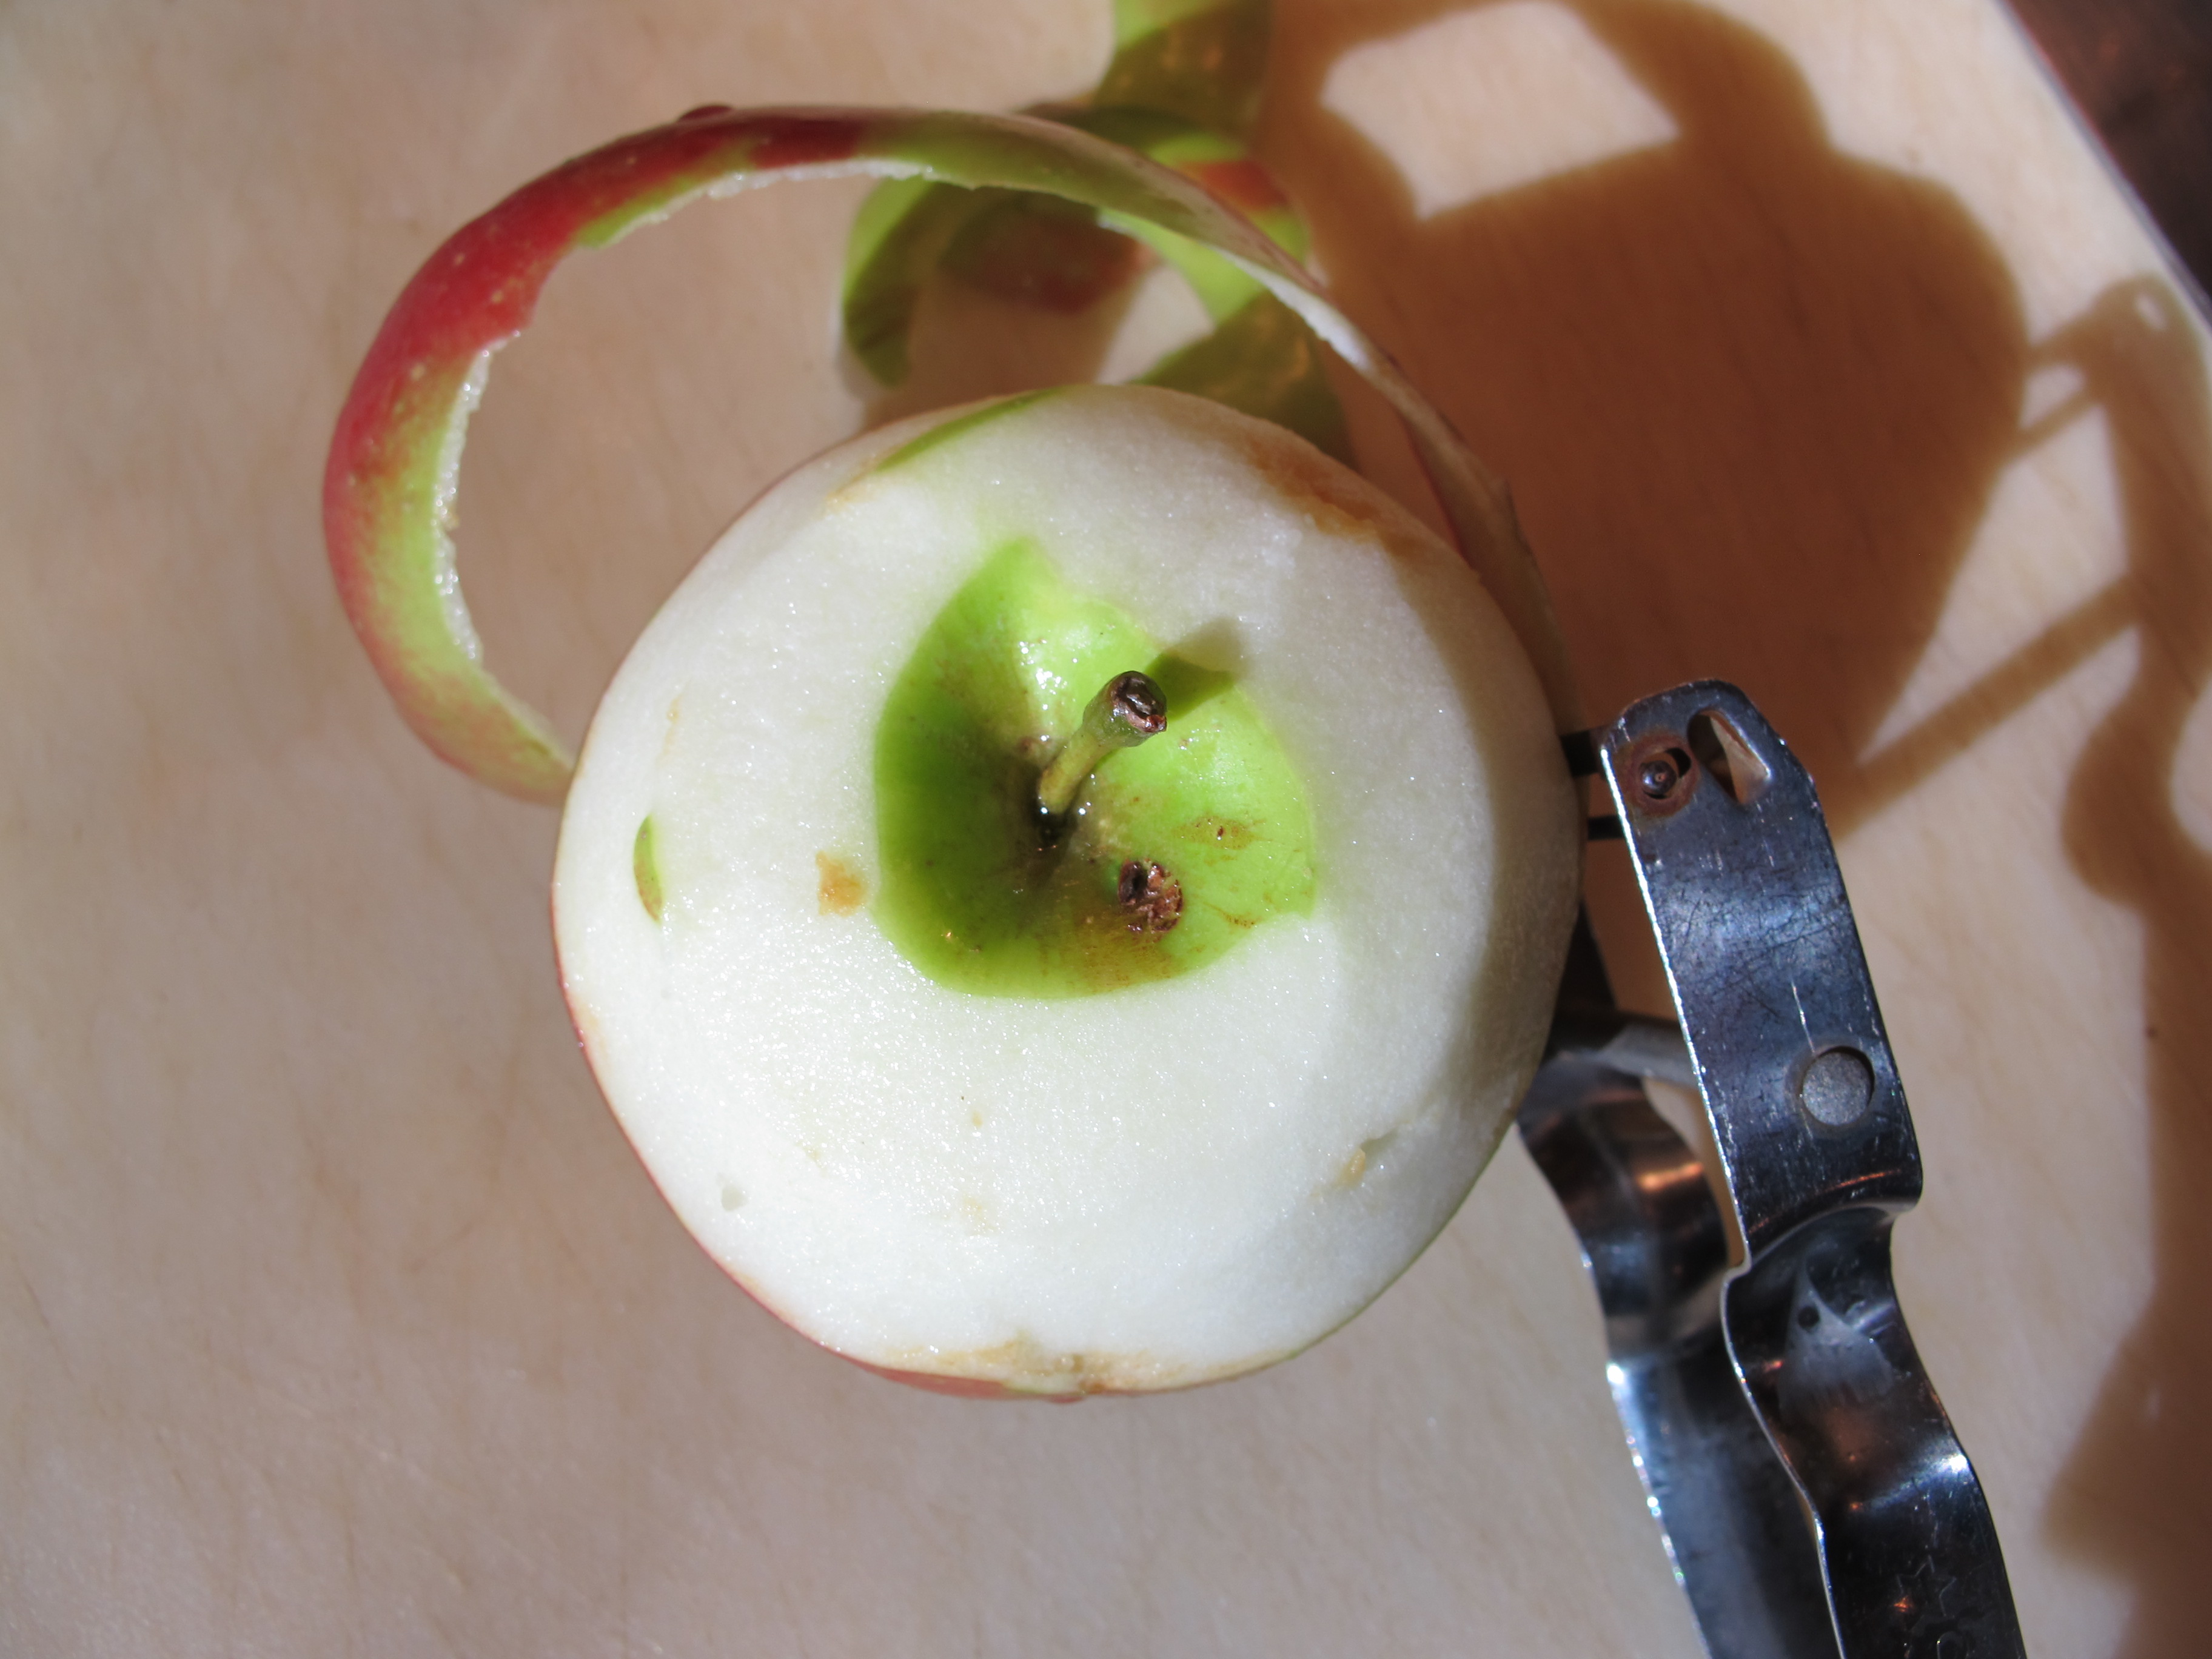
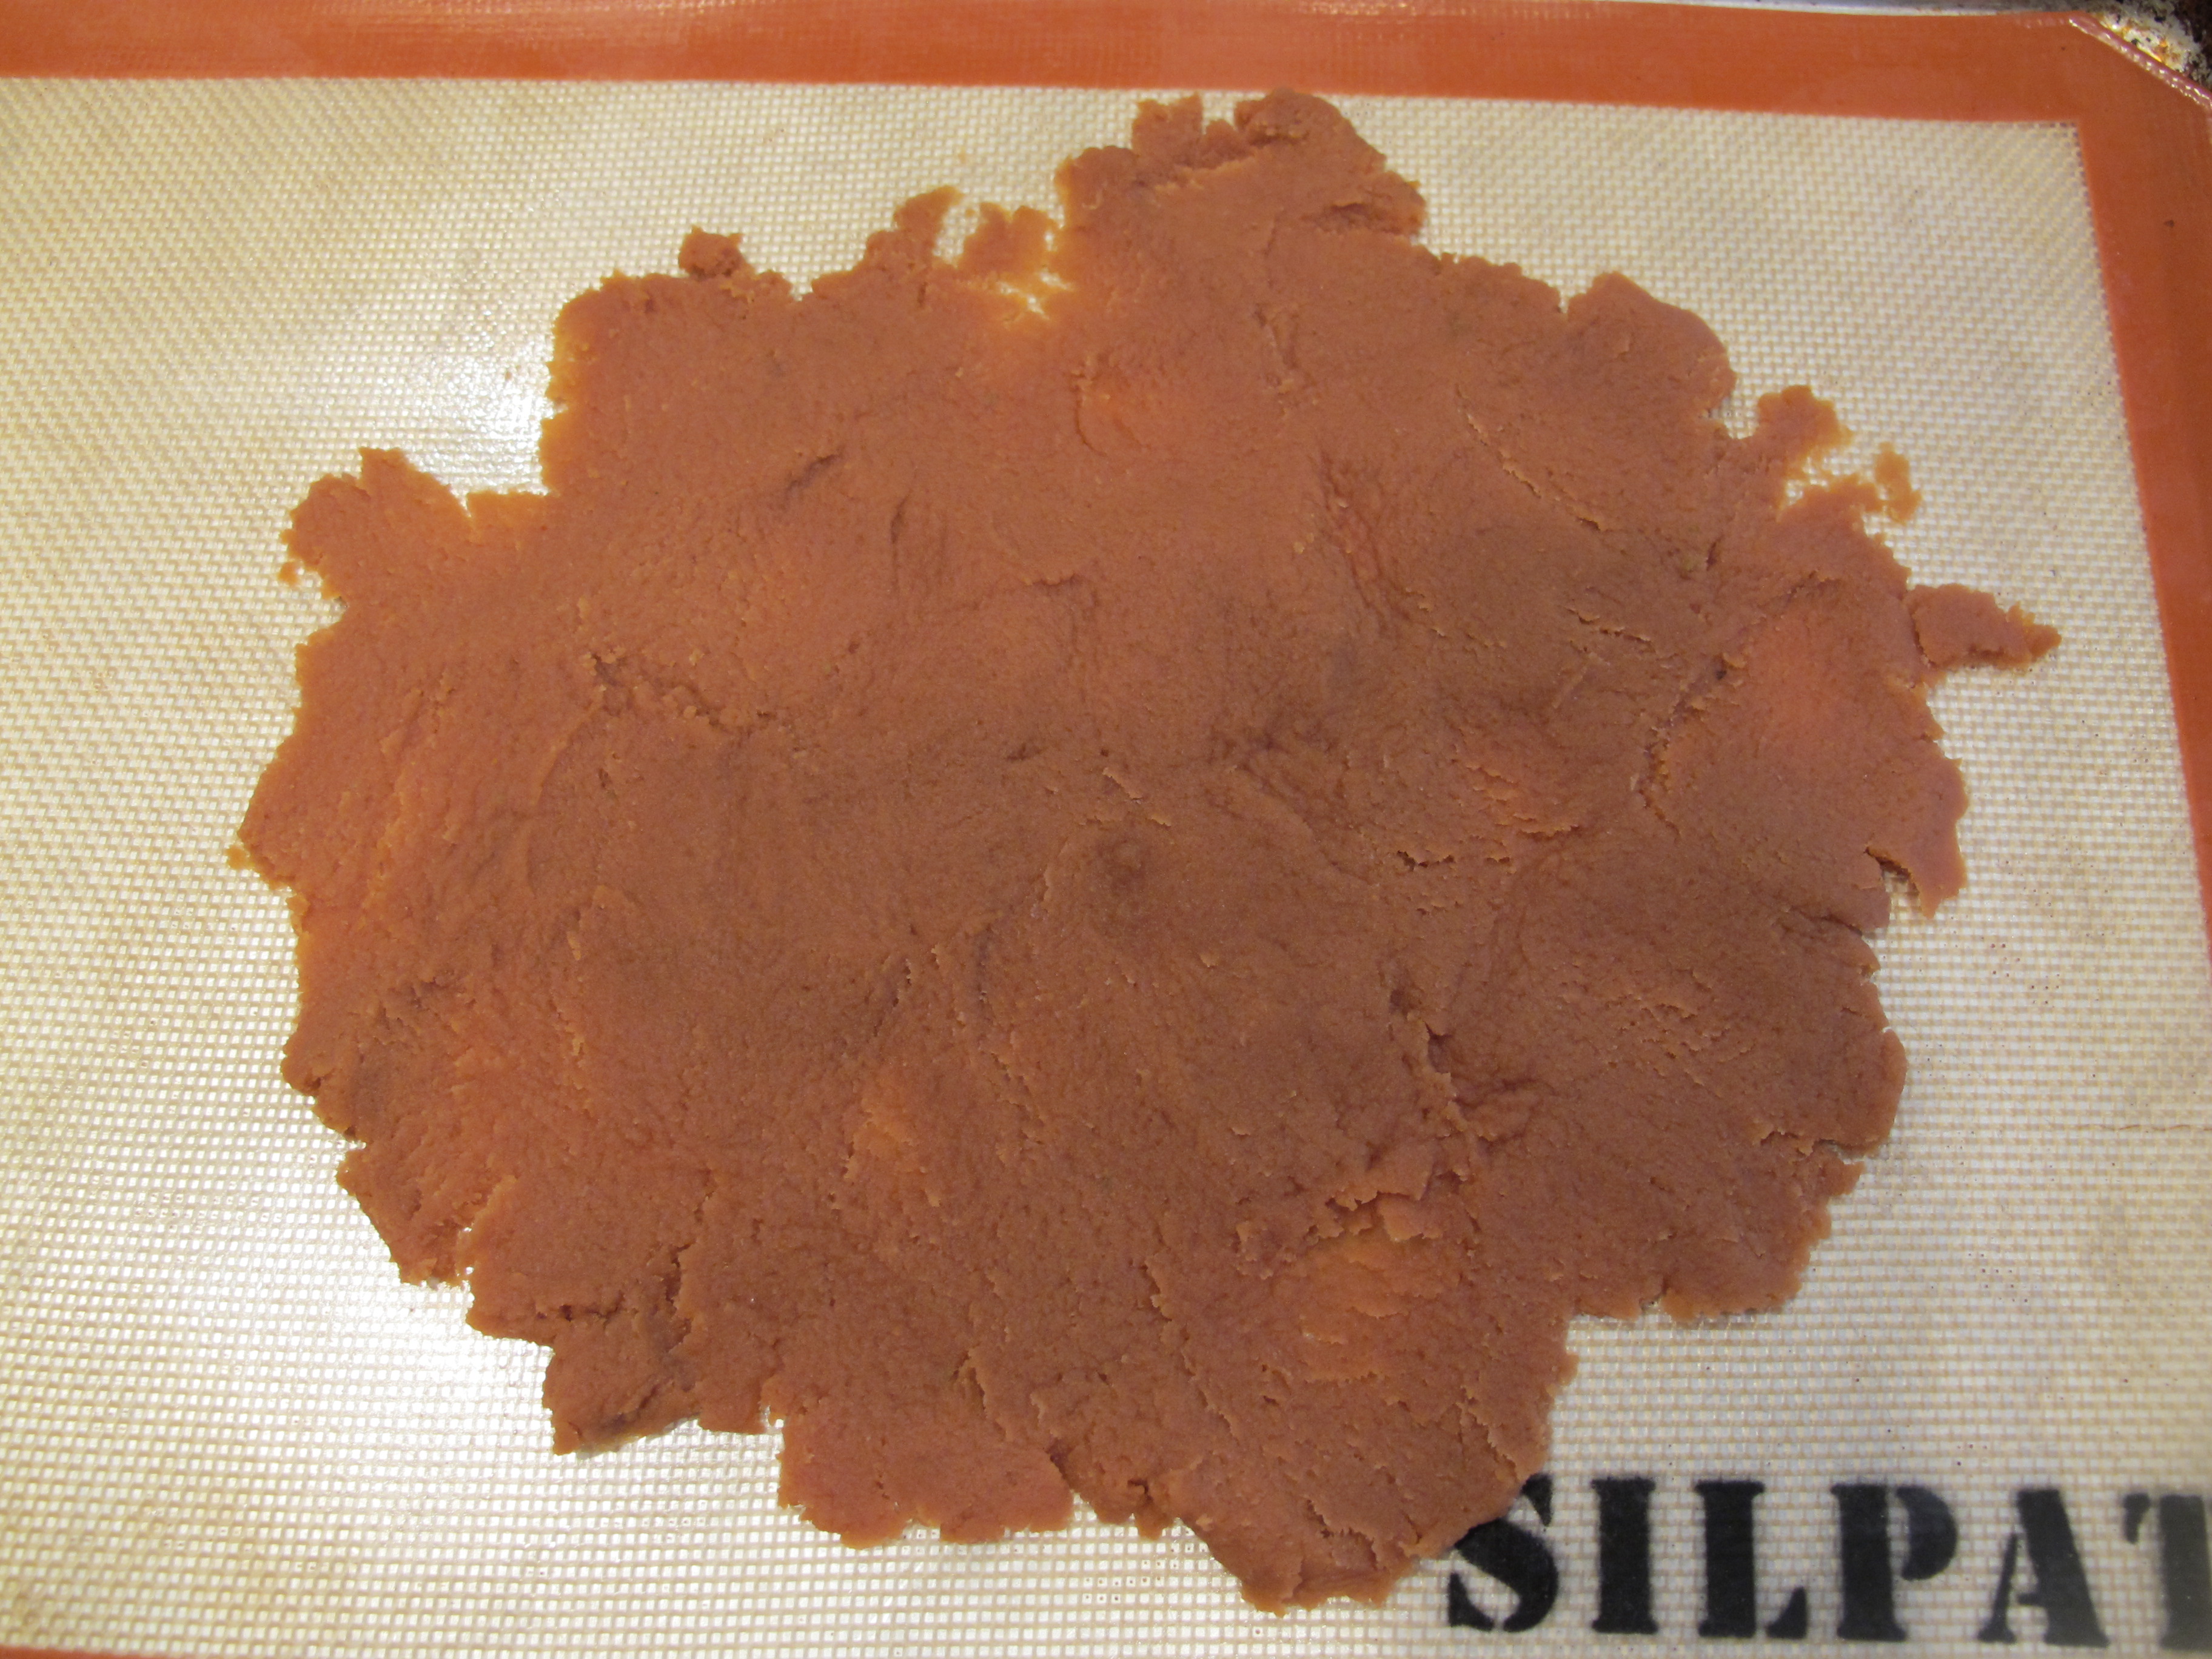
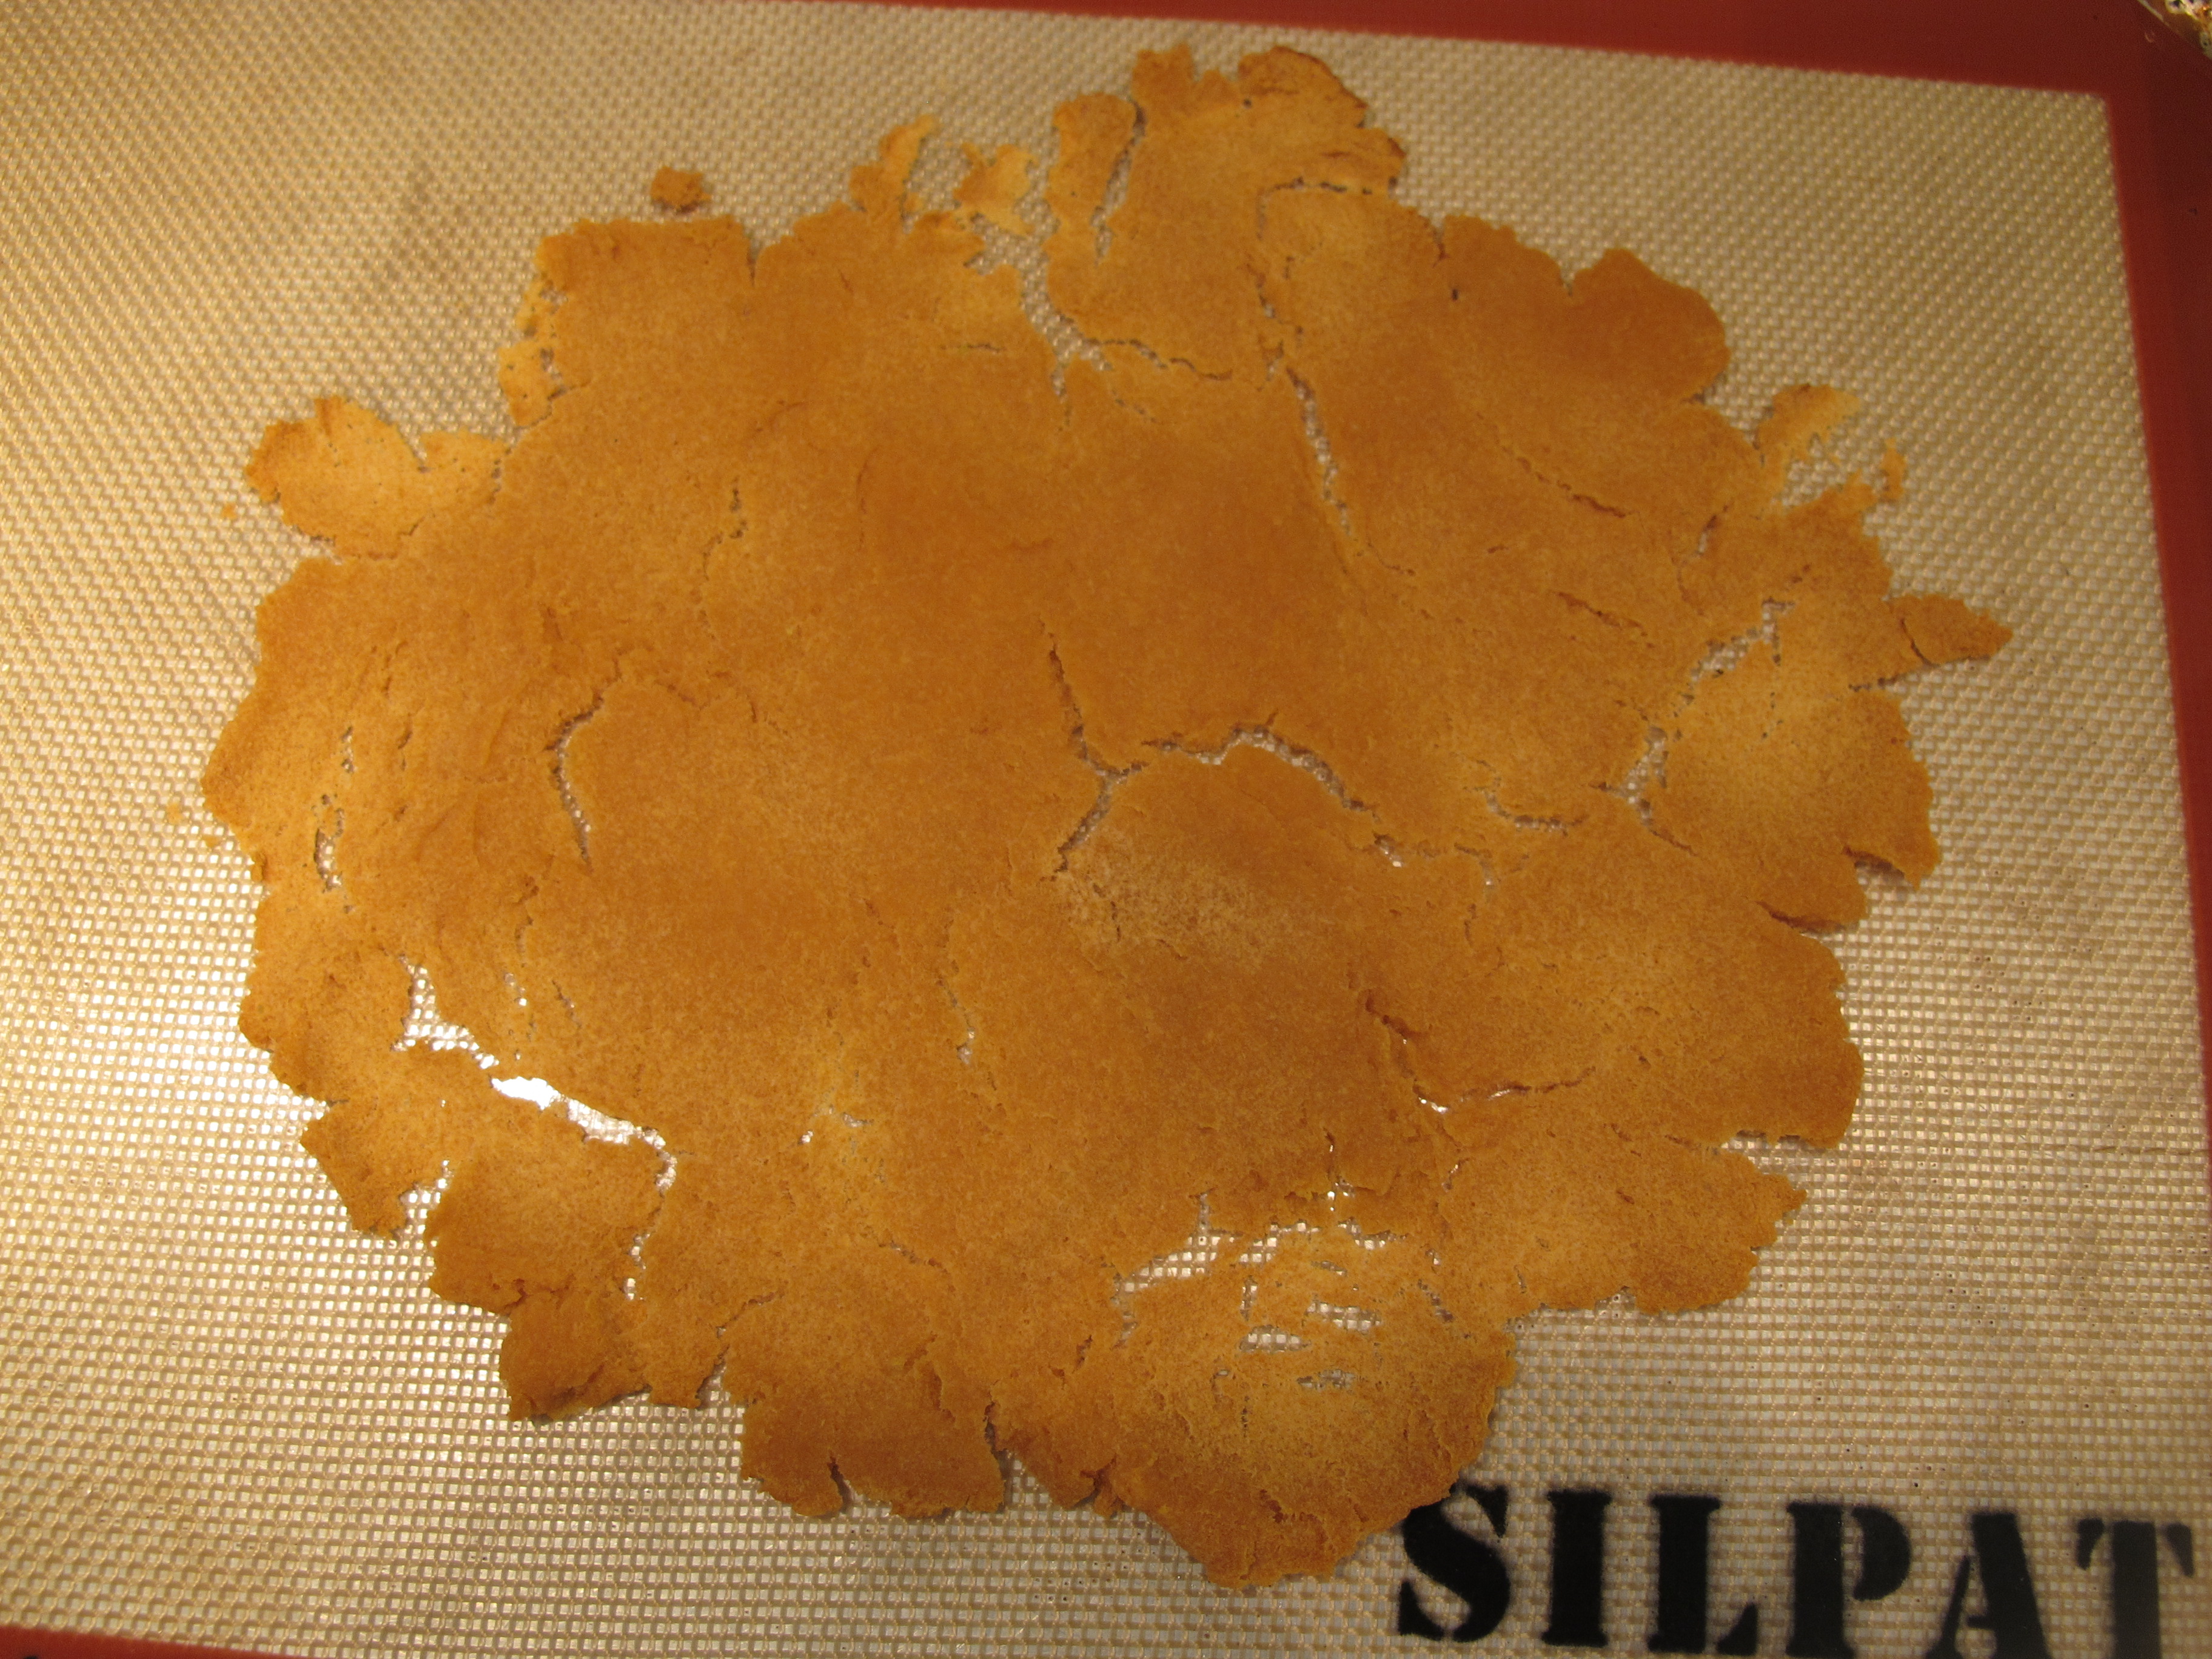
It all begins by roasting the butternut squash with lots of butter. As the squash roasts it caramelizes in the butter, bringing out its sweetness, and makes it nice and soft for smoothing into a puree. When it’s finished roasting, the squash is blended with cream until it is smooth.
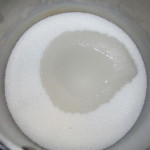


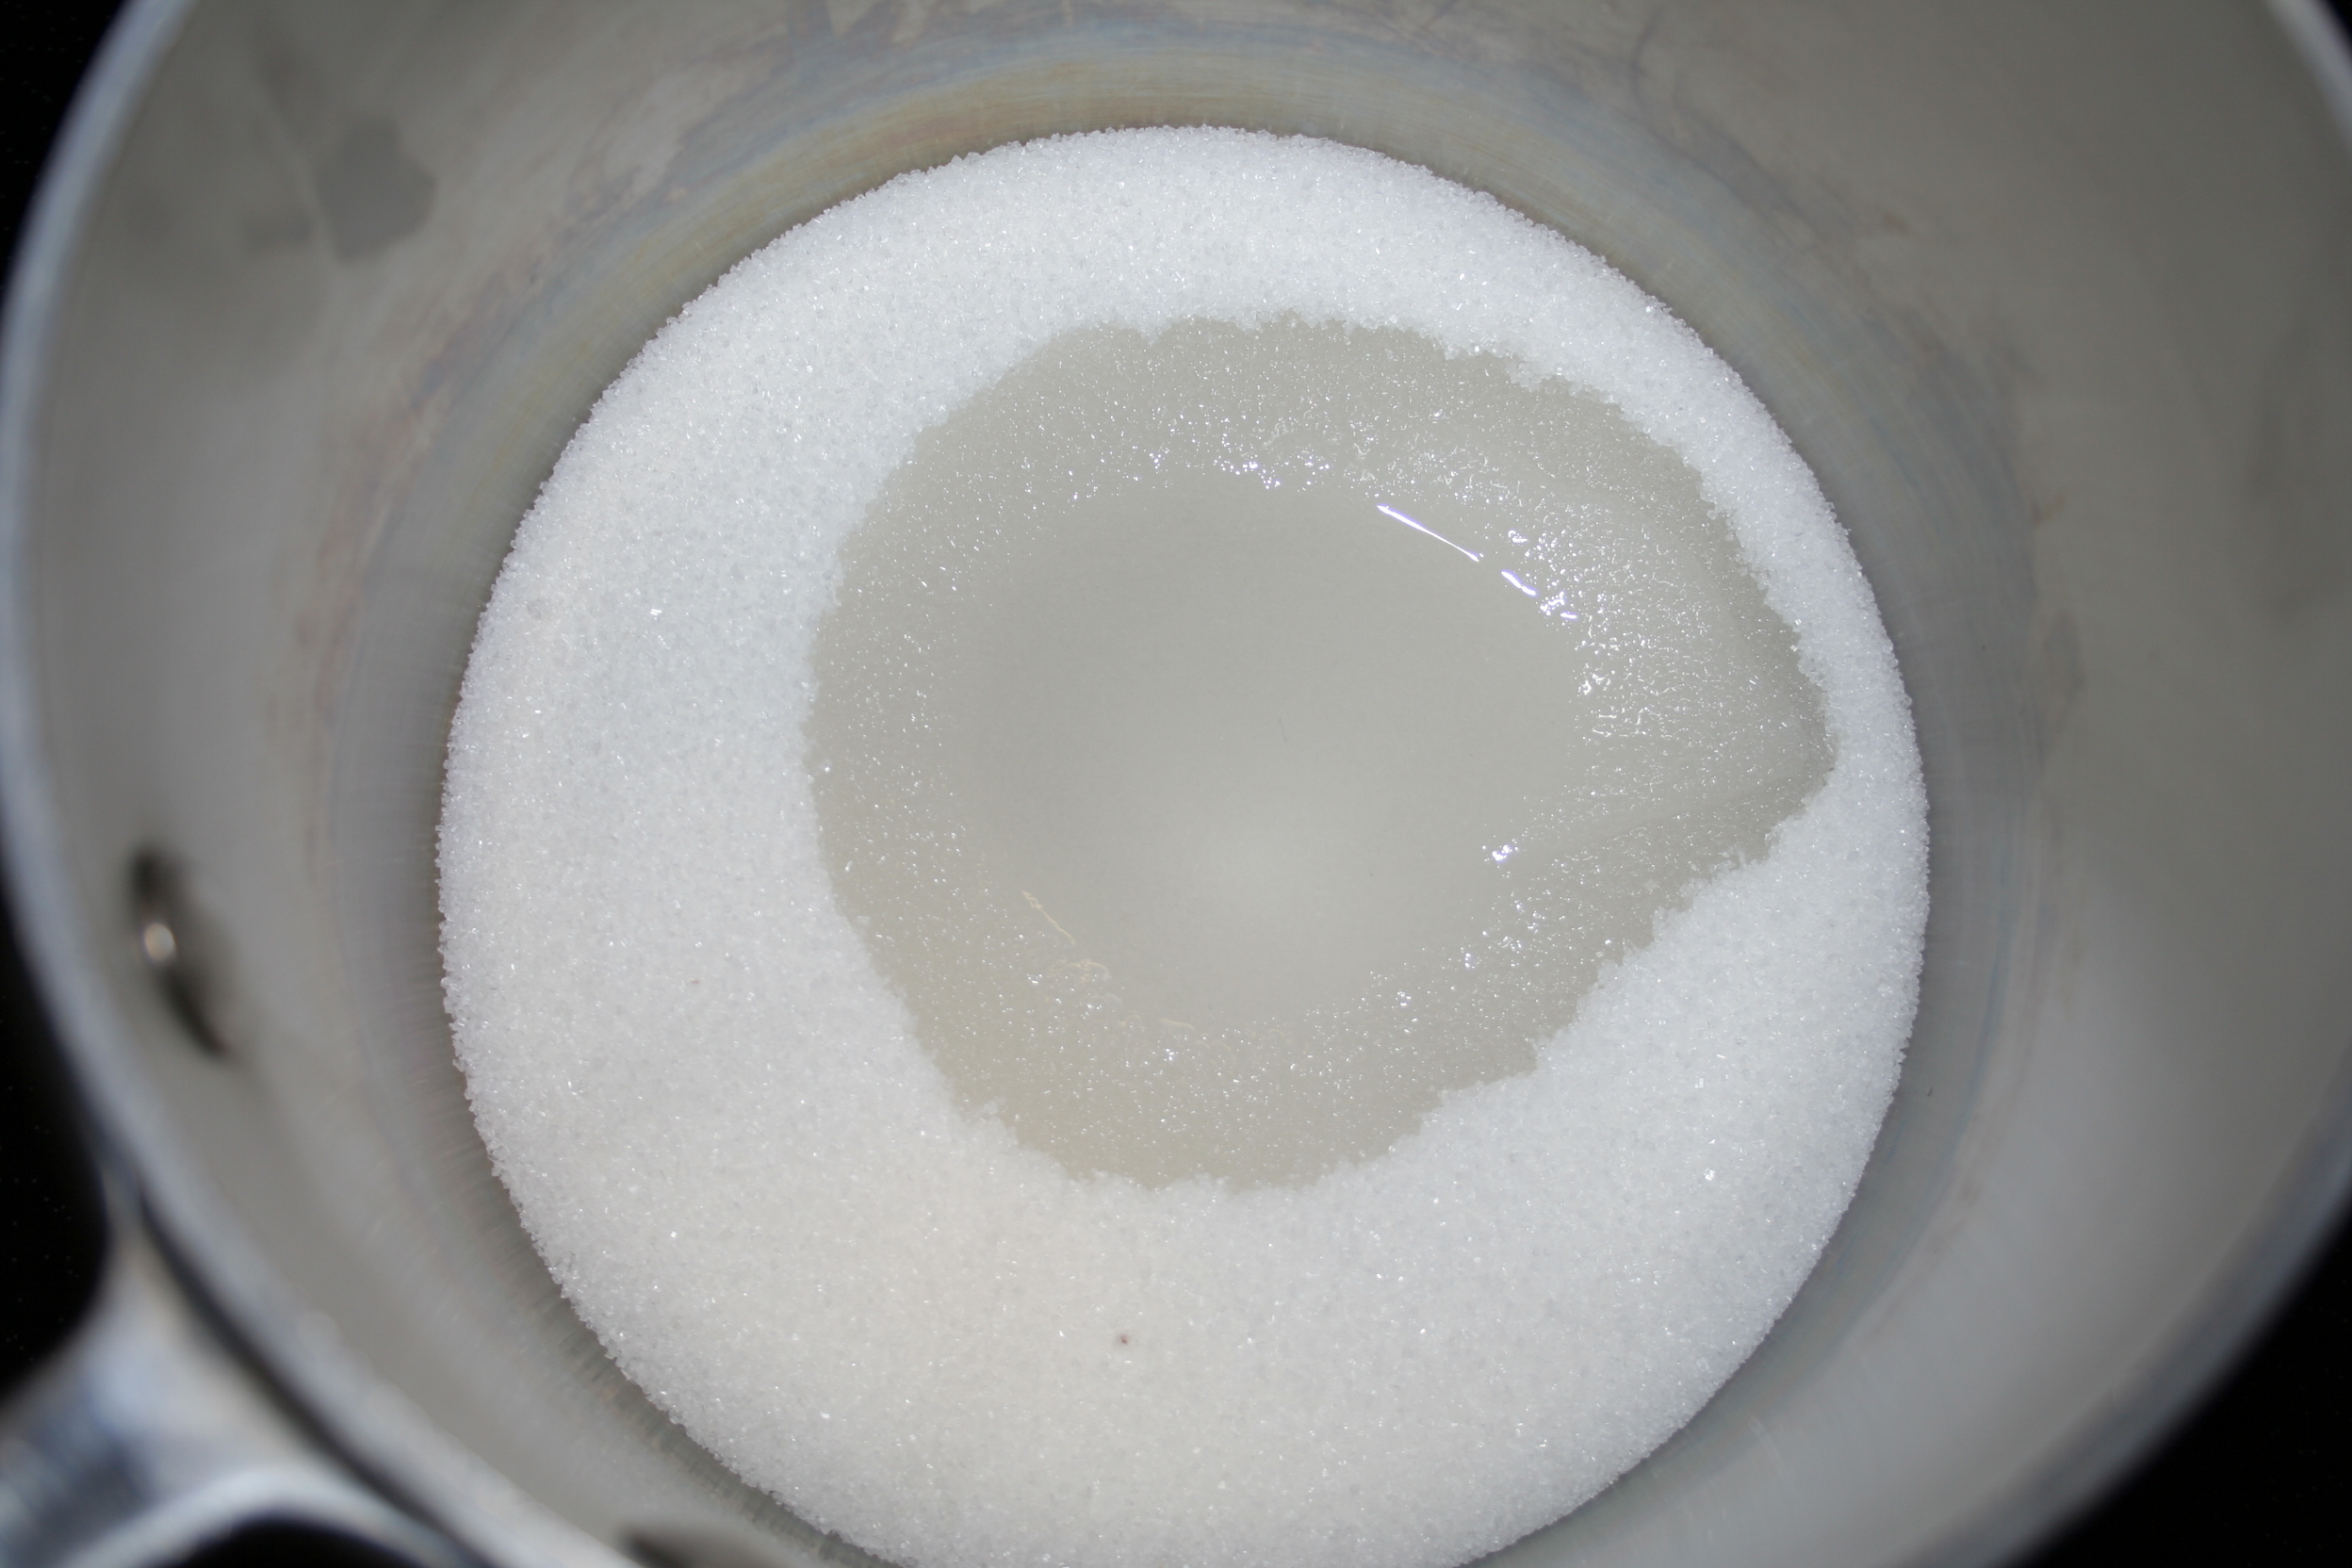
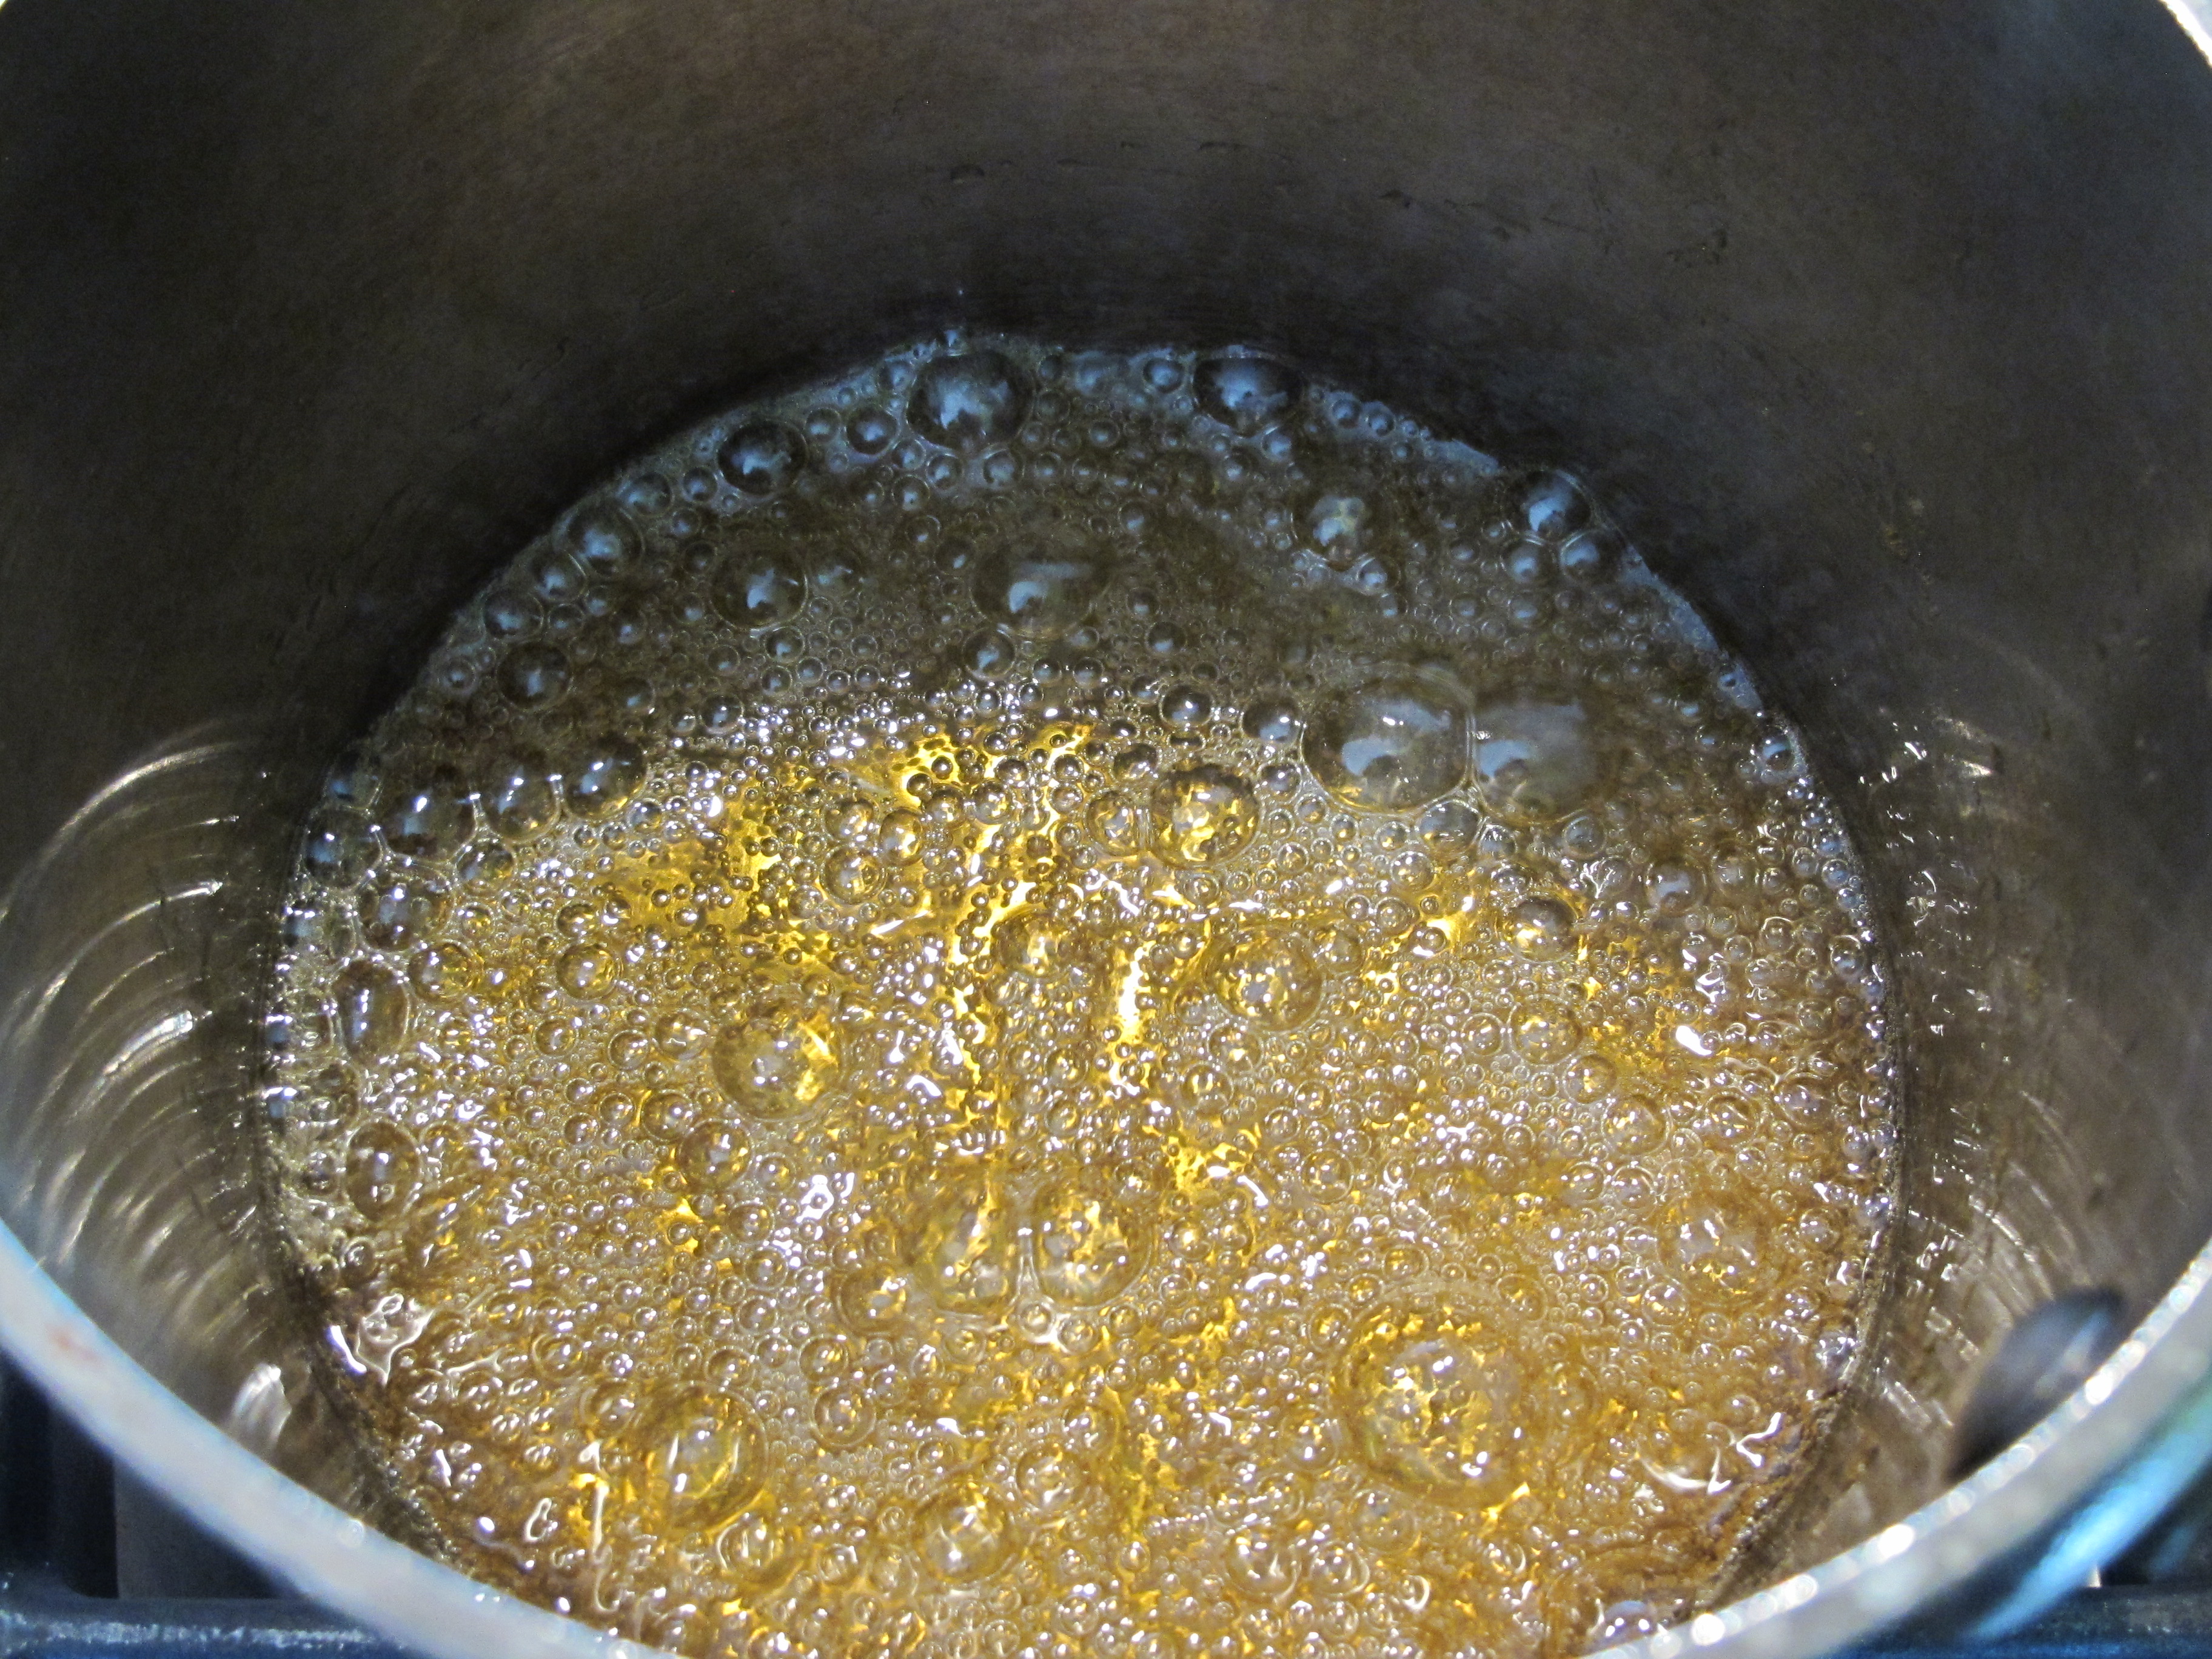
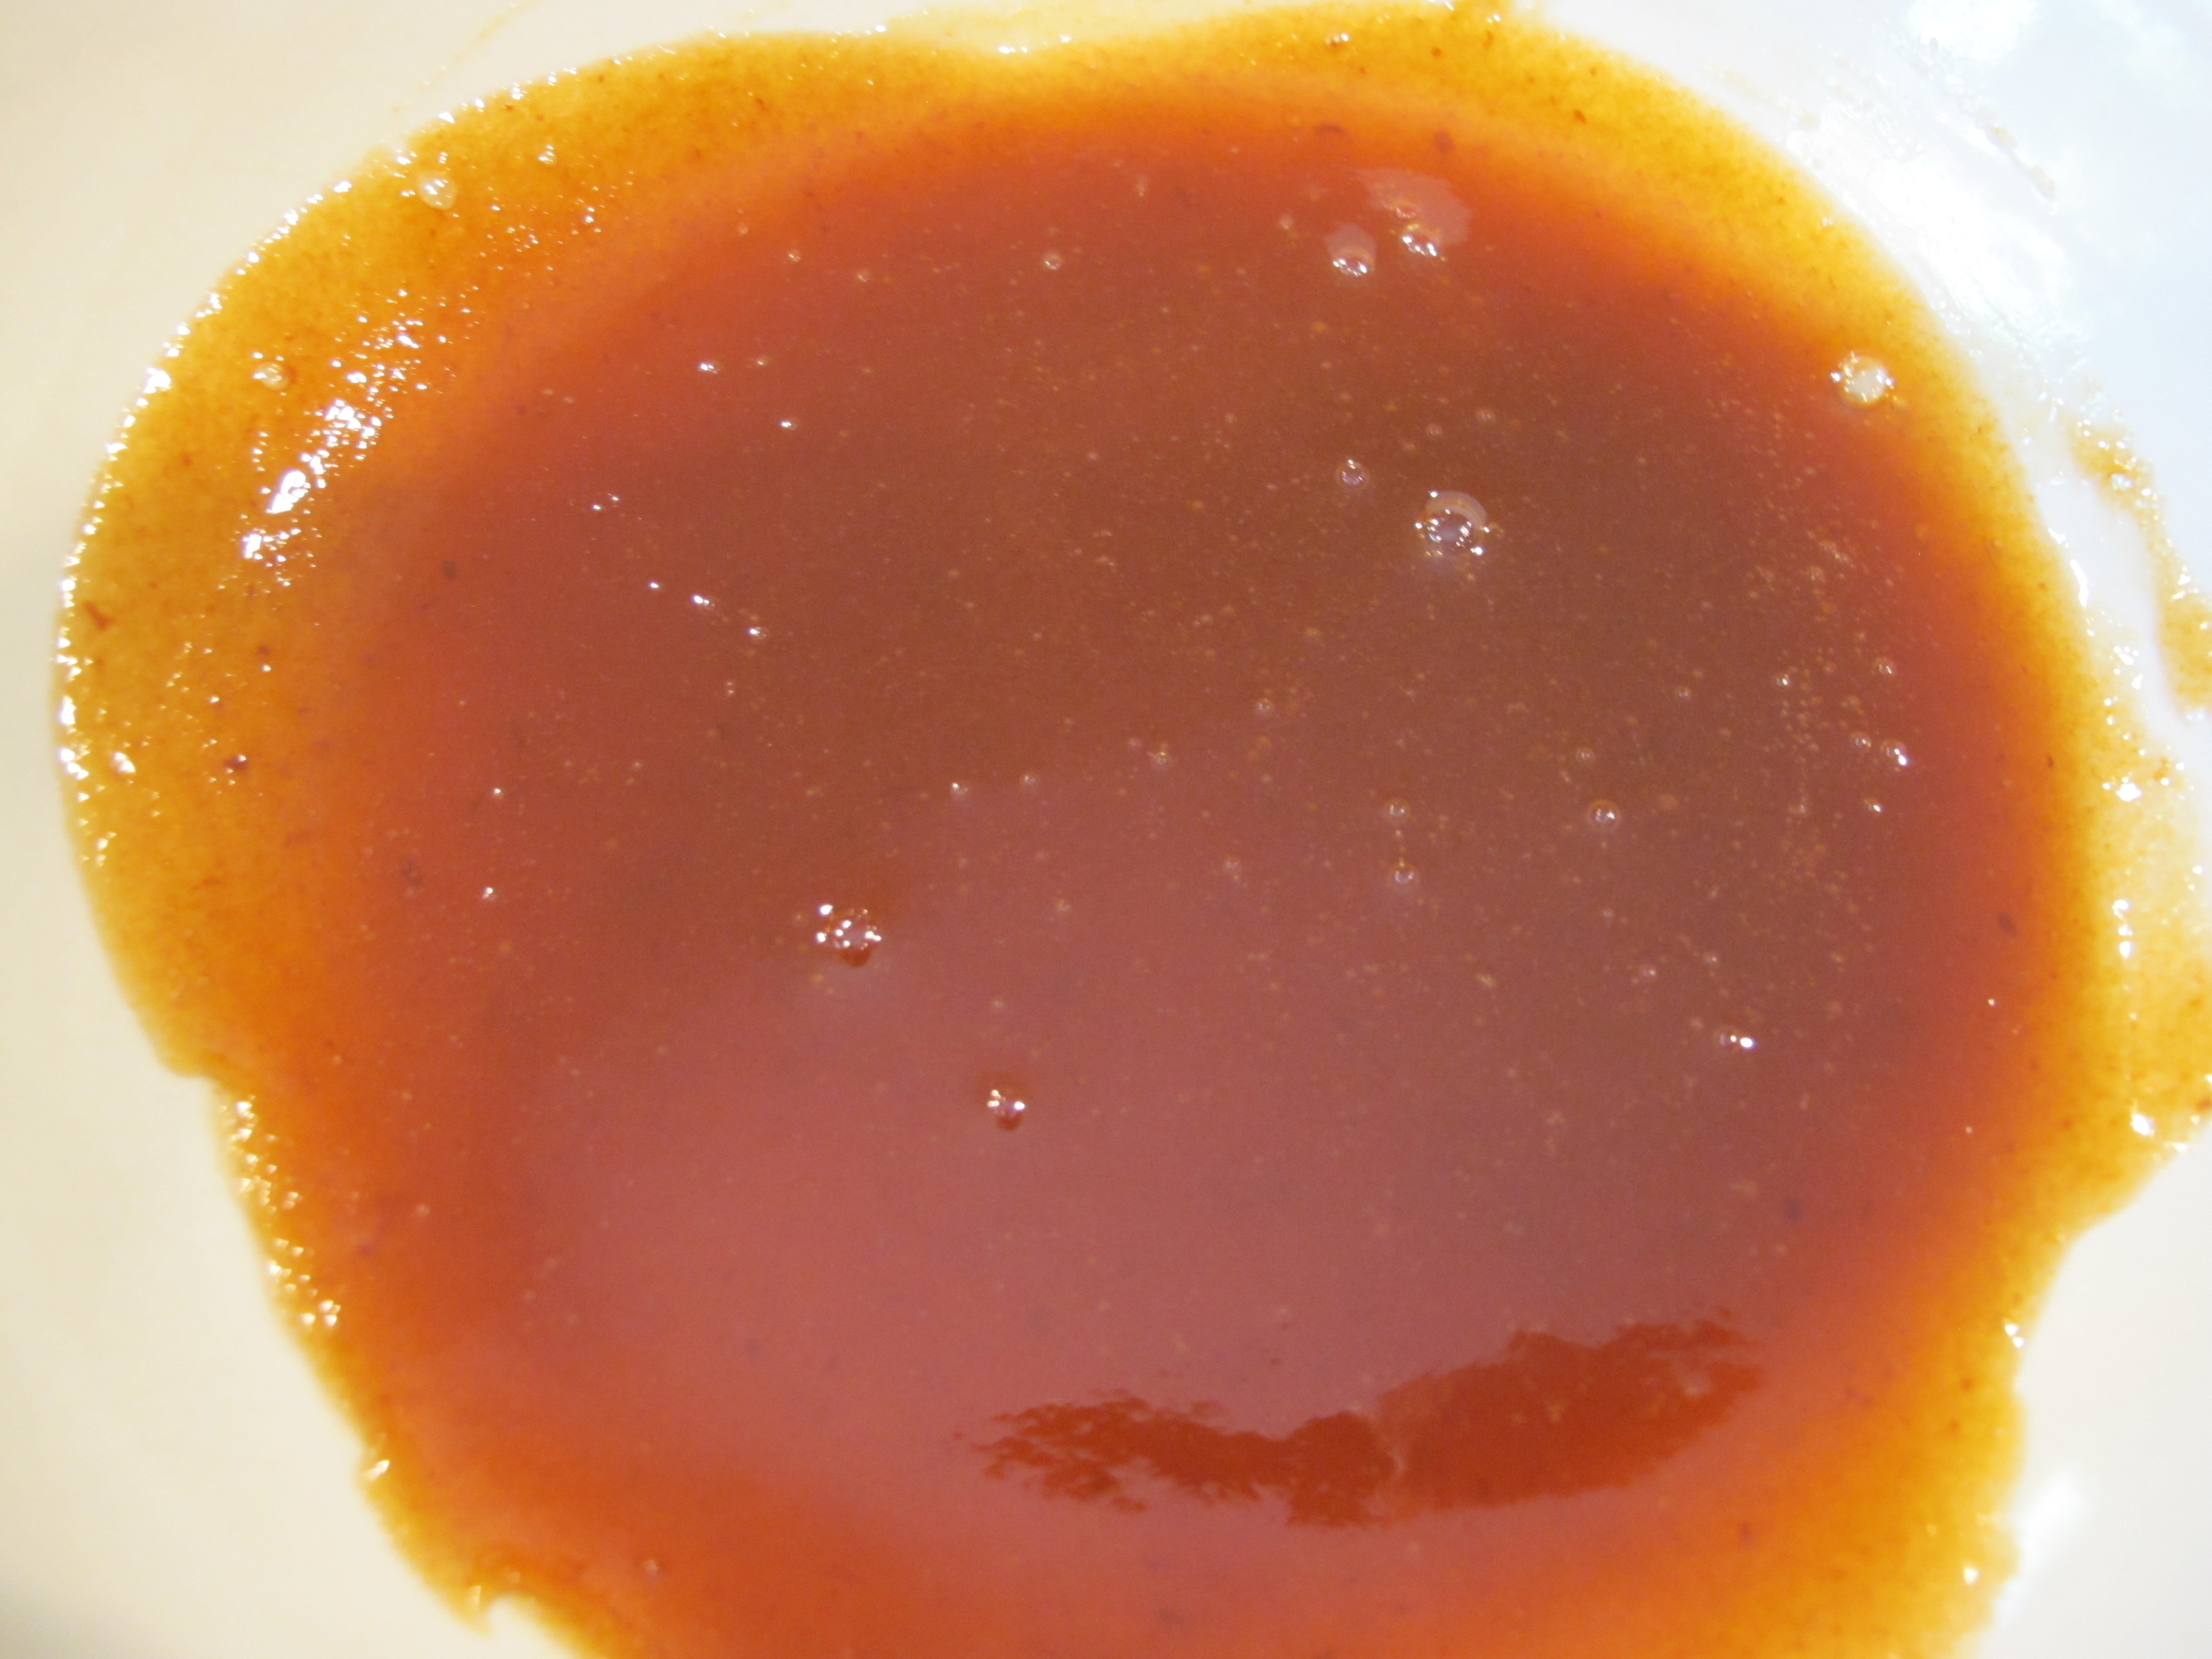
The key to making a caramel sauce is patience, trust and a watchful eye. We wet the sugar first, and then bring it to a hard and fast boil without and I repeat WITHOUT ever stirring. Stirring the boiling sugar will make it crystallize and turn grainy. Once it reaches the right caramel color (in about 5-8 minutes) some cream is added to cool it down a bit, and then the squash and cream puree is added and whisked in.
Cream is what keeps the caramel from getting hard – and you can flavor the cream with just about anything. In this case the already caramel-like roasted butternut squash makes a perfect partner.
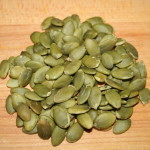
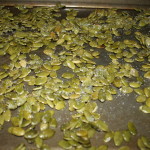
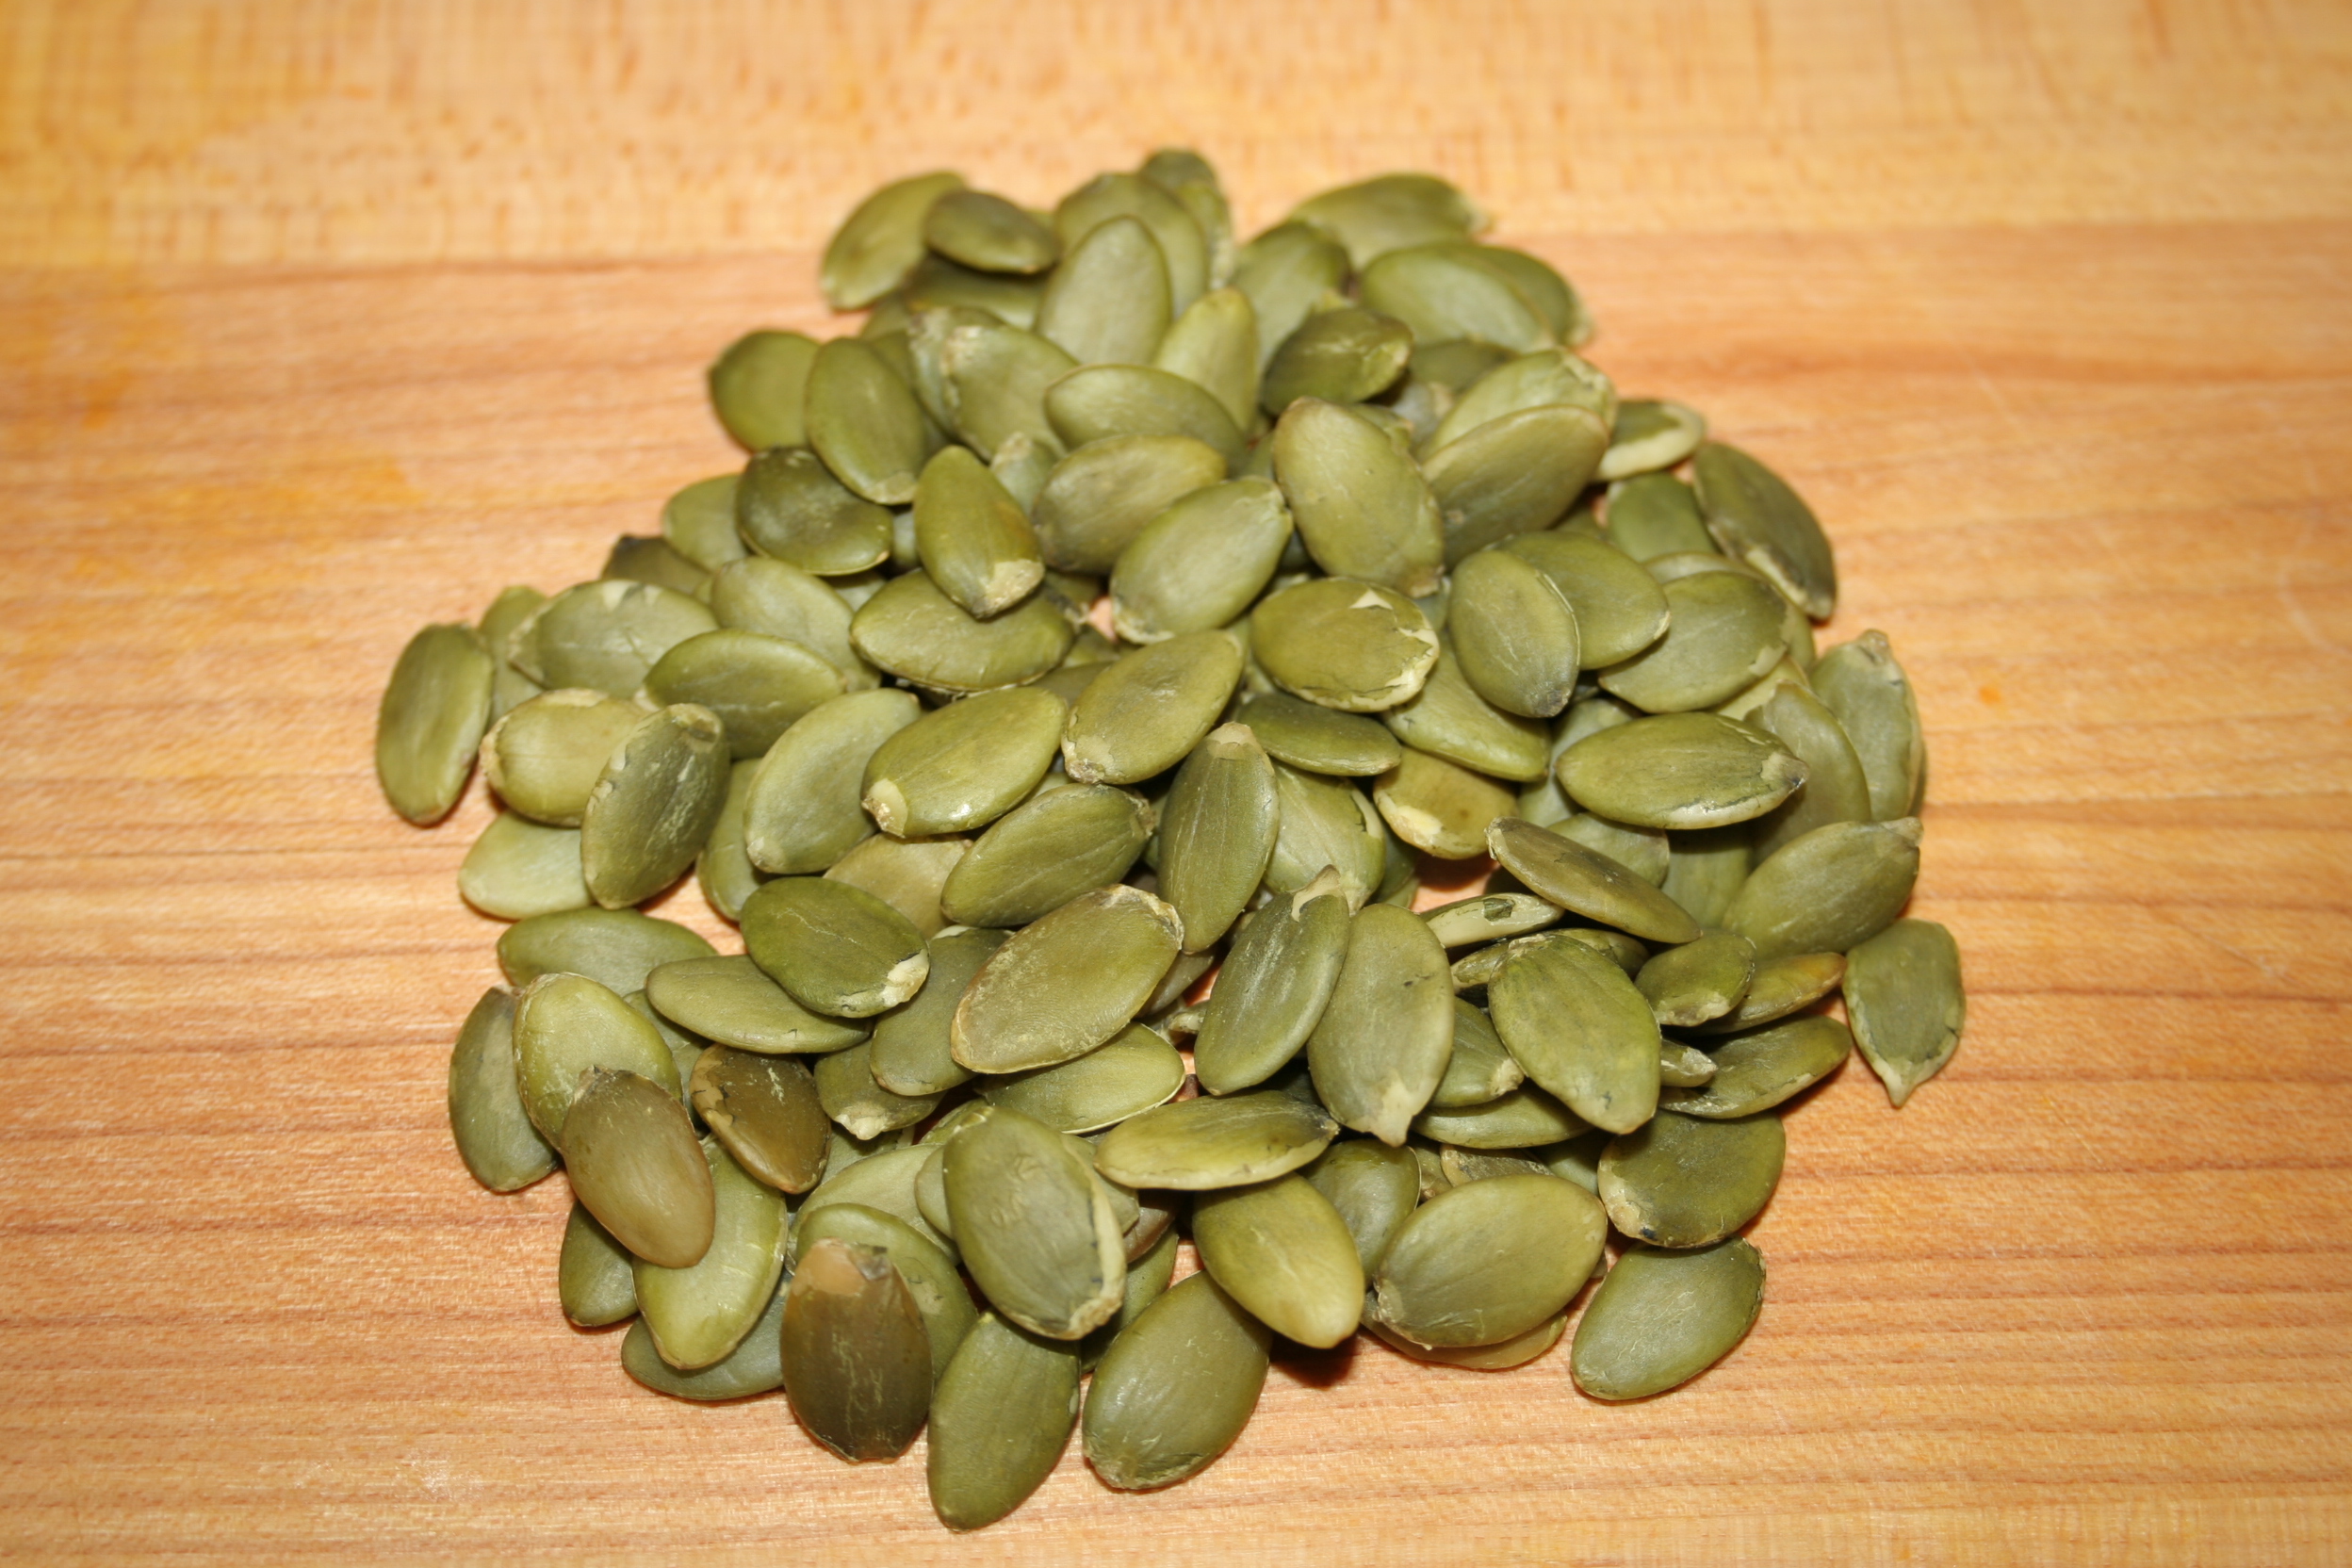
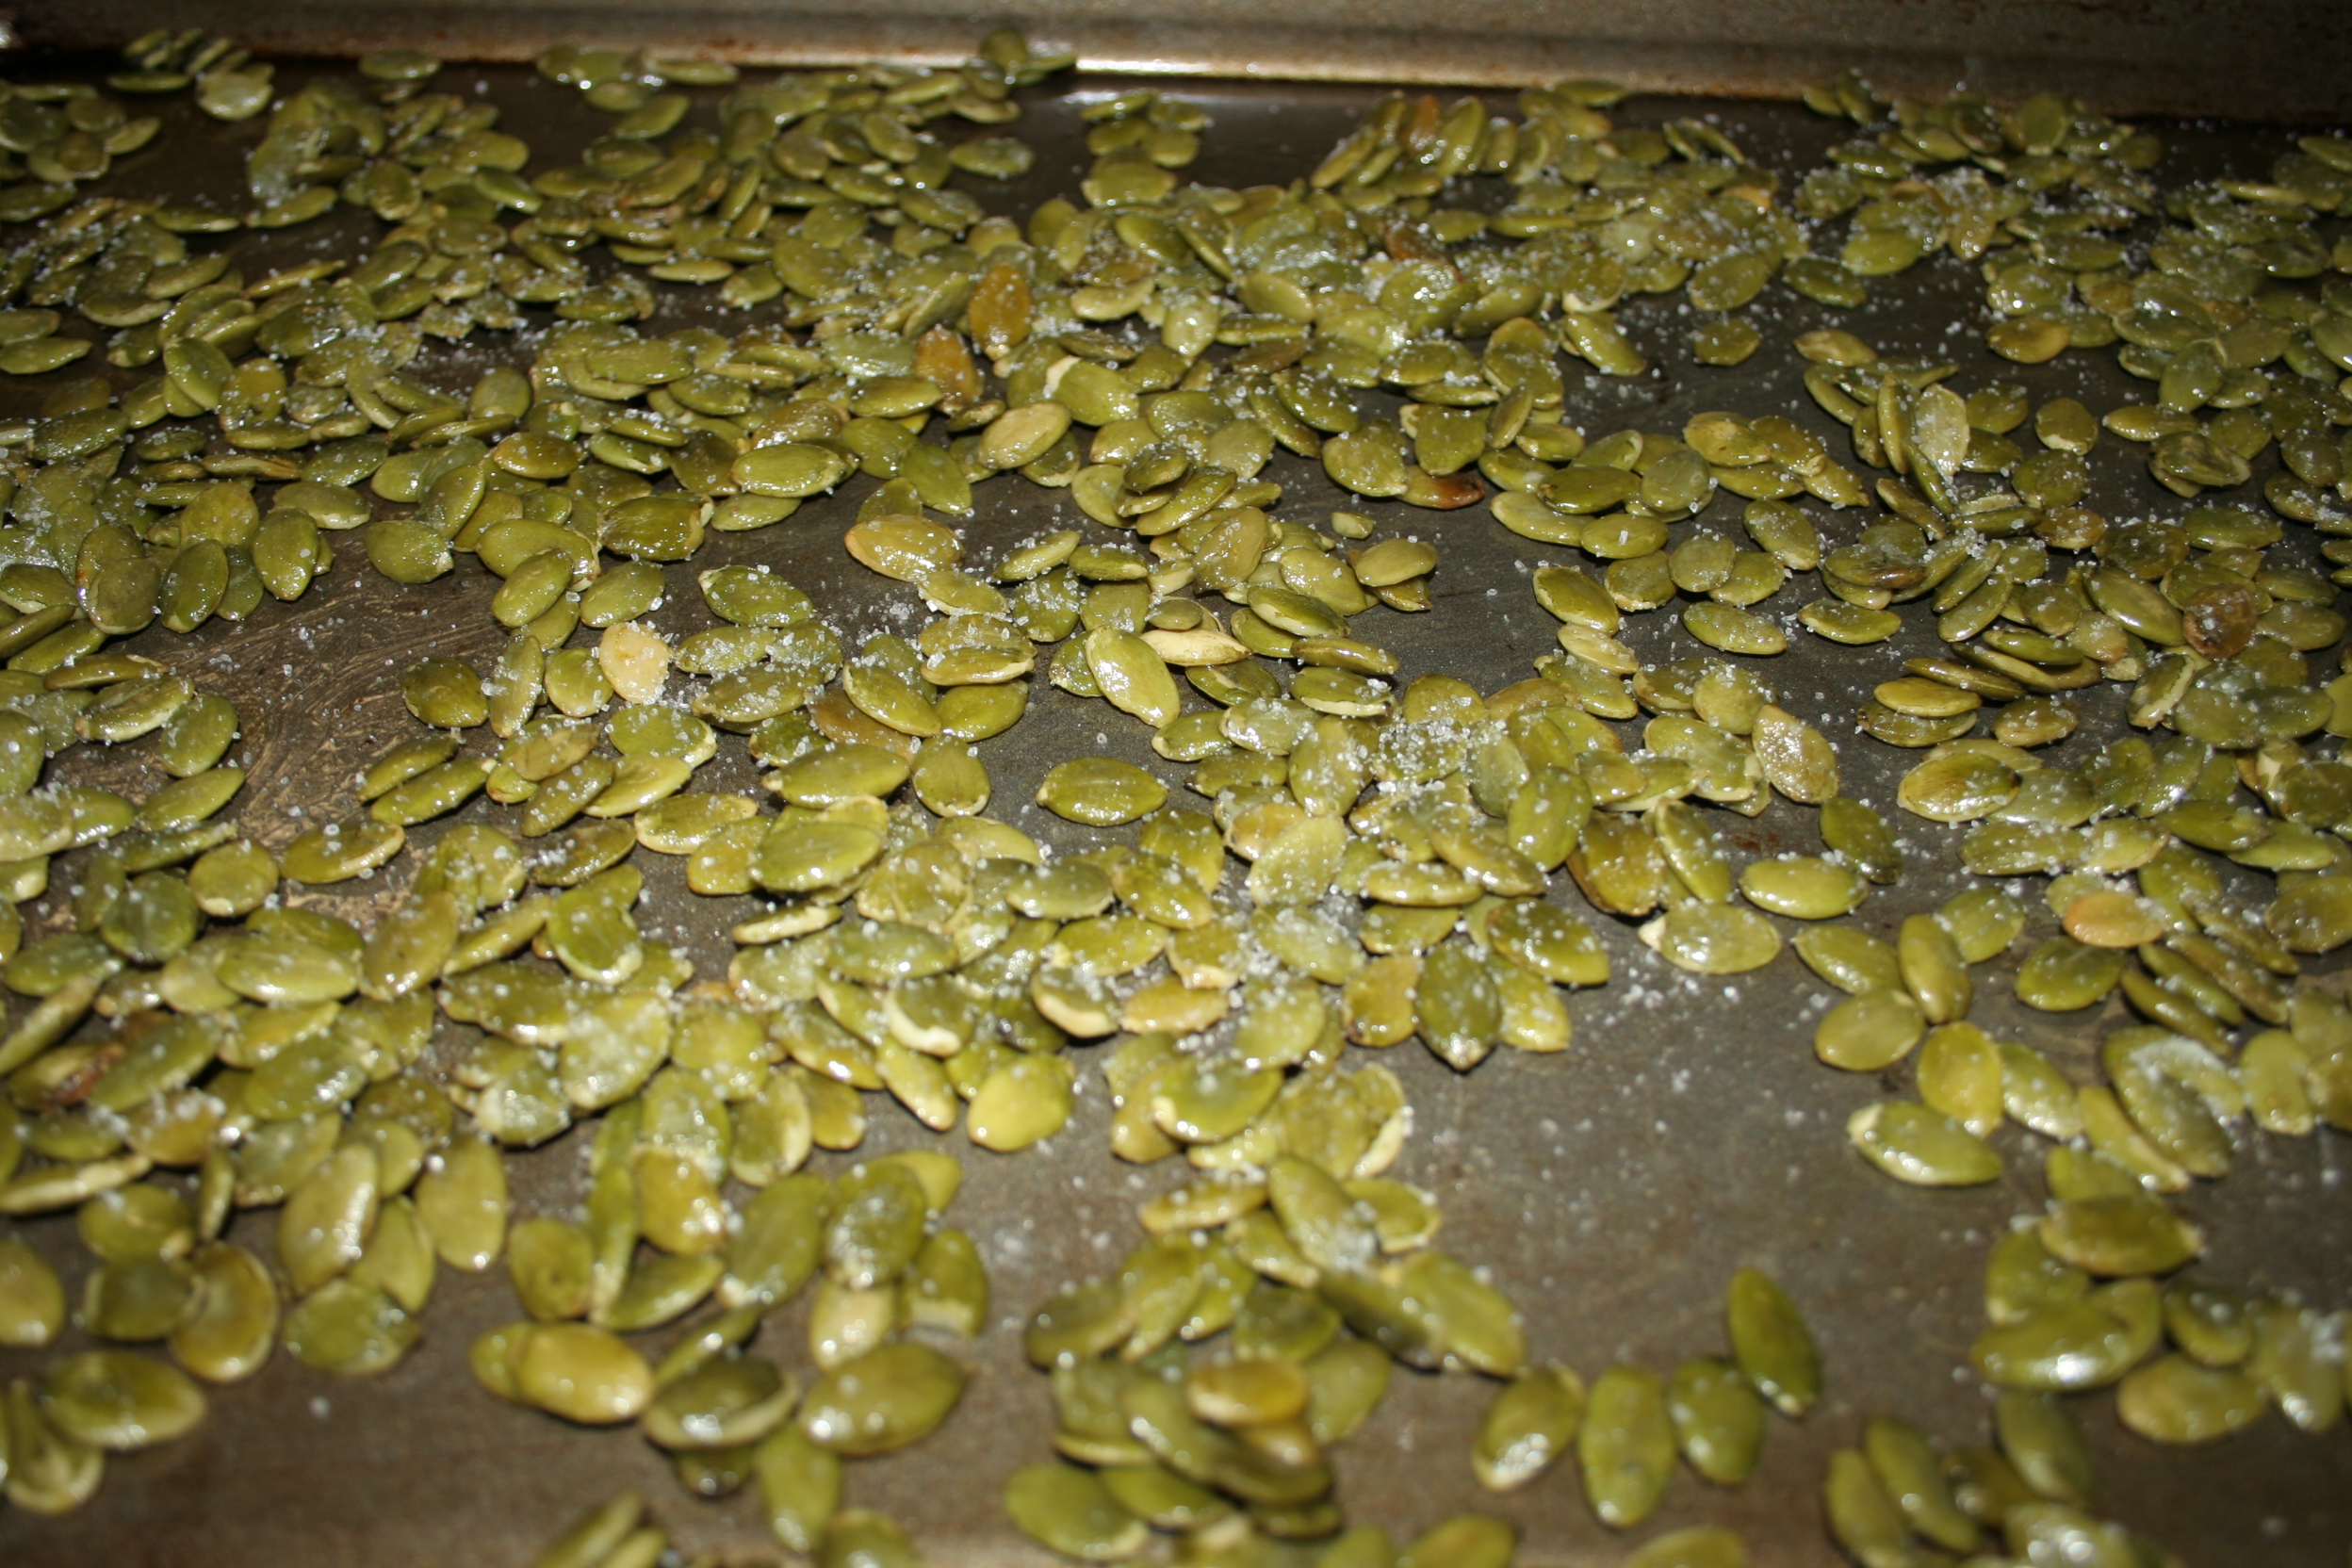
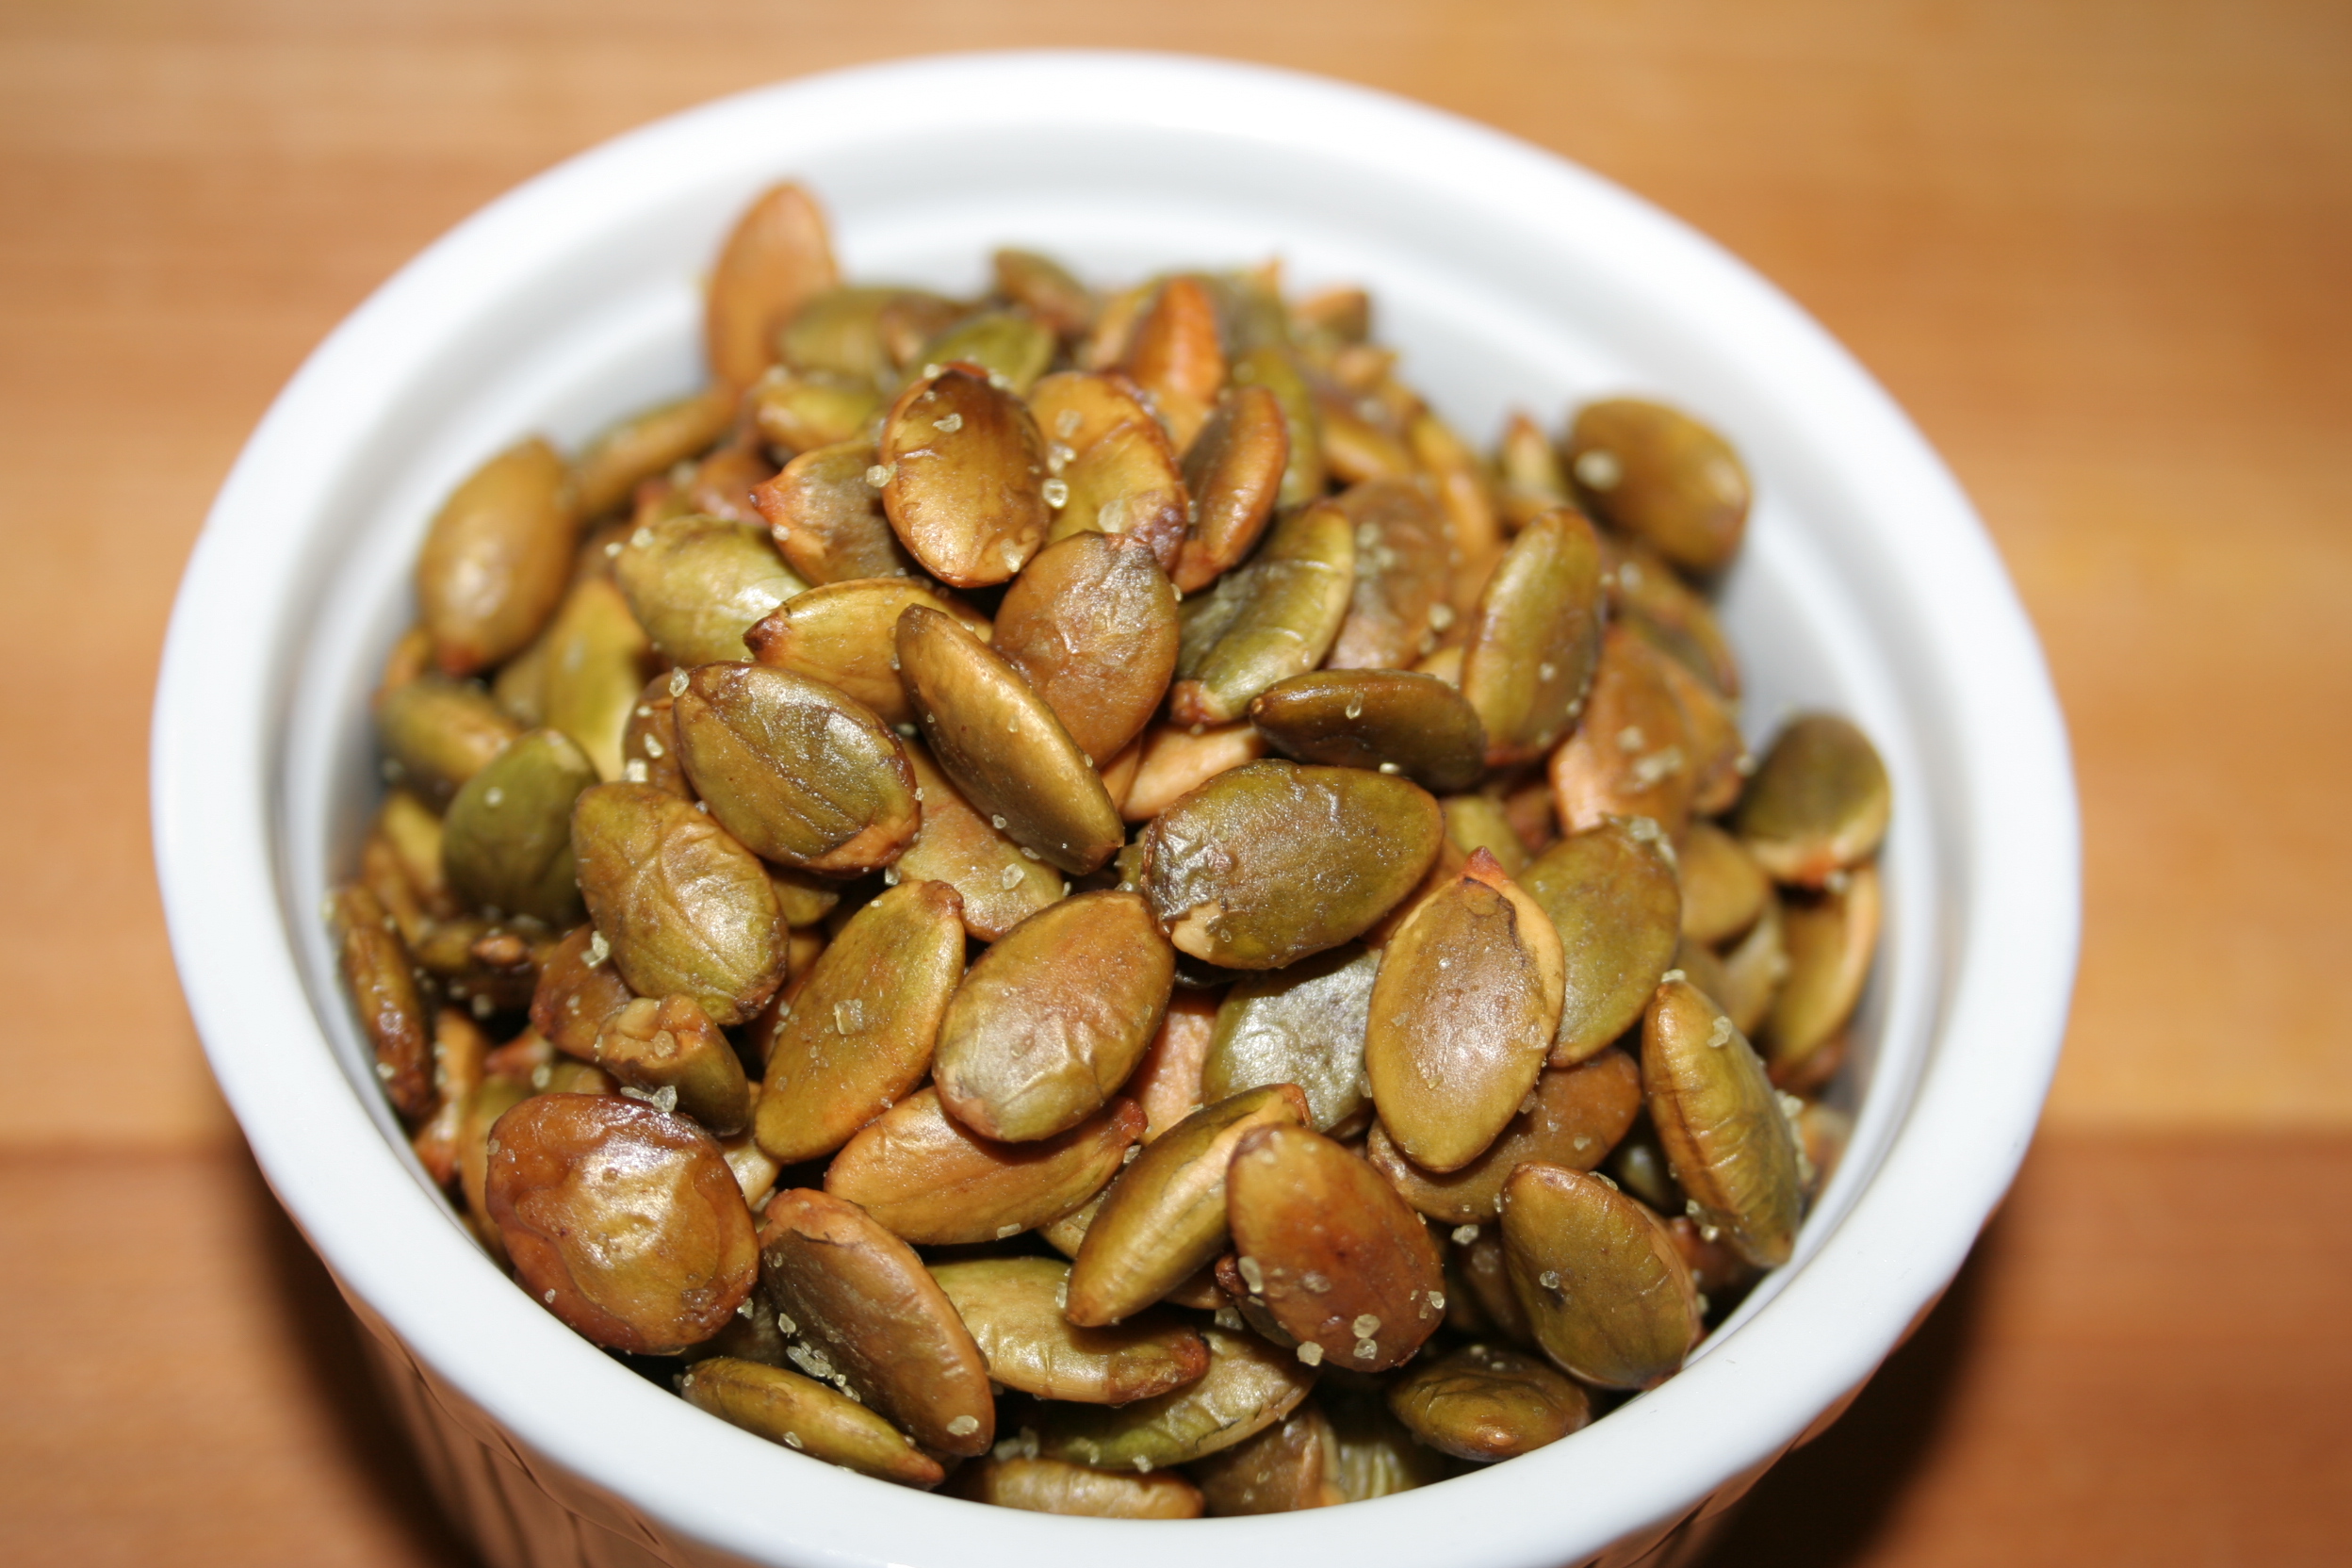
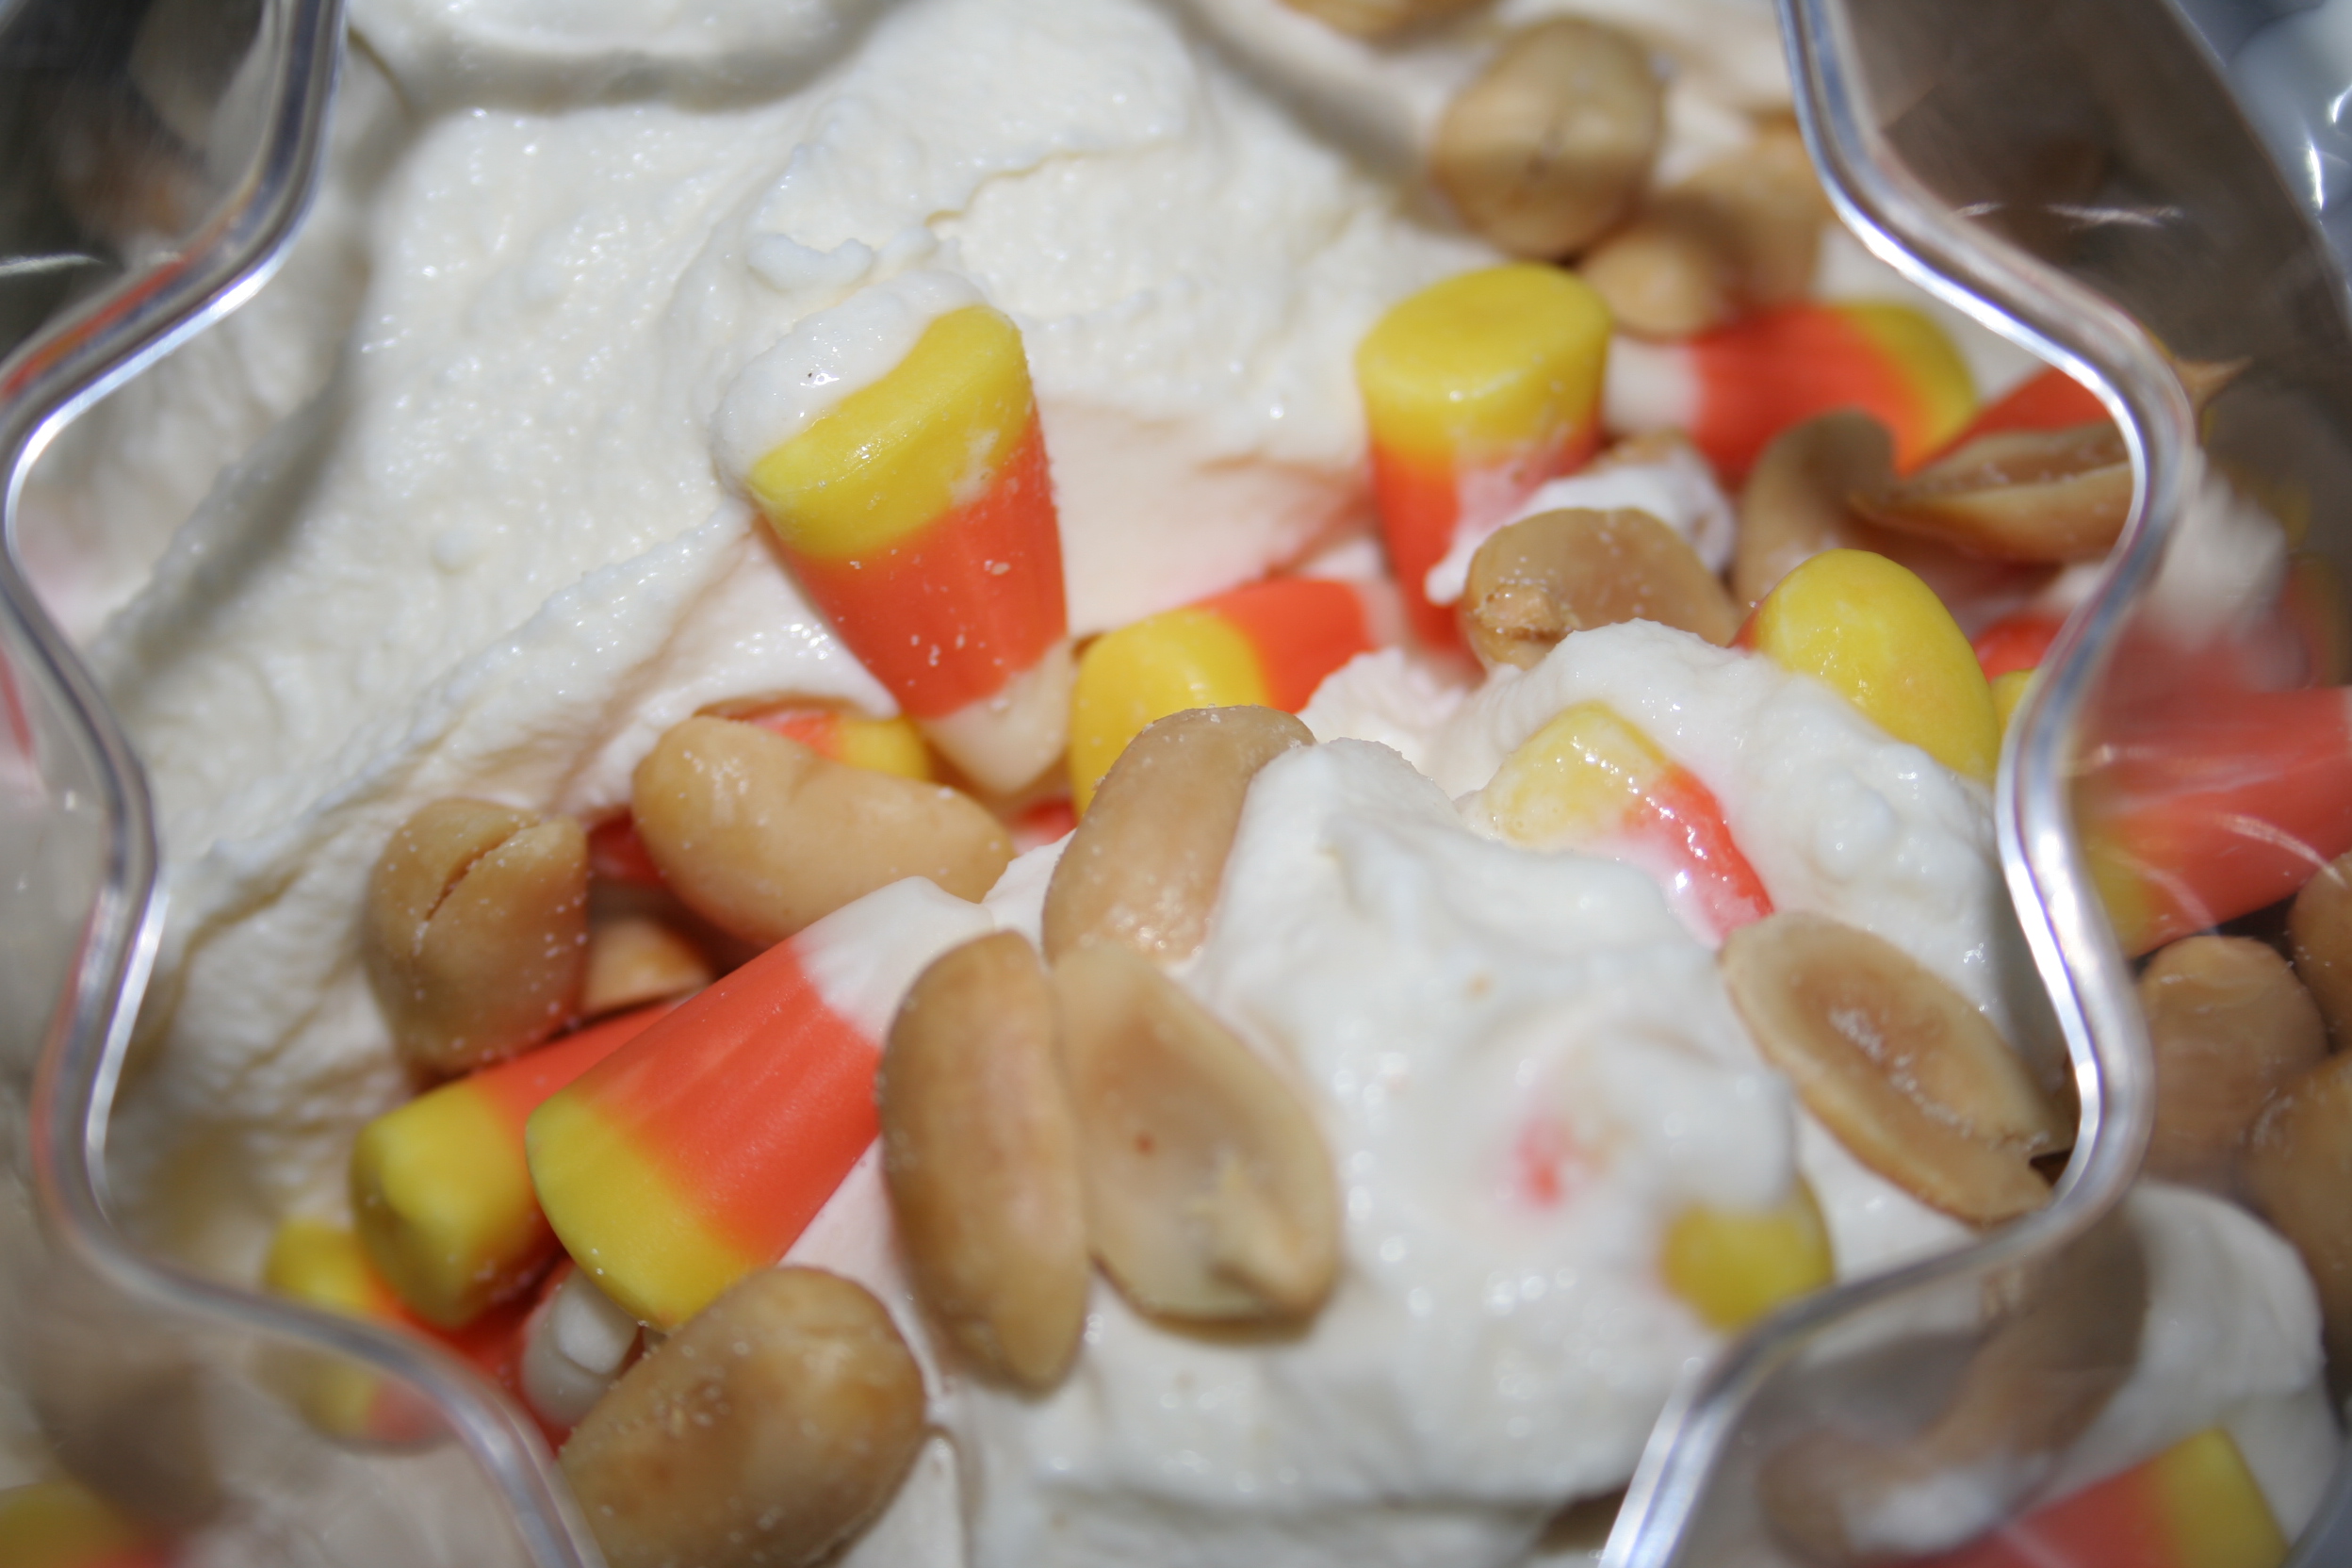
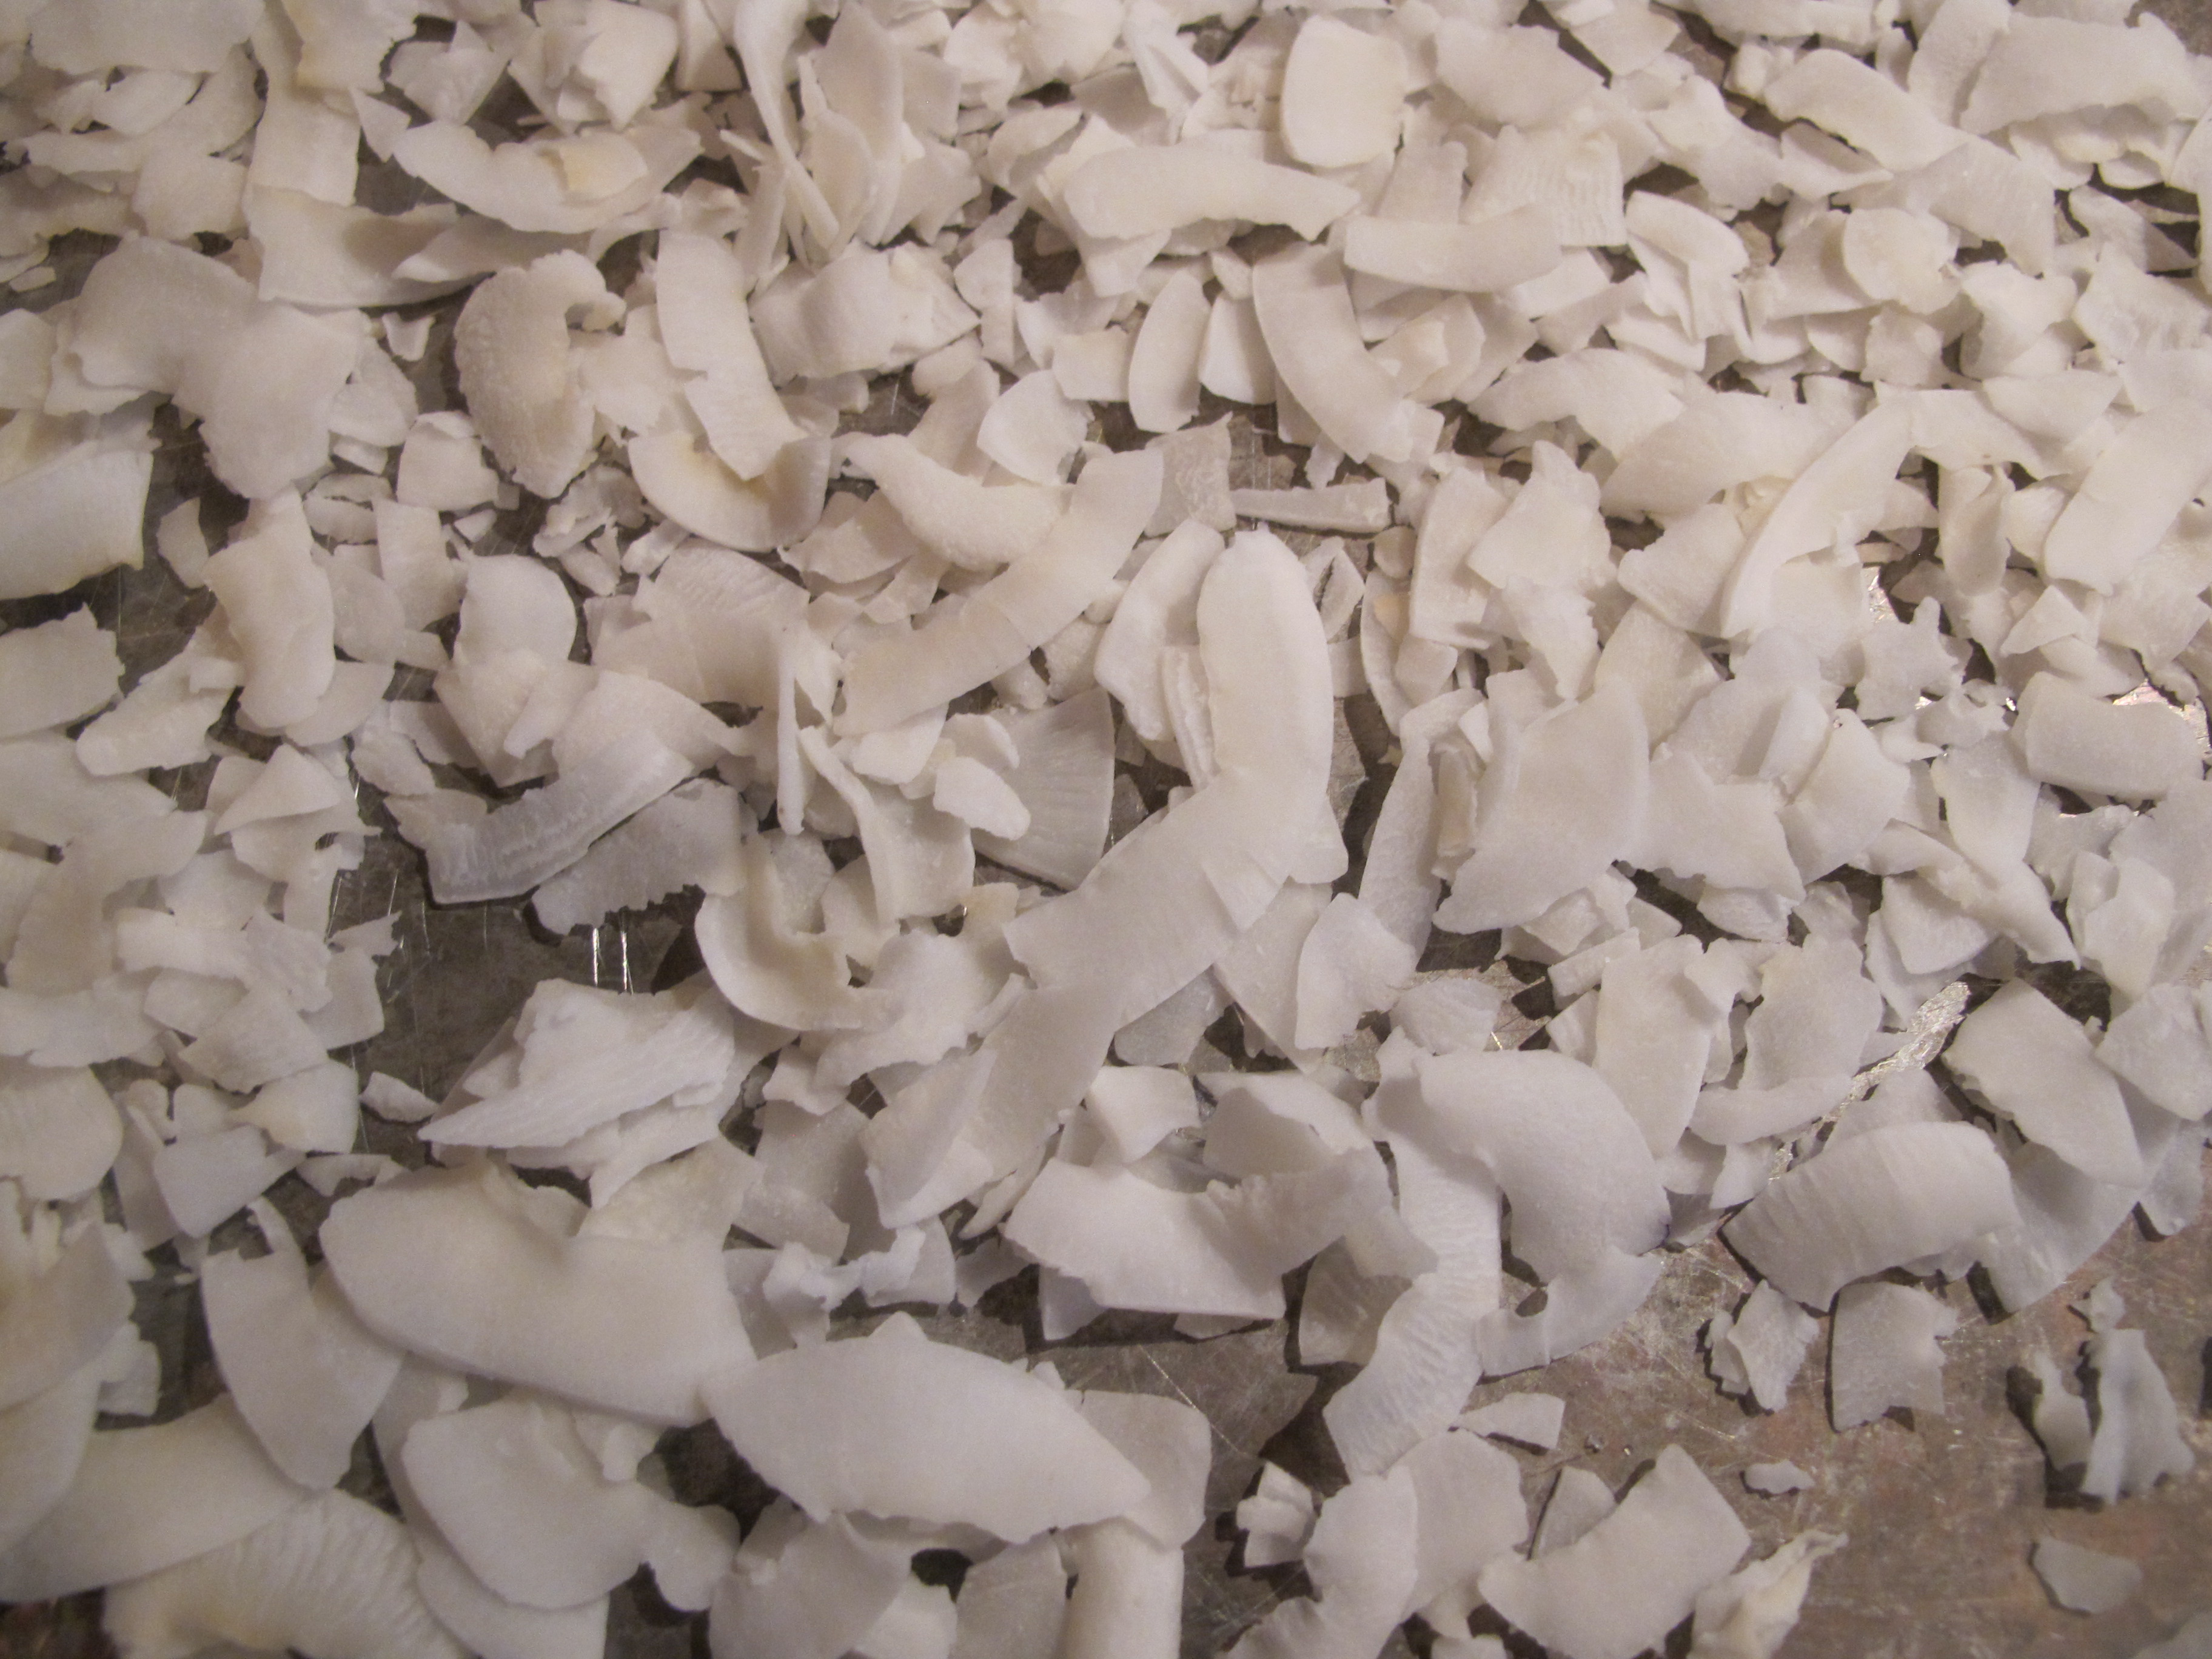
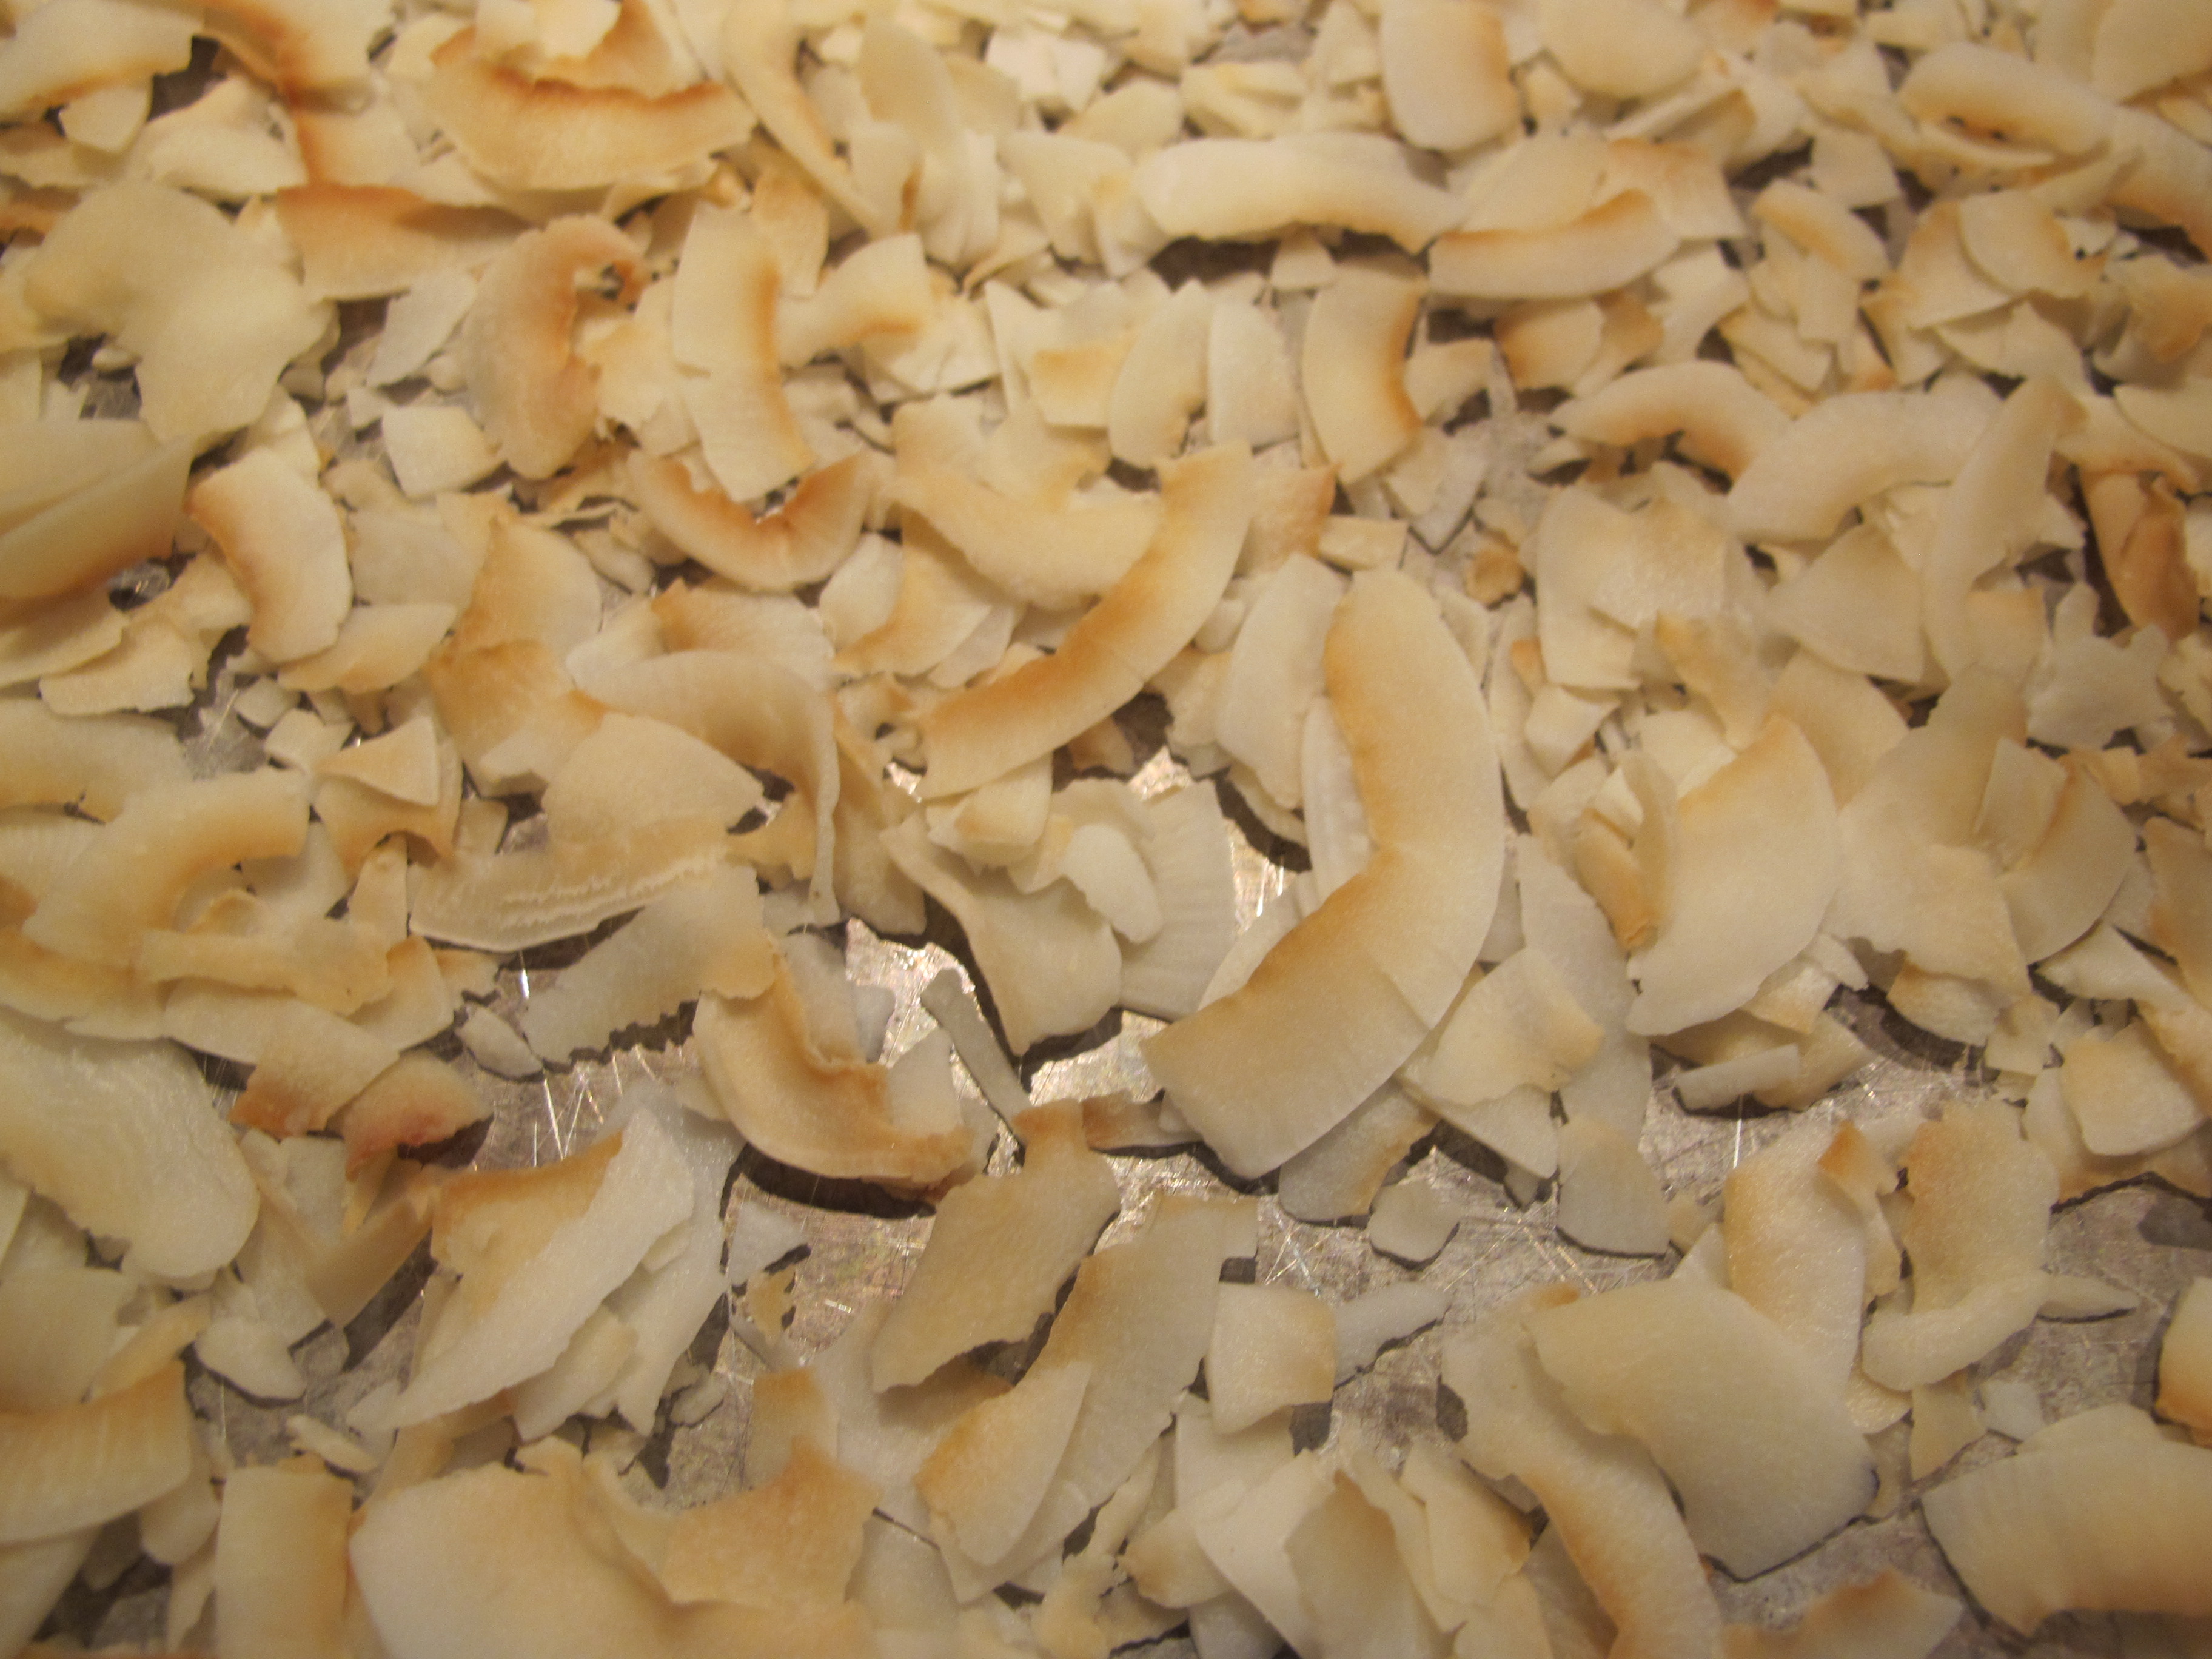
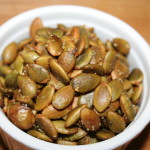
It’s only natural to have squash/pumpkin seeds provide the crunch here. So raw pumpkin seeds/pepitas are tossed in butter and liberally salted, and roasted for about 15 minutes to crunch them up.
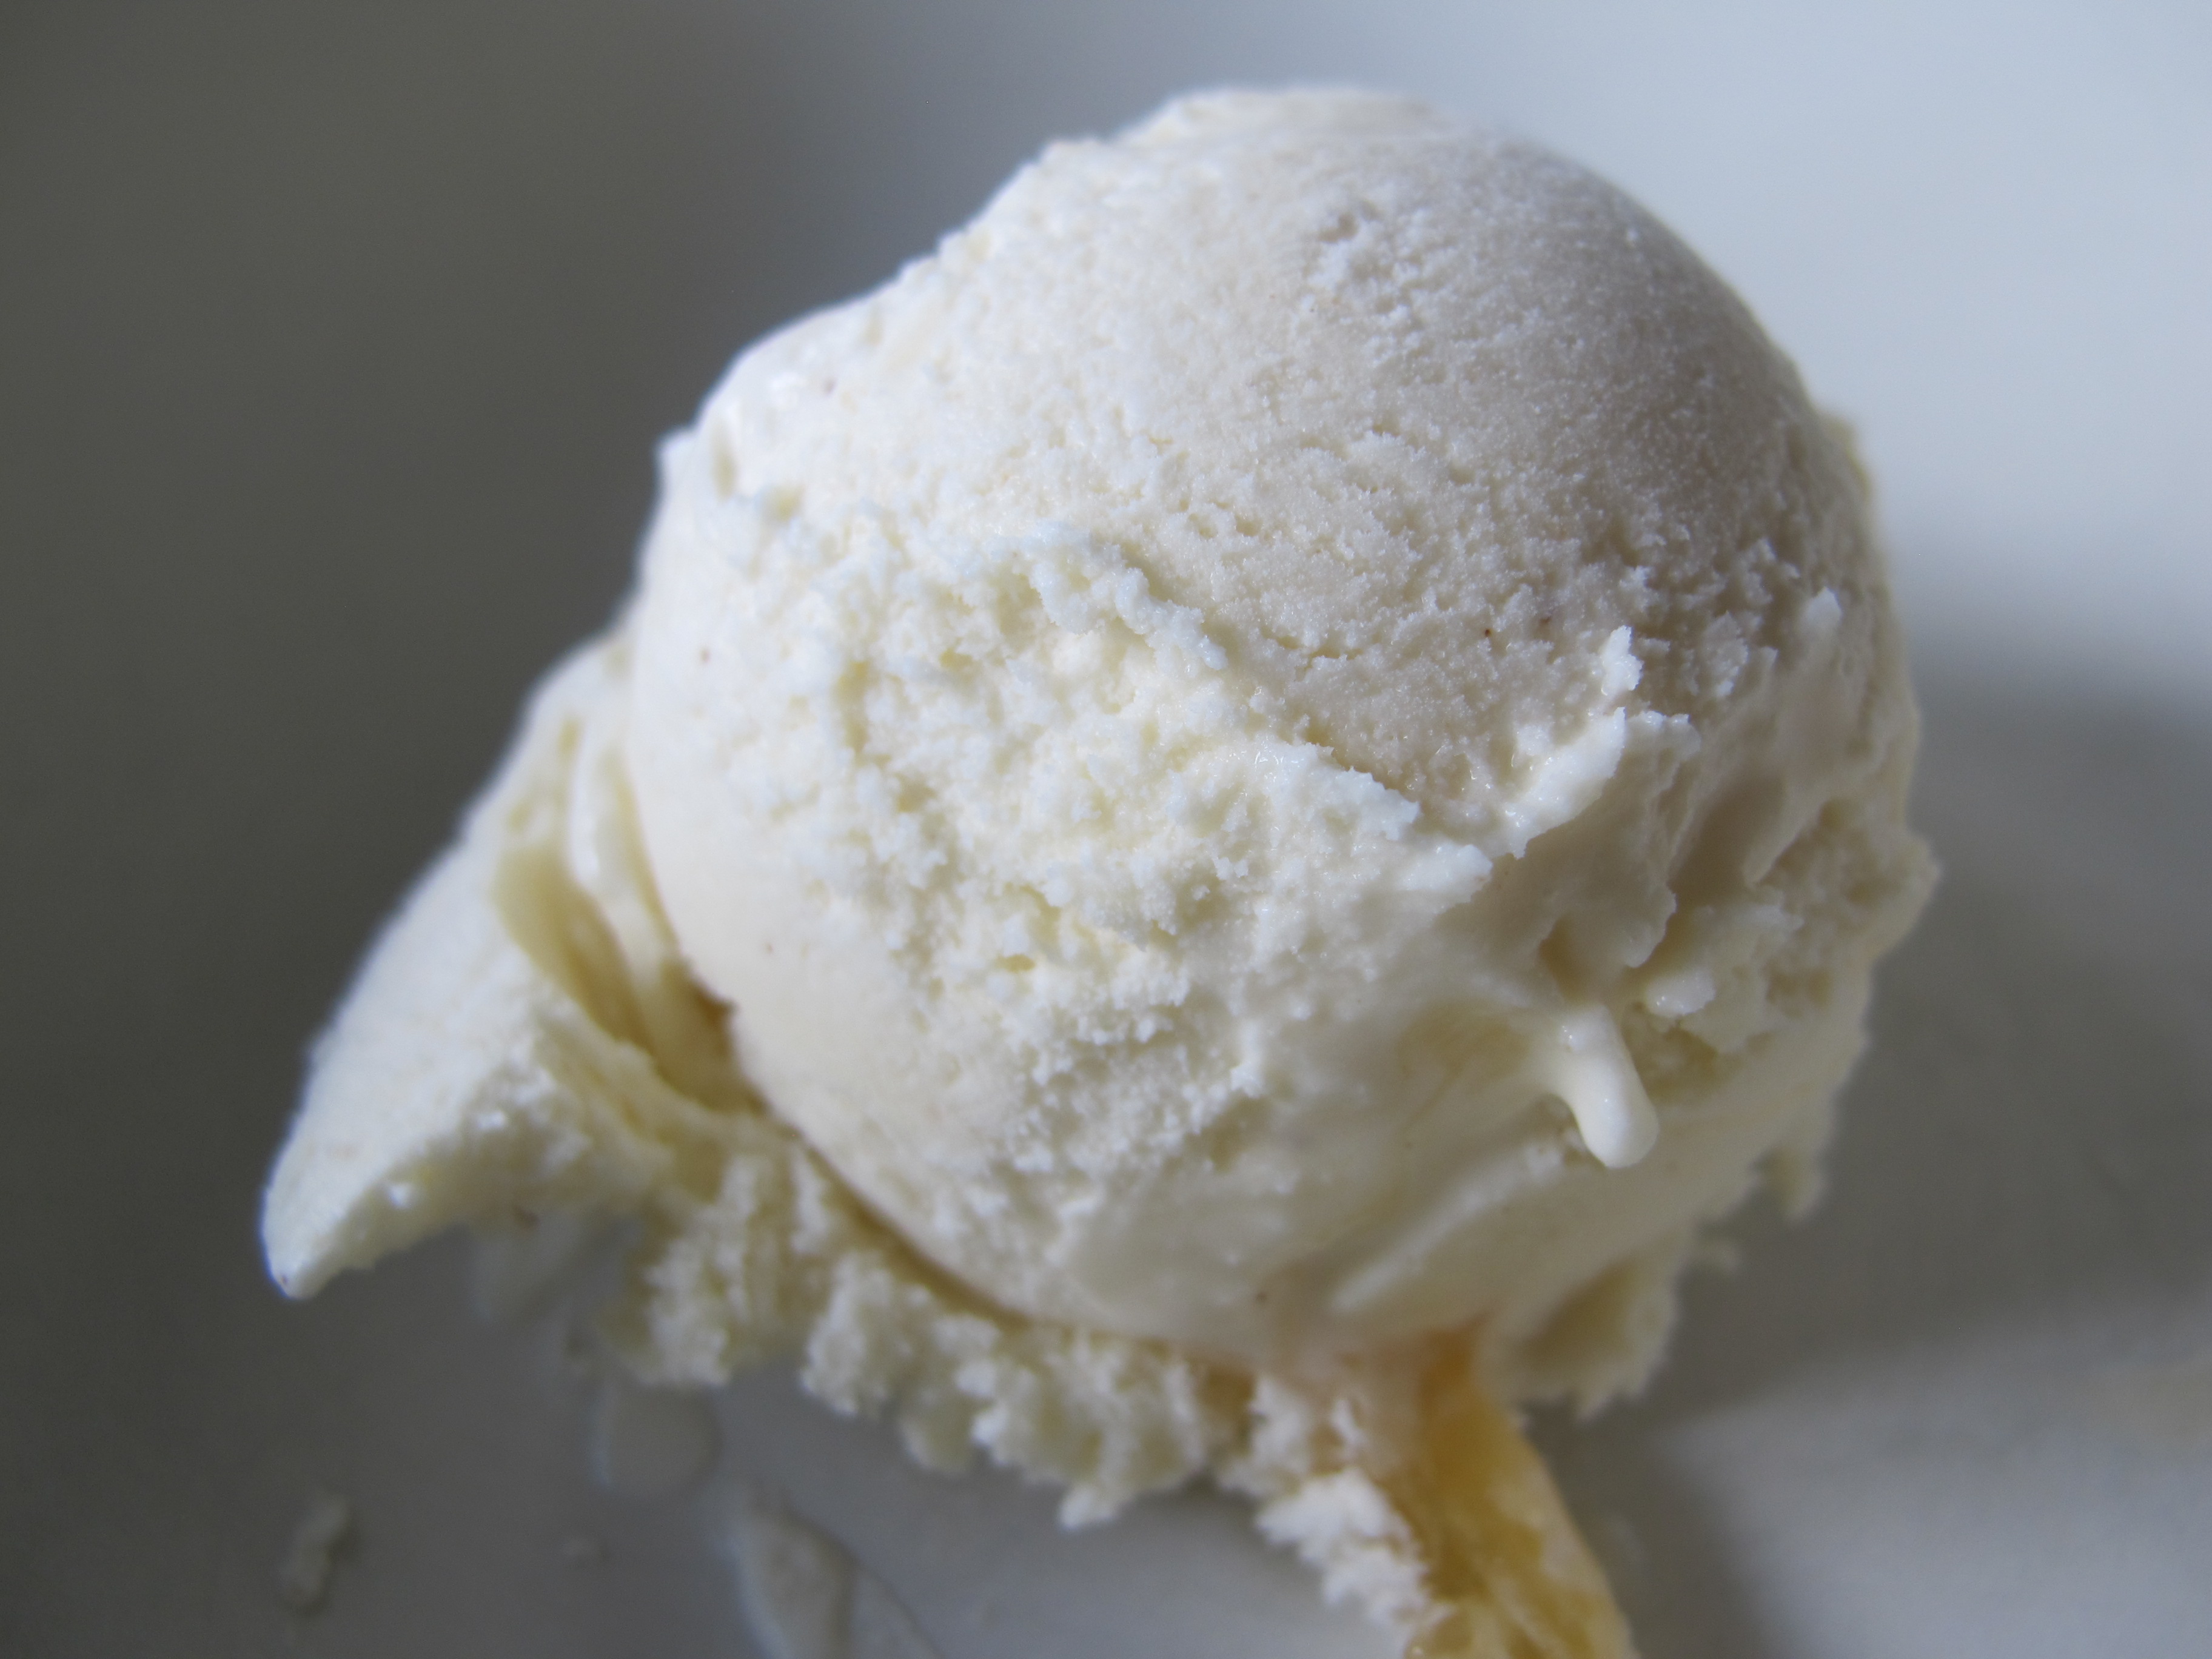
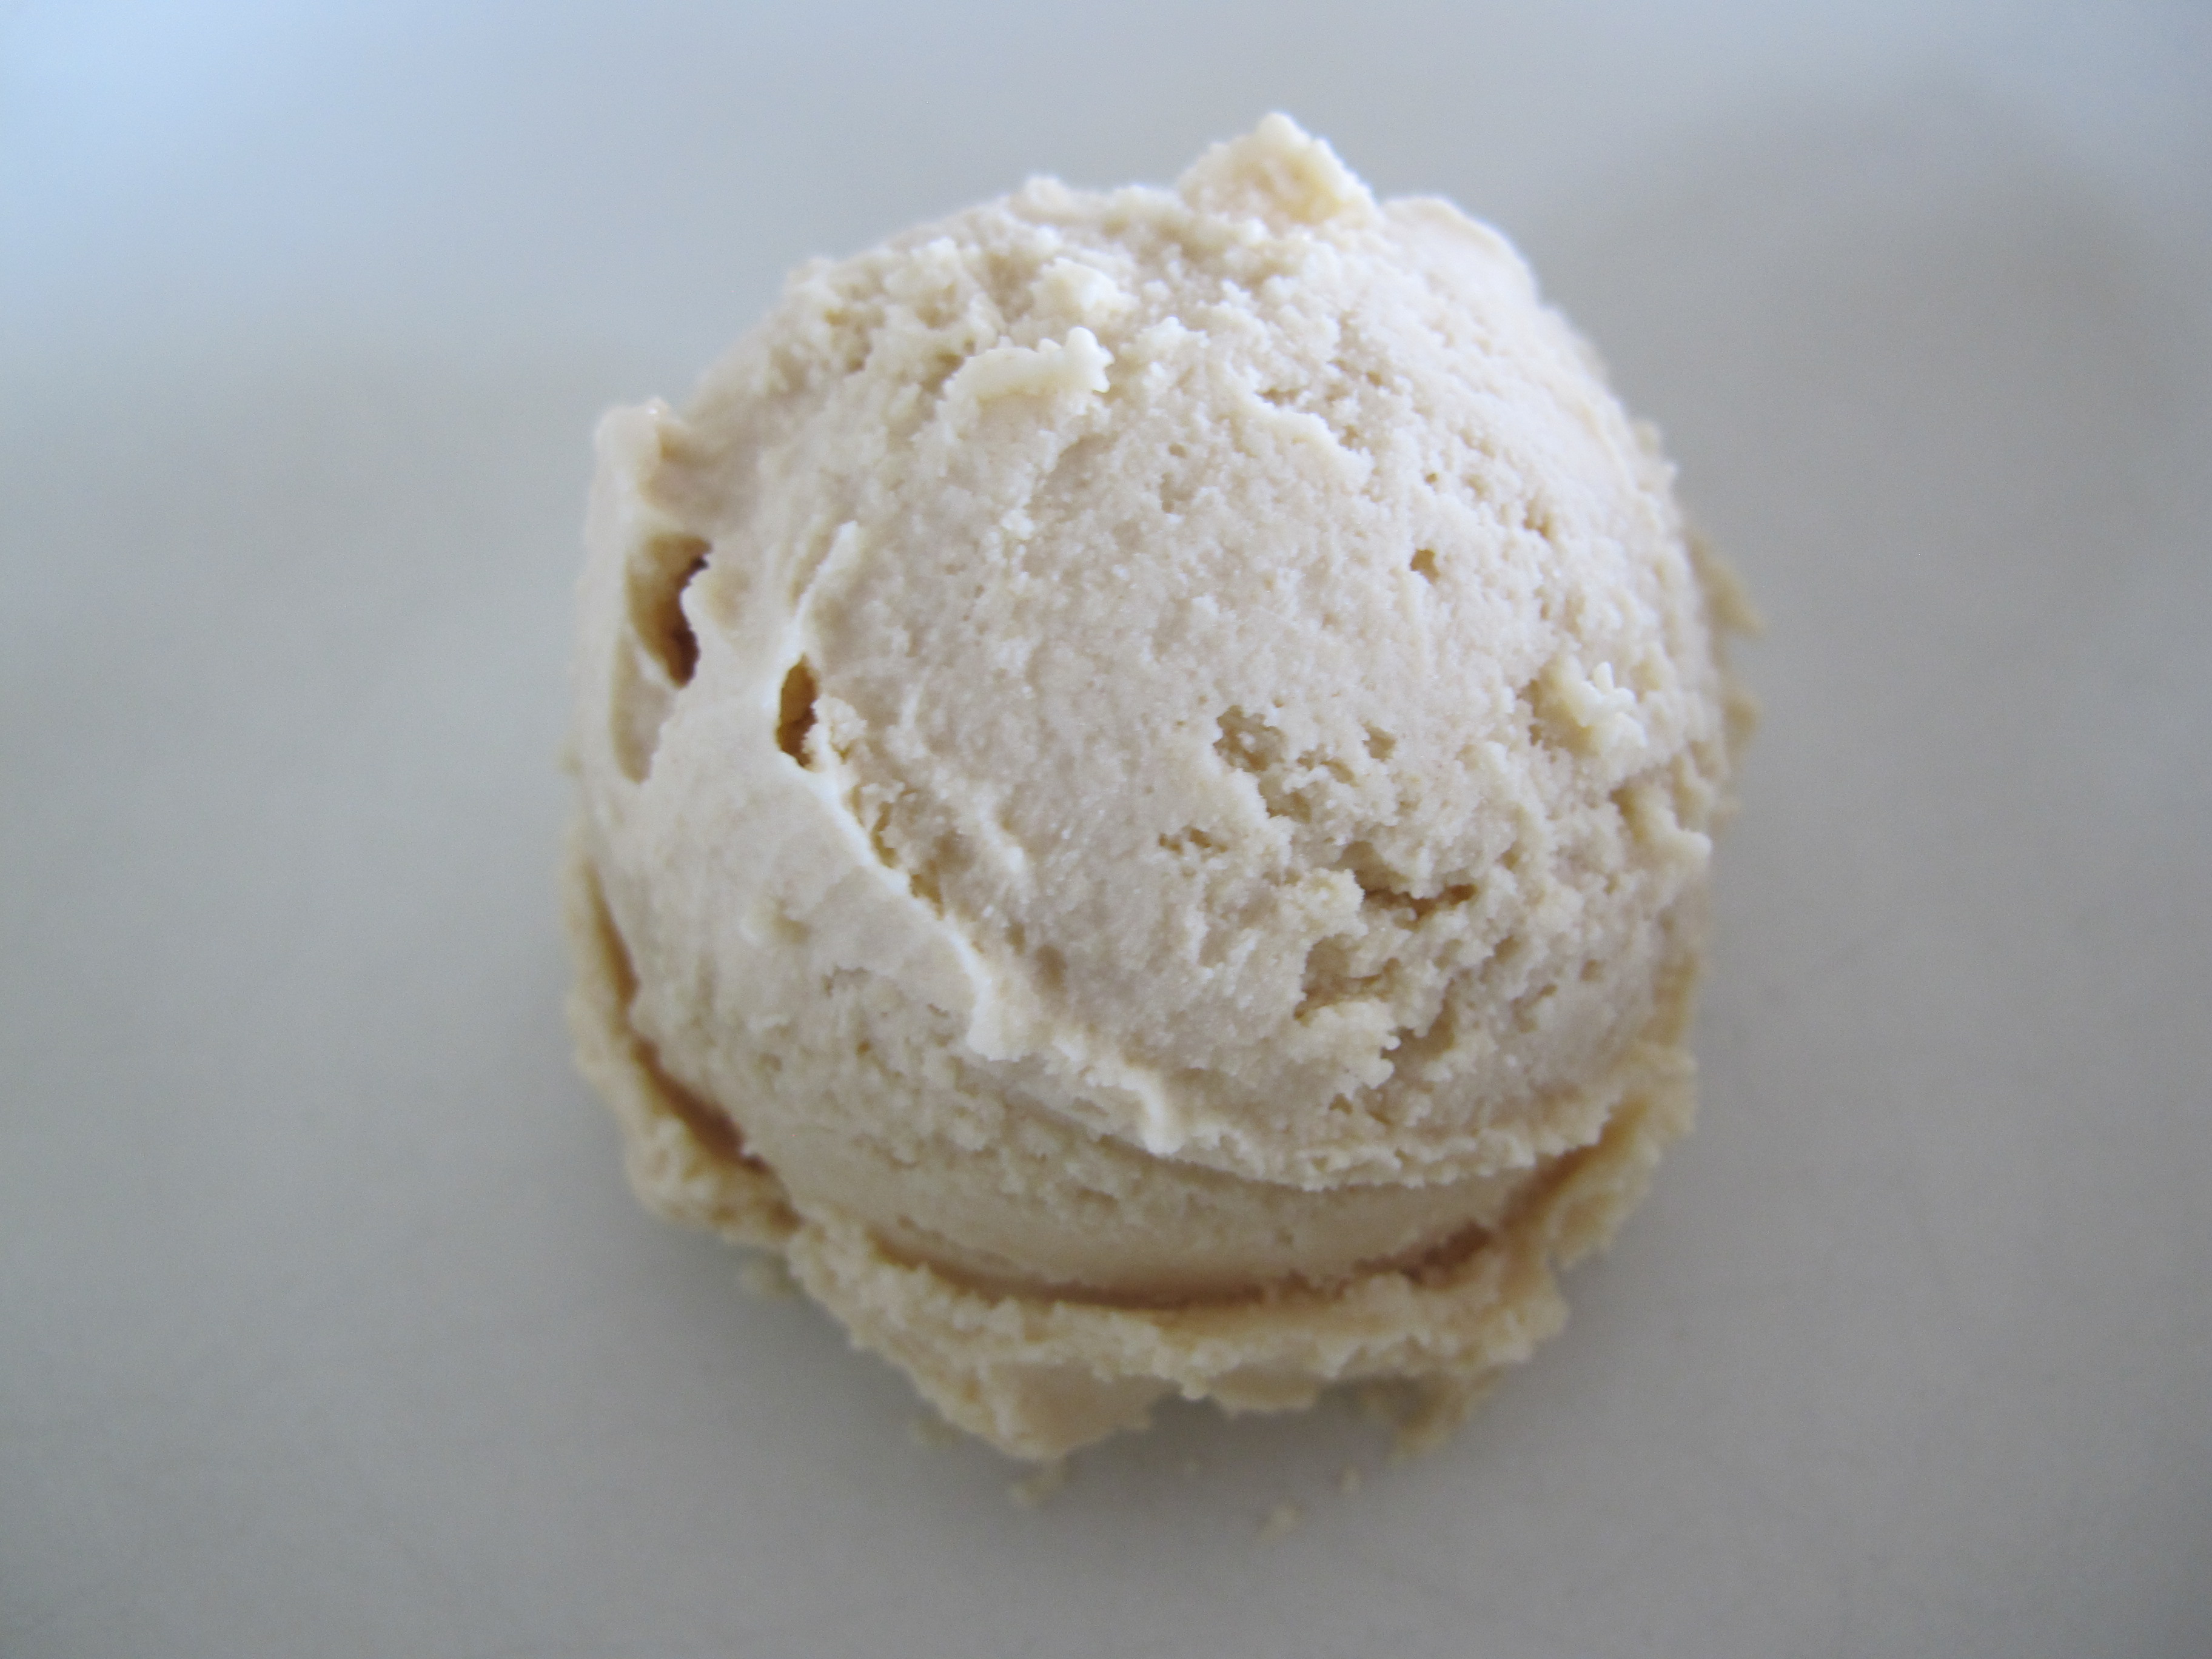
The ice cream base itself is relatively straightforward and simple, but the key is using brown sugar as the sweetener. It adds an extra dimension to the party.
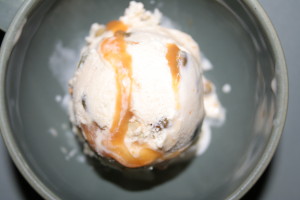
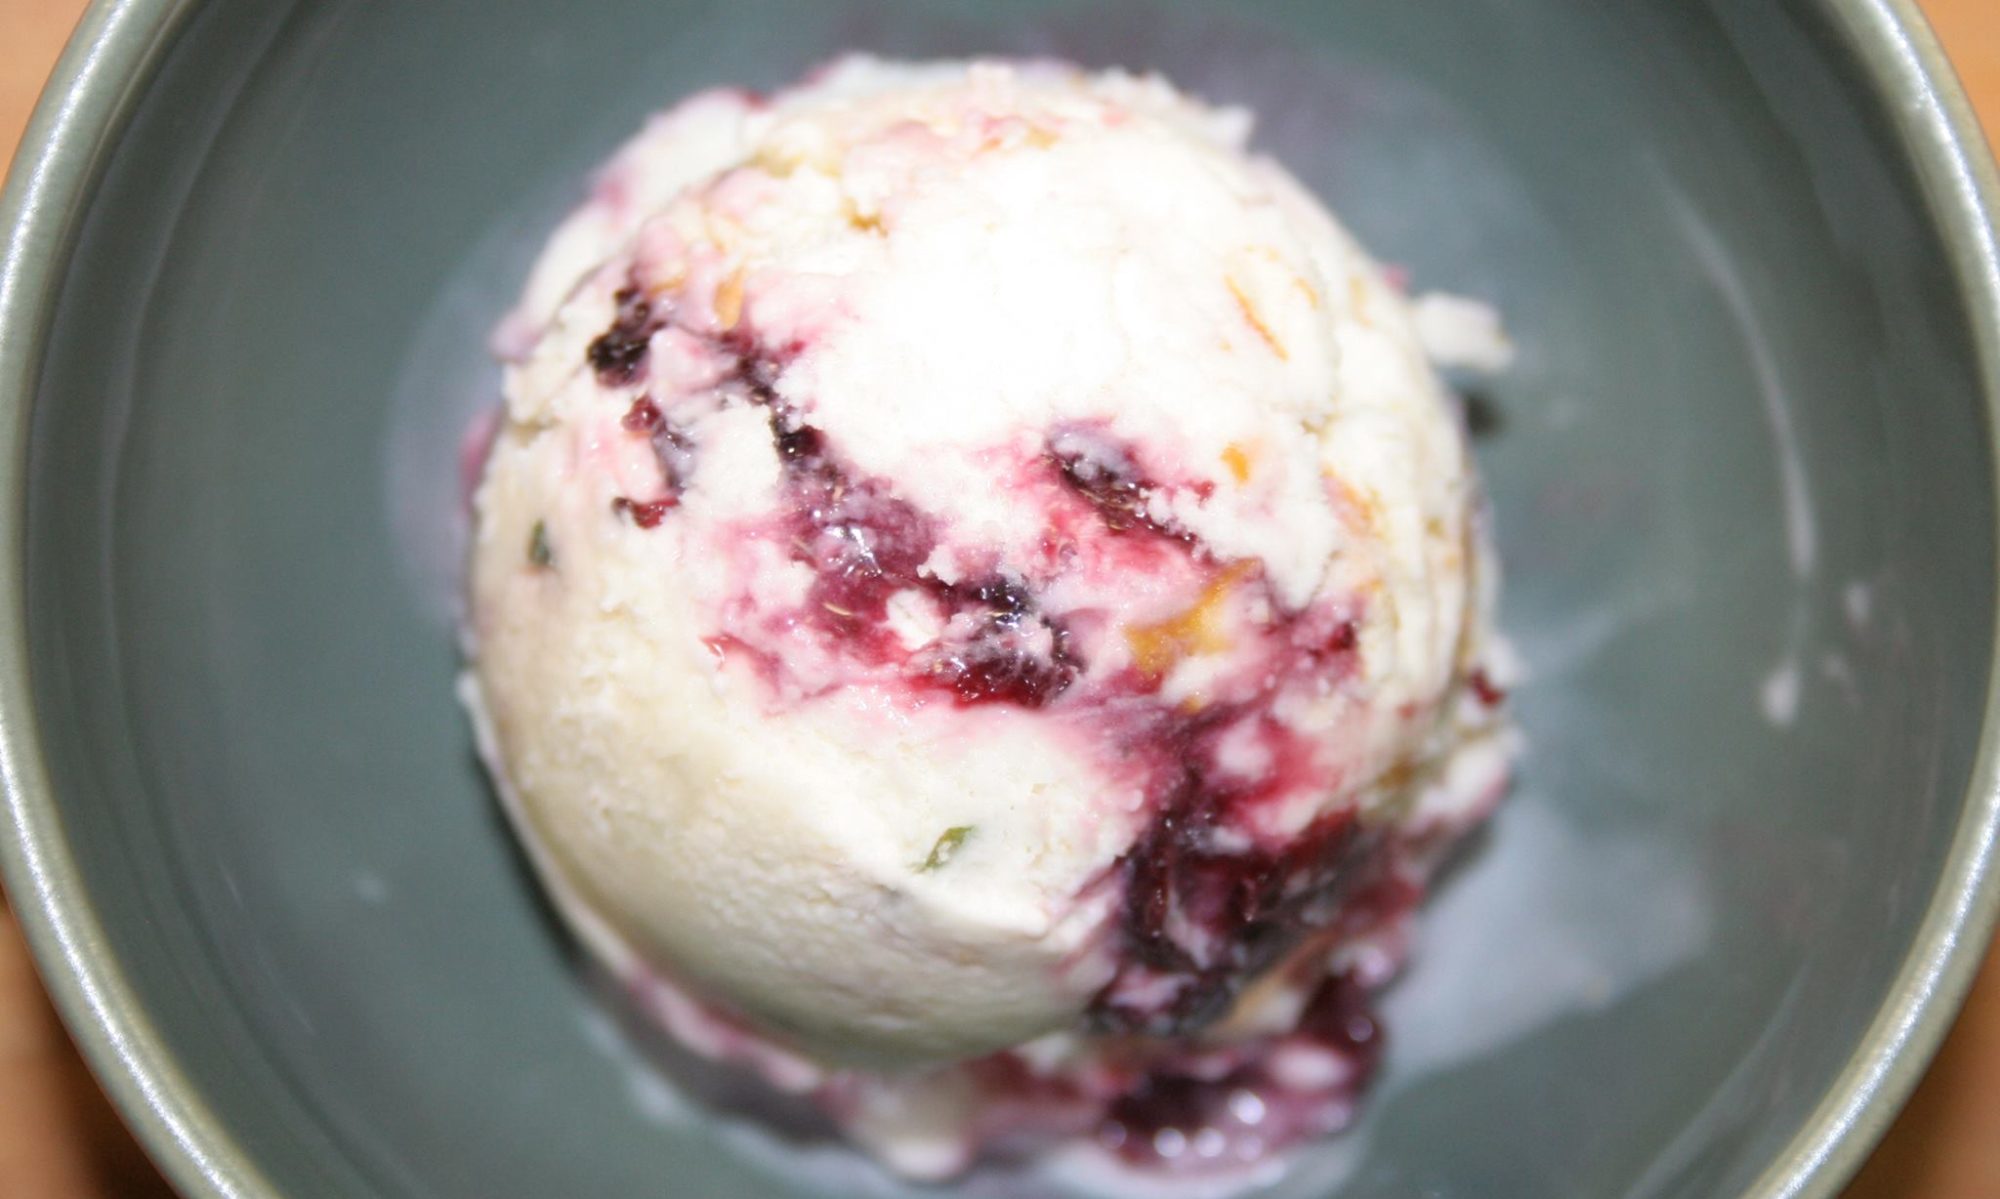
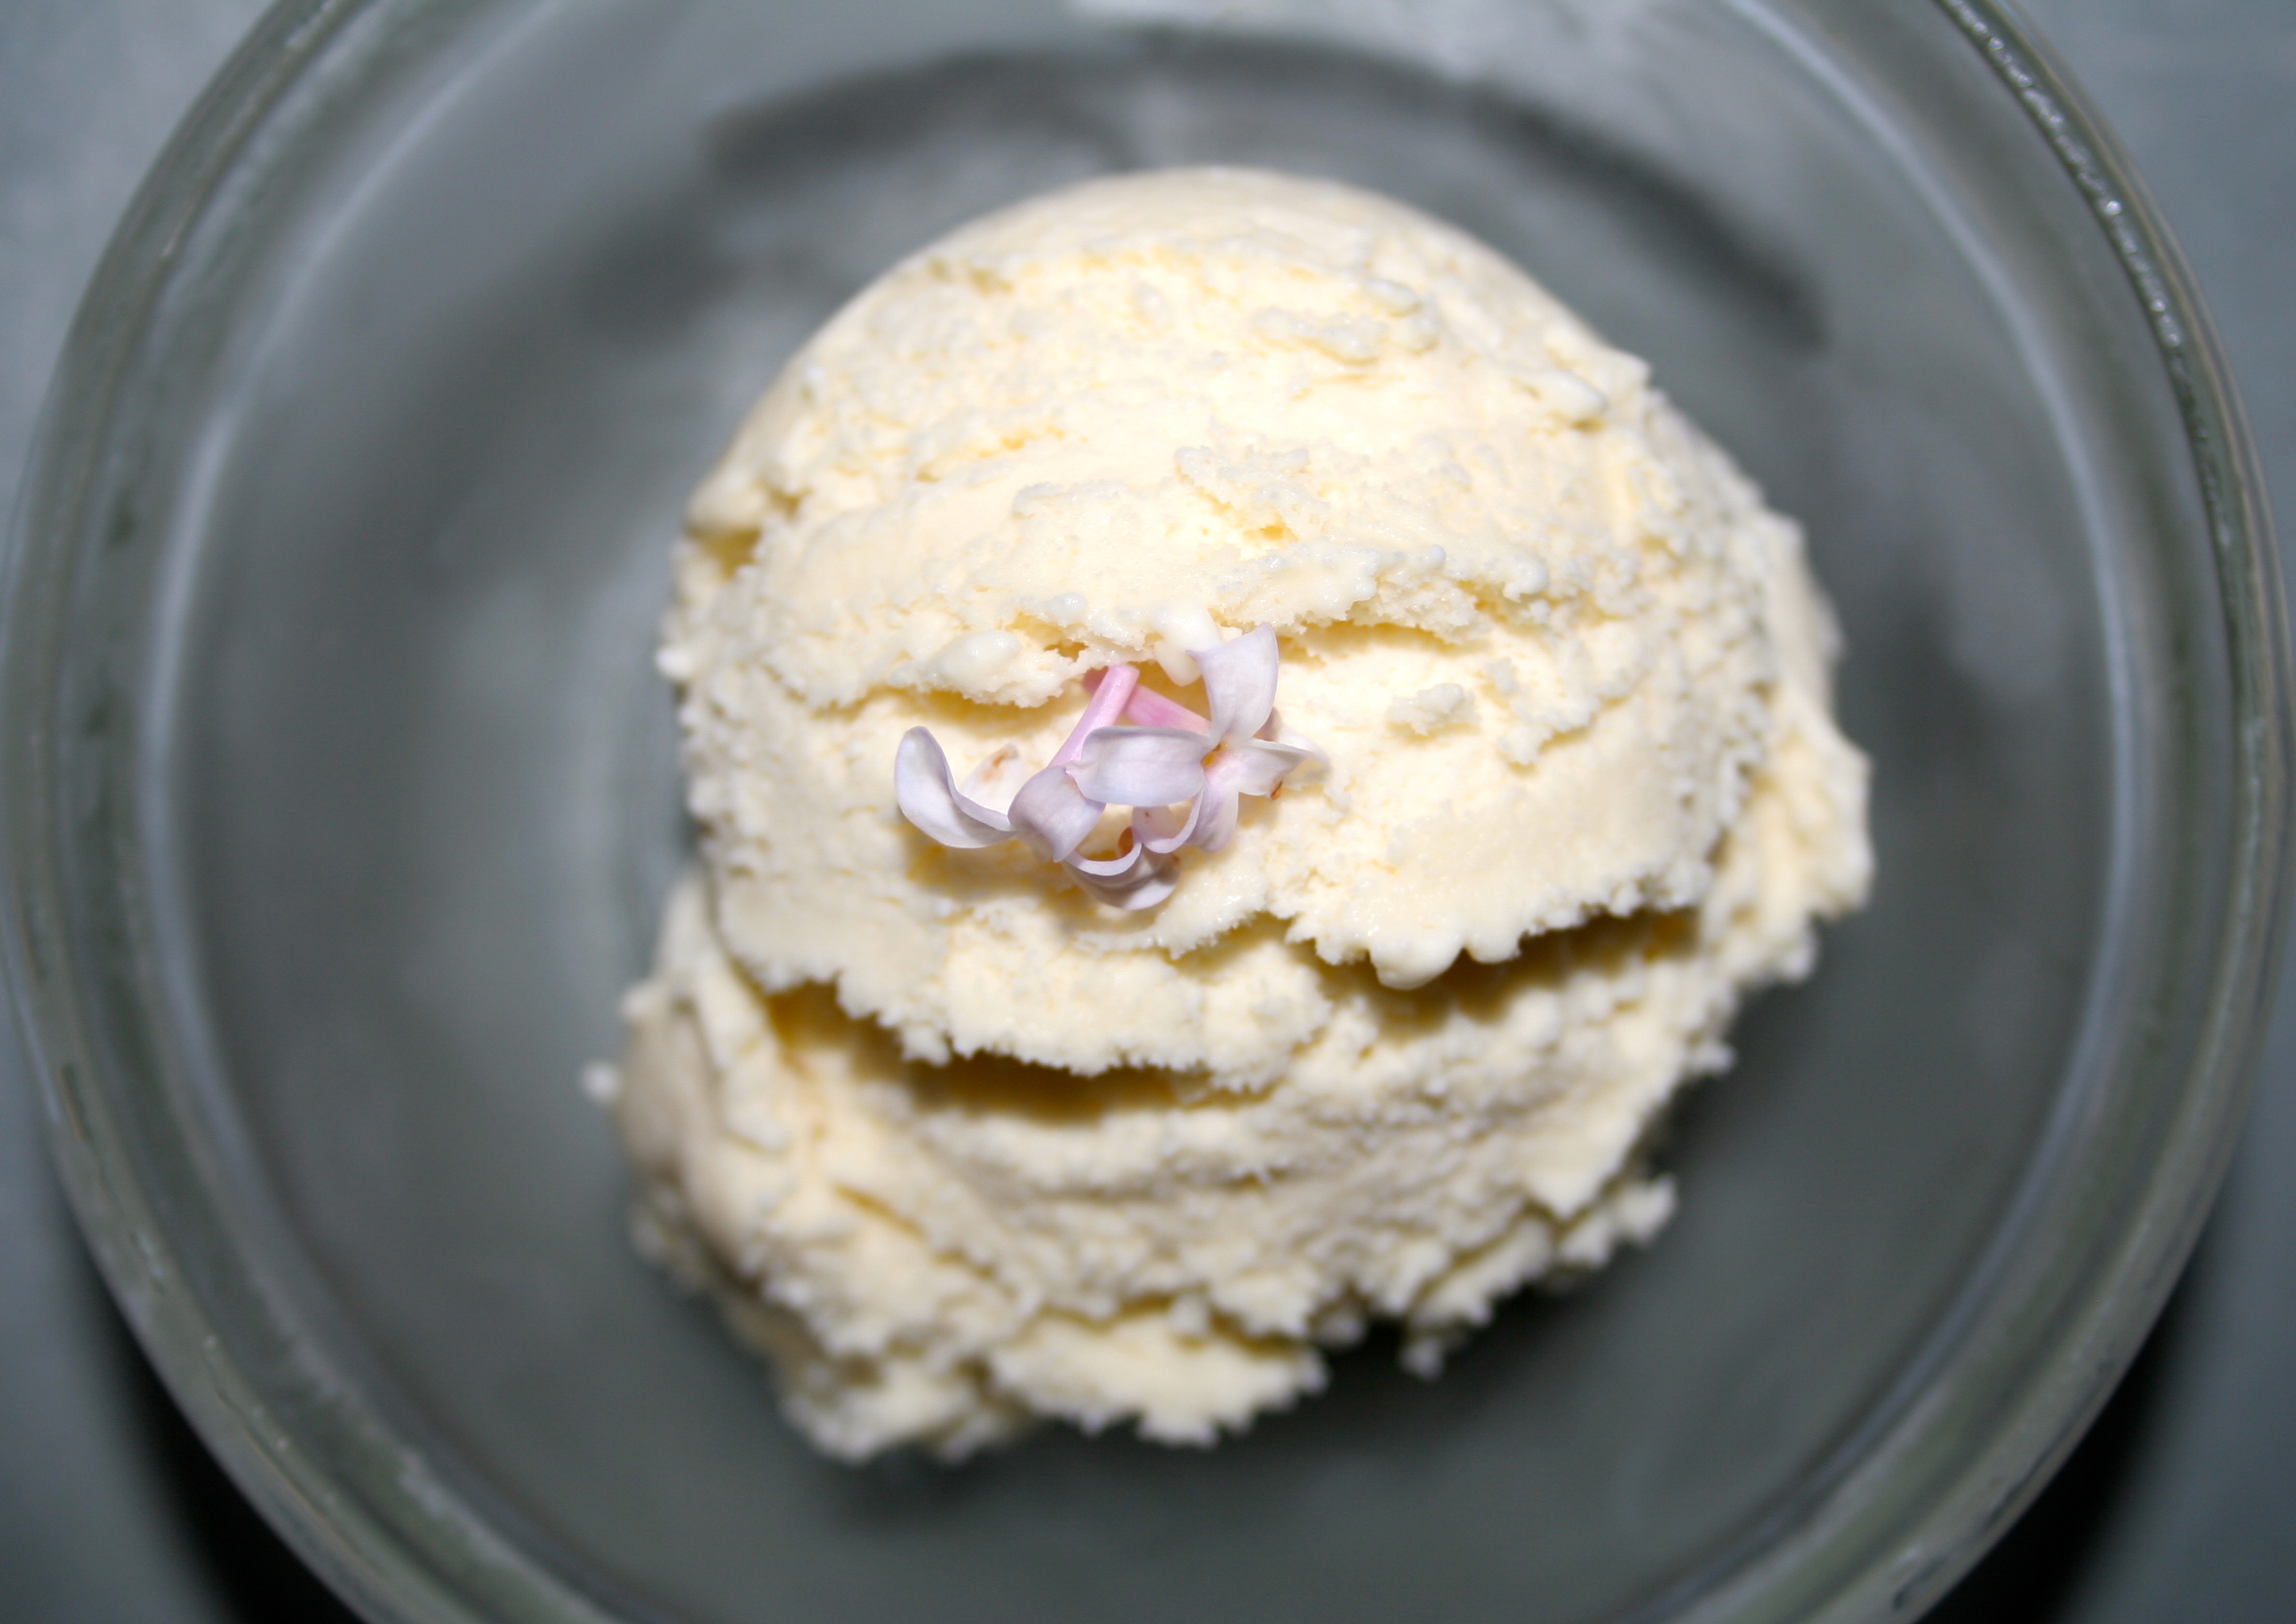
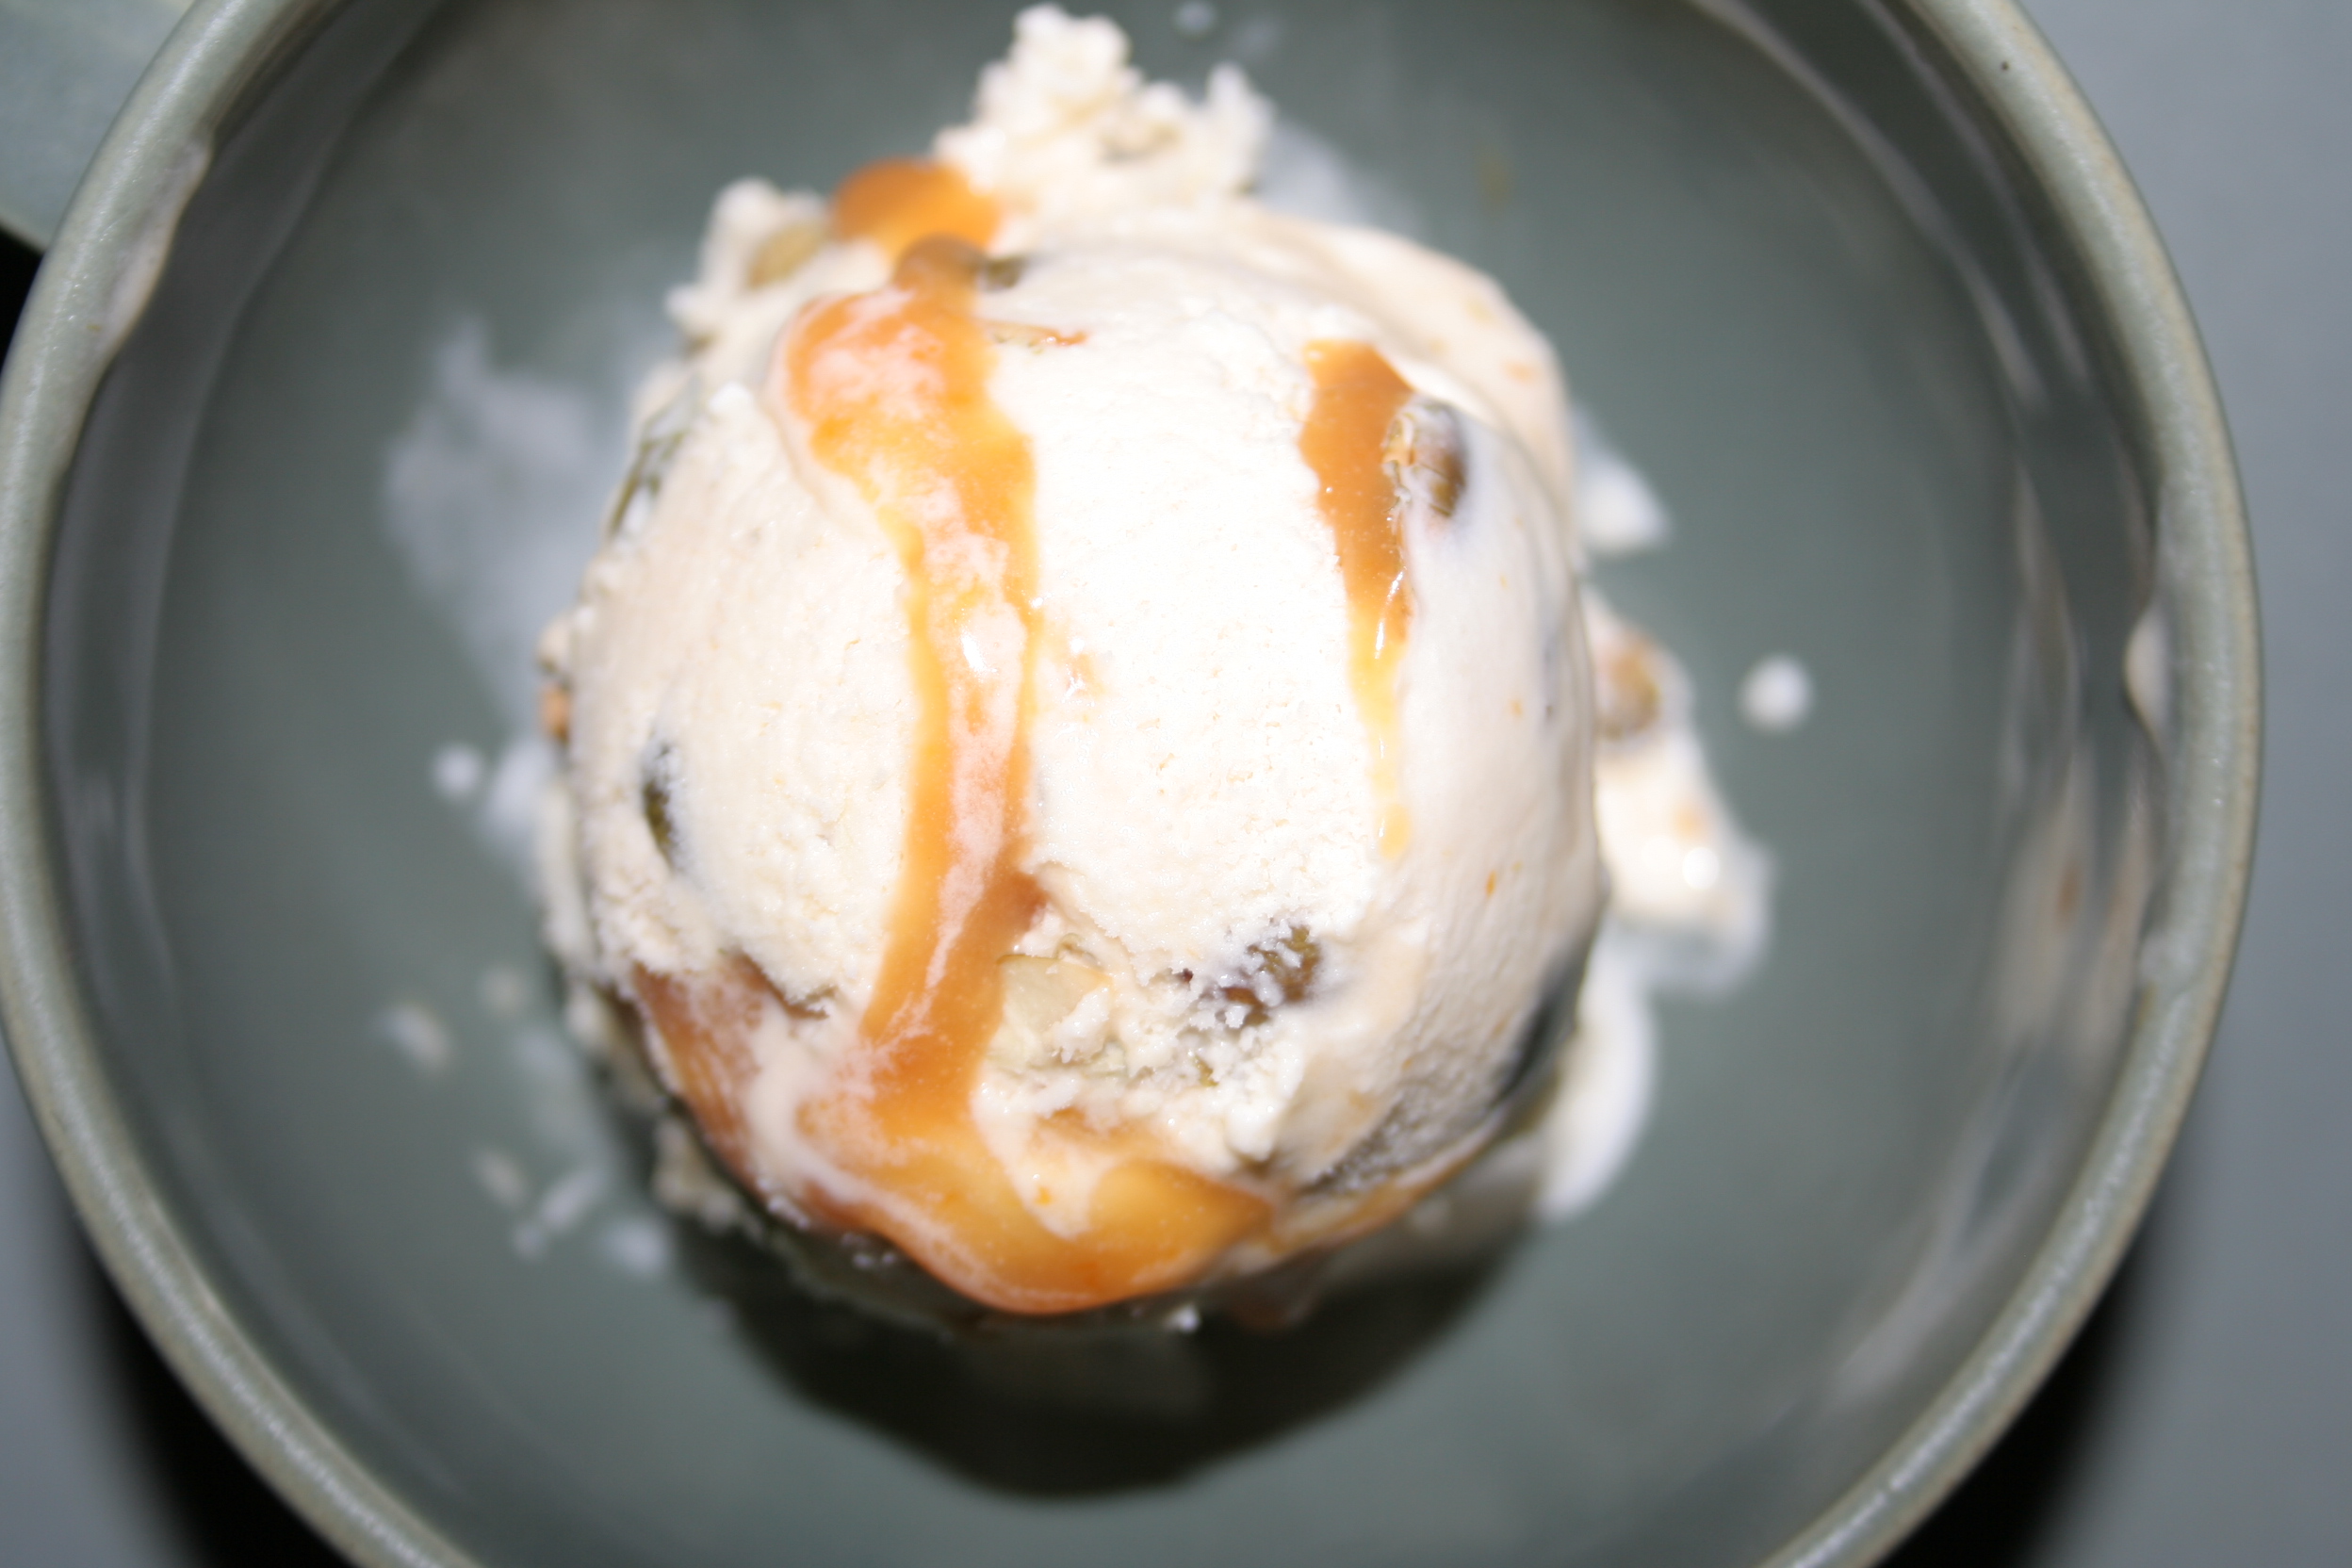
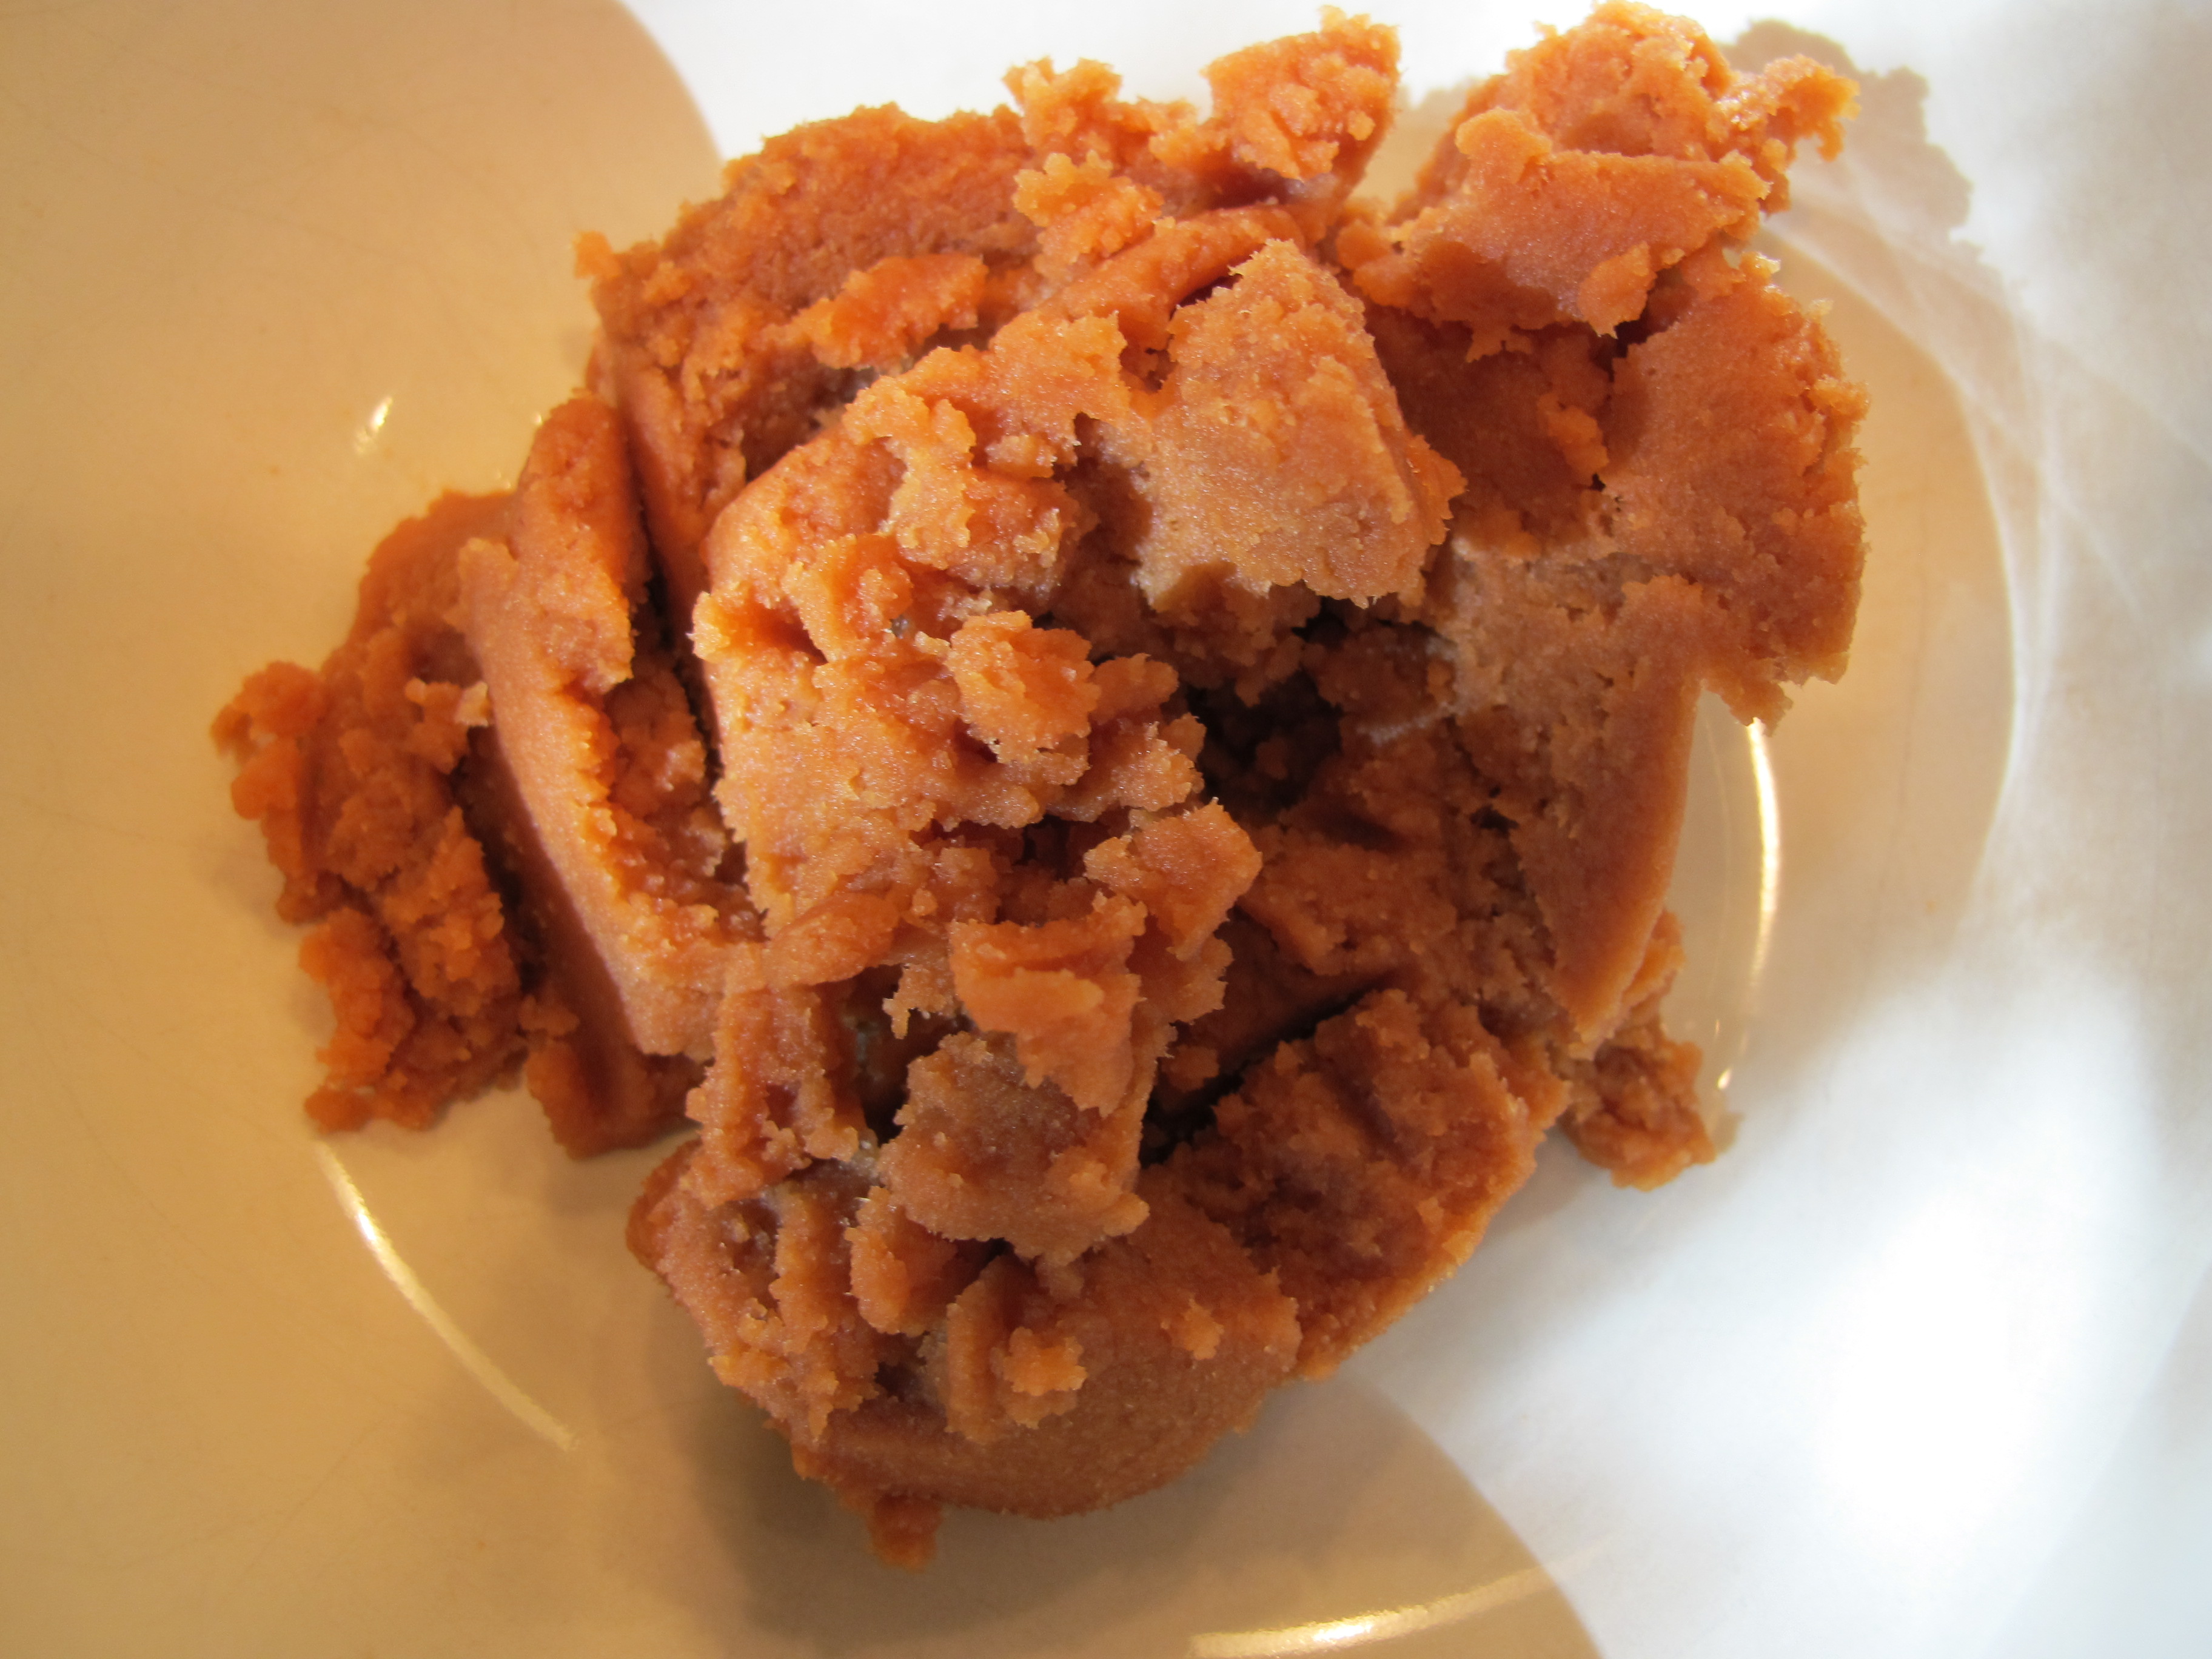
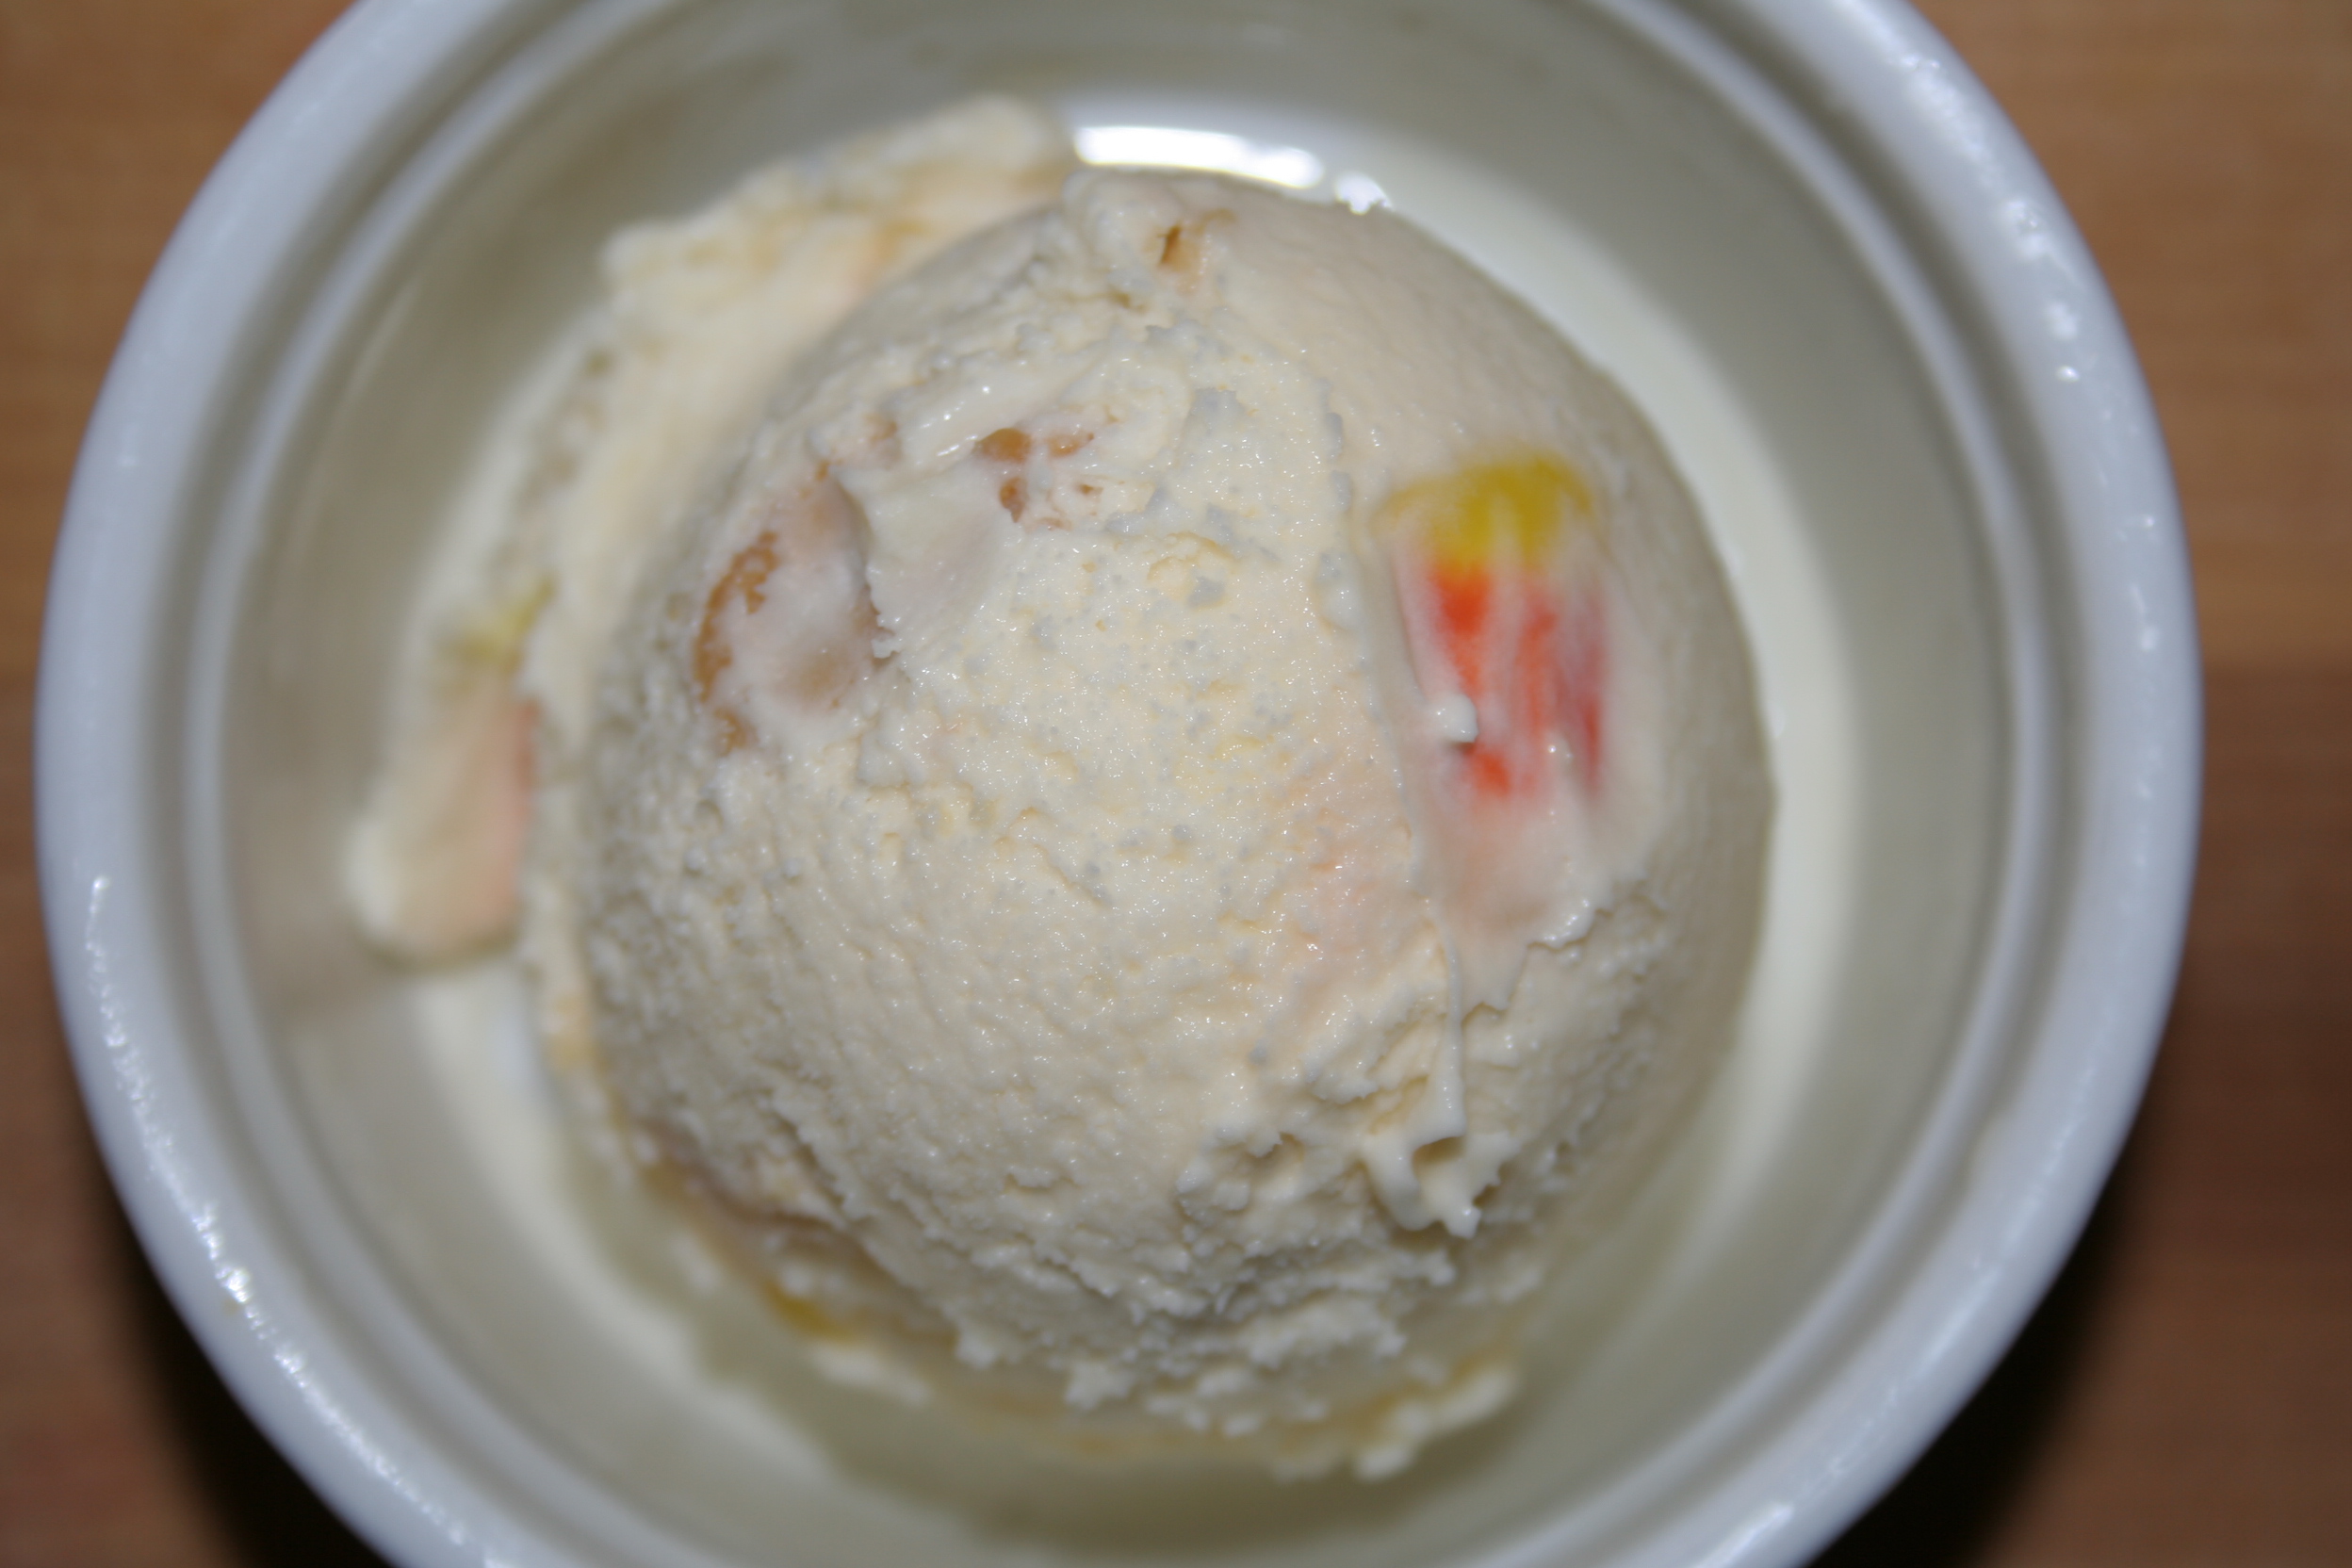
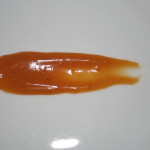
The scoop is a silky smooth brown sugar ice cream, swirled with ribbons of butternut squash caramel and studded with crunchy, salty pepitas.
Butternut Caramel with Toasted Pepitas Ice Cream Recipe
Toasted Pepitas:
1 Cup of raw pumpkin seeds (substitute already roasted and salted if you want to skip this step)
1 Tablespoon butter
2 Teaspoon Salt
Roasted Butternut Squash Caramel:
1 Cup Diced Butternut sqaush, medium, 1/2″ cubes
1 Tablespoon Butter, melted
1 Cup White Sugar
1 Tablespoon water
1 C Cream
Ice Cream:
2 cups Heavy Cream
1/2 cup Milk
1/2 cup Brown Sugar
2 Eggs
3/4 teaspoon Sea salt
Butternut Caramel
1/2 Cup Toasted Pepitas
Instructions:
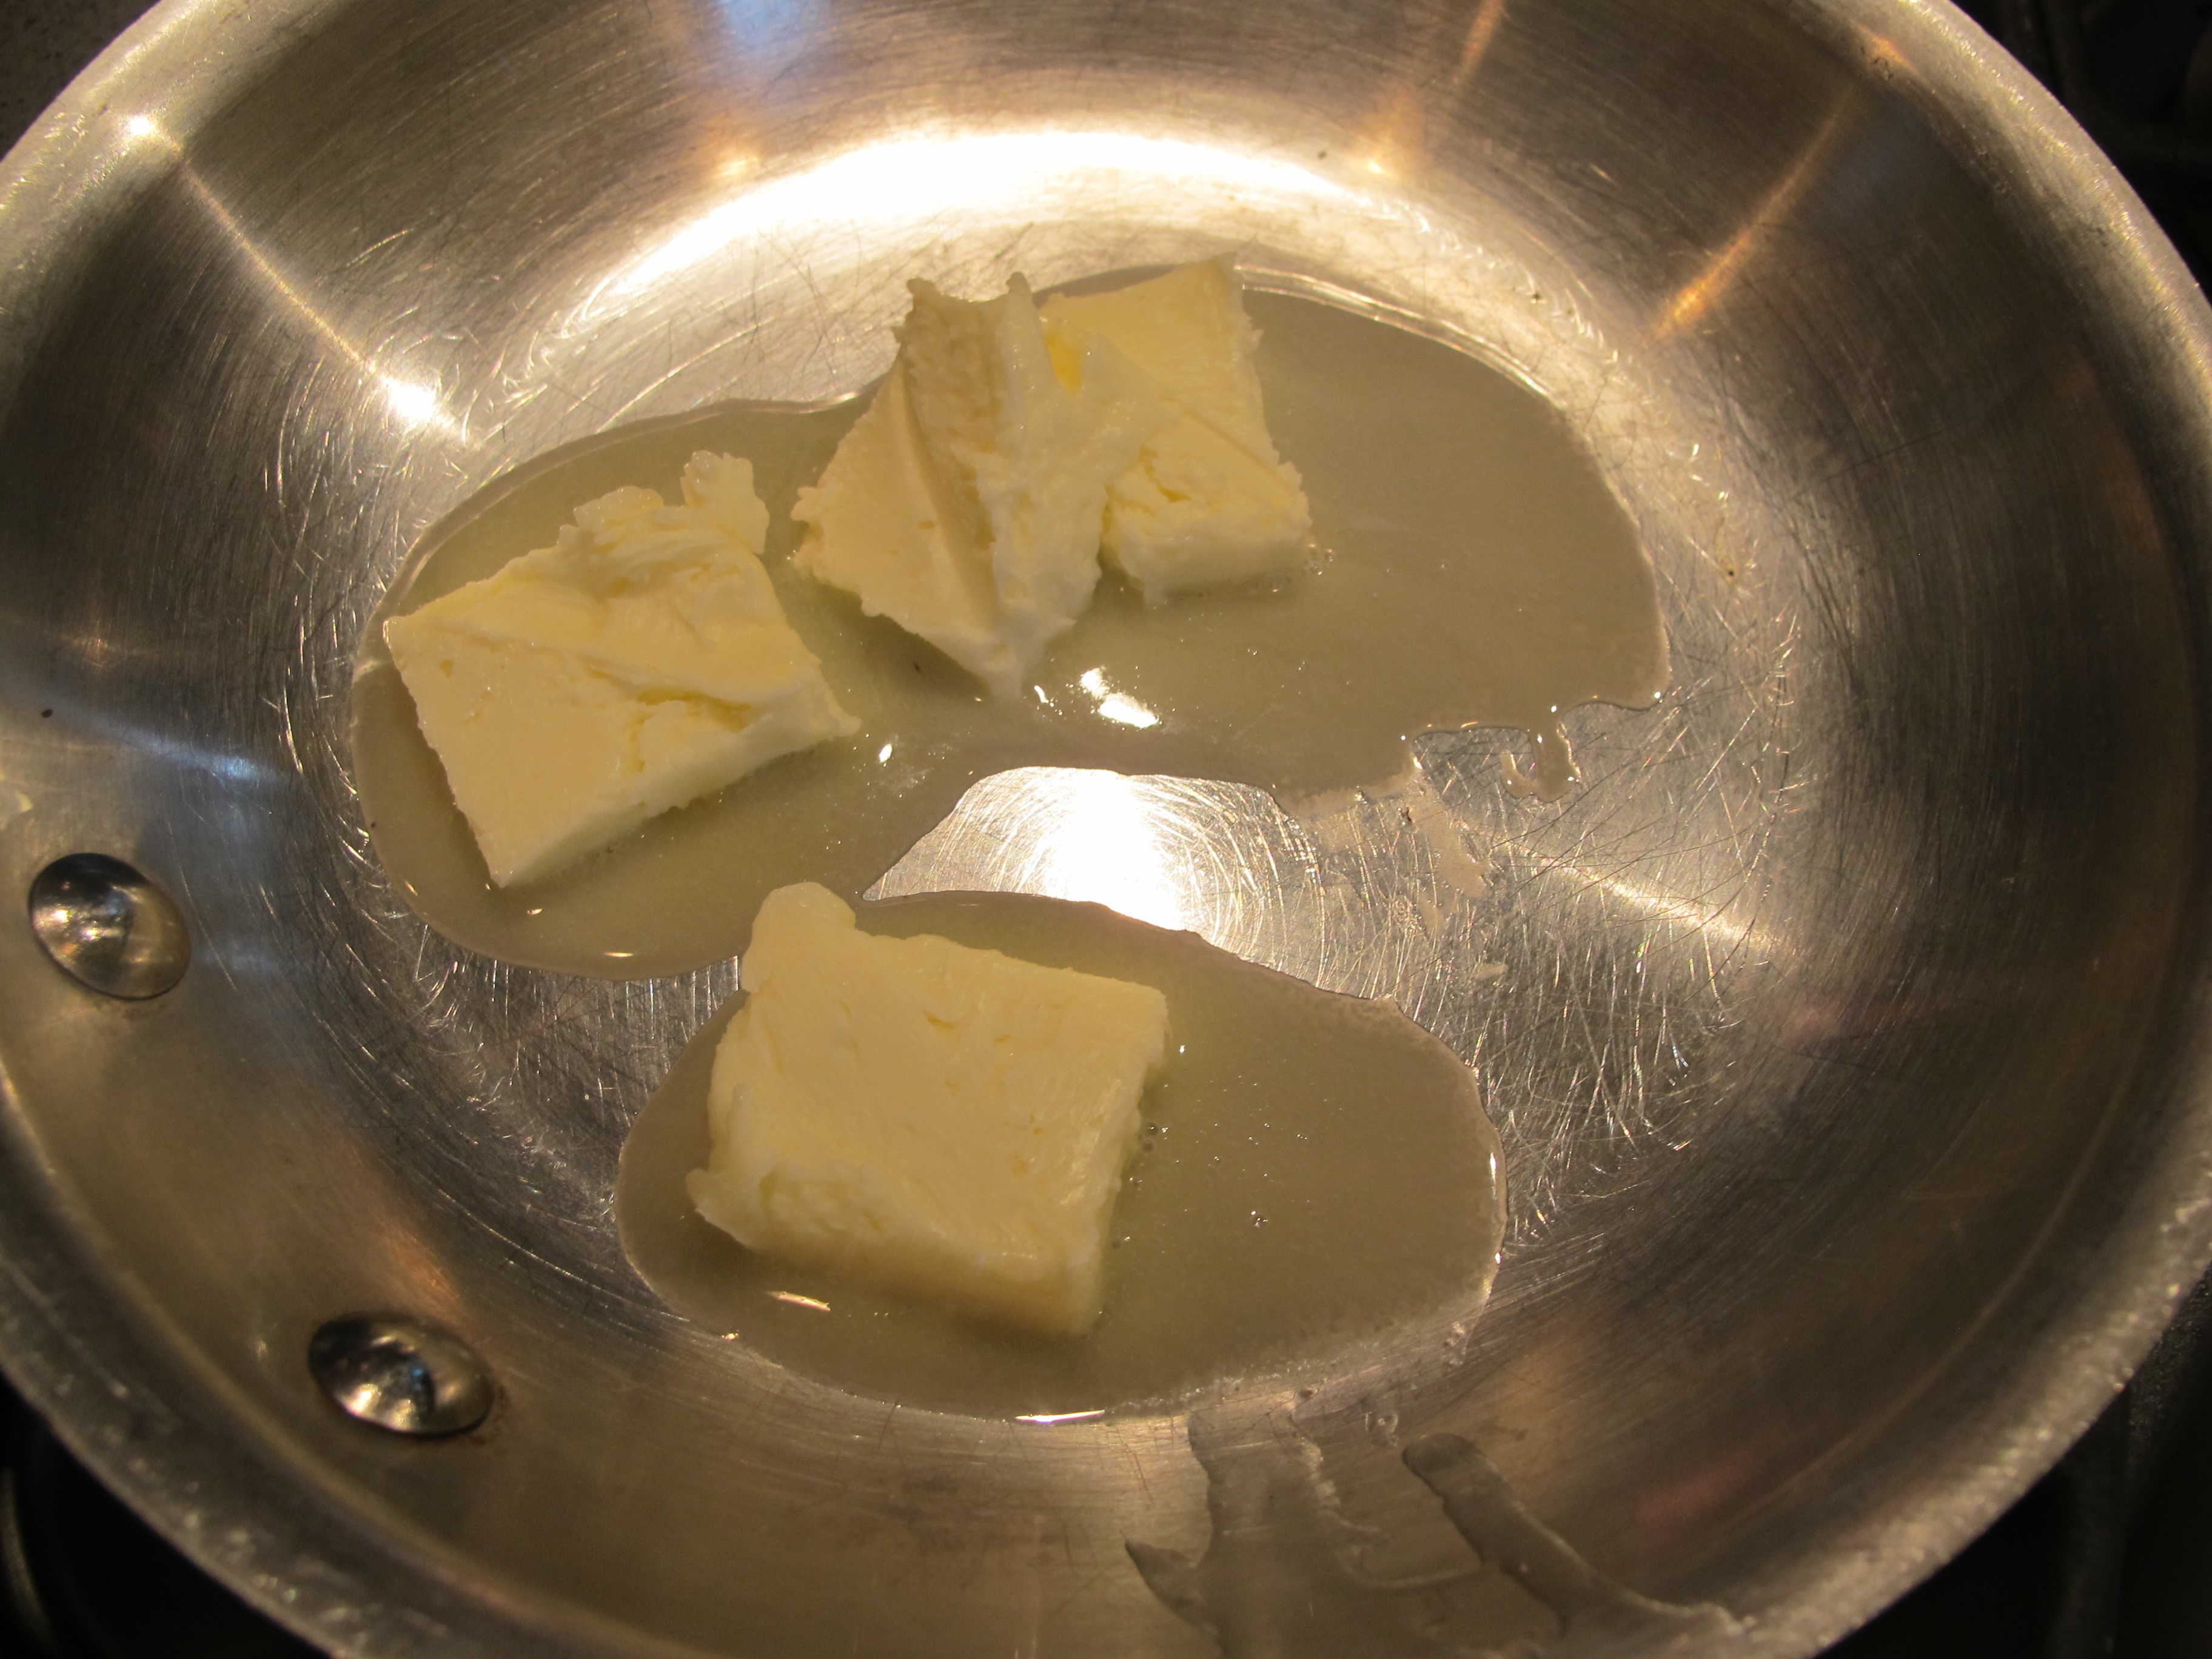
1. Make Roasted Butternut Caramel (Make at least a day before freezing the ice cream): Preheat oven to 350 degrees. Toss butternut squash with melted butter and roast for approximately 15 minutes . Stir squash and roast for 15 minutes until the squash begins to caramelize and is soft. Remove from oven and puree with 1/2 cup cream until smooth; set aside.
Now for the caramel: put 1 Cup of sugar in heavy bottomed pot and mix with 1 Tablespoon of water until sugar is wet but not submersed in water. Bring sugar to a boil and DO NOT STIR (if you stir the boiling sugar it will become grainy and you’ll have to start over) watch carefully – within about 5 minutes the boiling sugar will begin to turn a caramel color. Once it turns light brown, remove the pot from heat and add remaining 1/2 cup of cream – be careful here as it will boil quickly and briefly – then add butternut squash puree and whisk until all is smooth. Let cool and refrigerate until you are ready to freeze the ice cream.
2. Make Toasted Pepitas (Do this right before you make the ice cream base for best results): Preheat oven to 350 degrees. Toss pumpkin seeds in 1 tablespoon of melted butter and spread onto a sheet pan – salt liberally. Place pumpkin seeds in oven and roast for 10 minutes, stir them up and roast for another 10 mintues until they become aromatic. Remove them from an oven and let cool, then set aside until you are ready to make the ice cream. Any leftover pepitas you don’t use for the ice cream make a great snack, and are fantastic on salads.
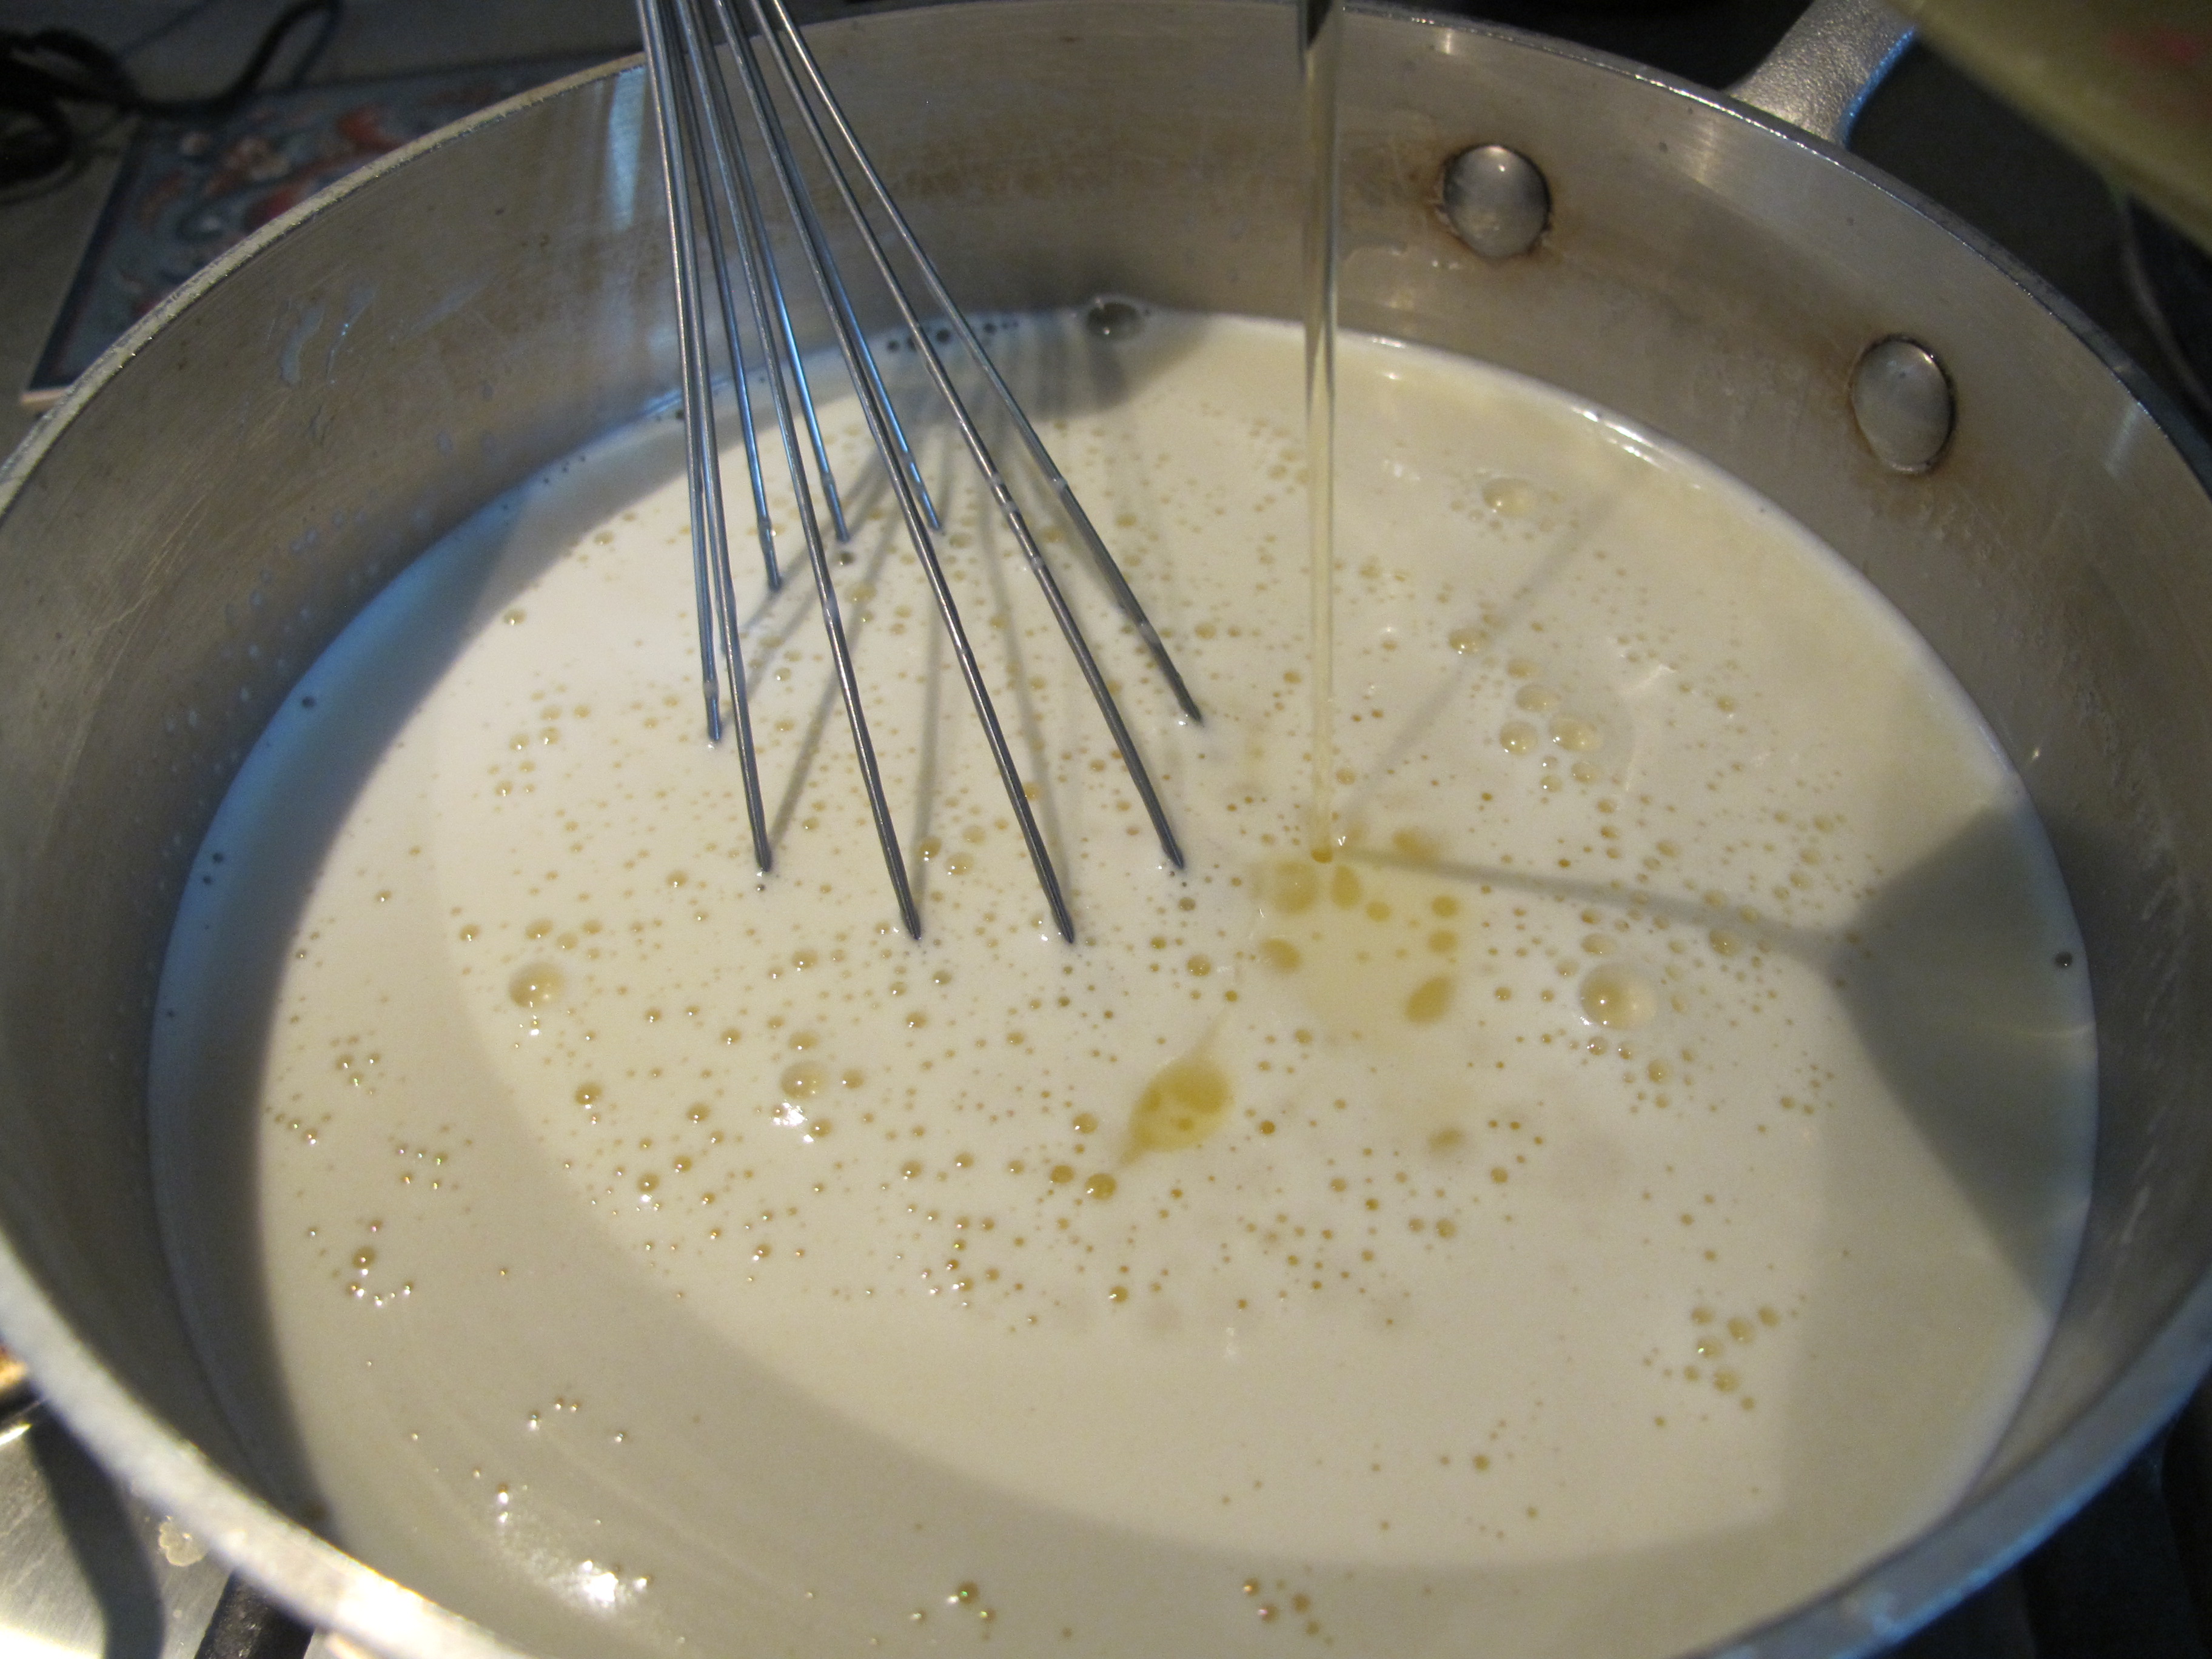
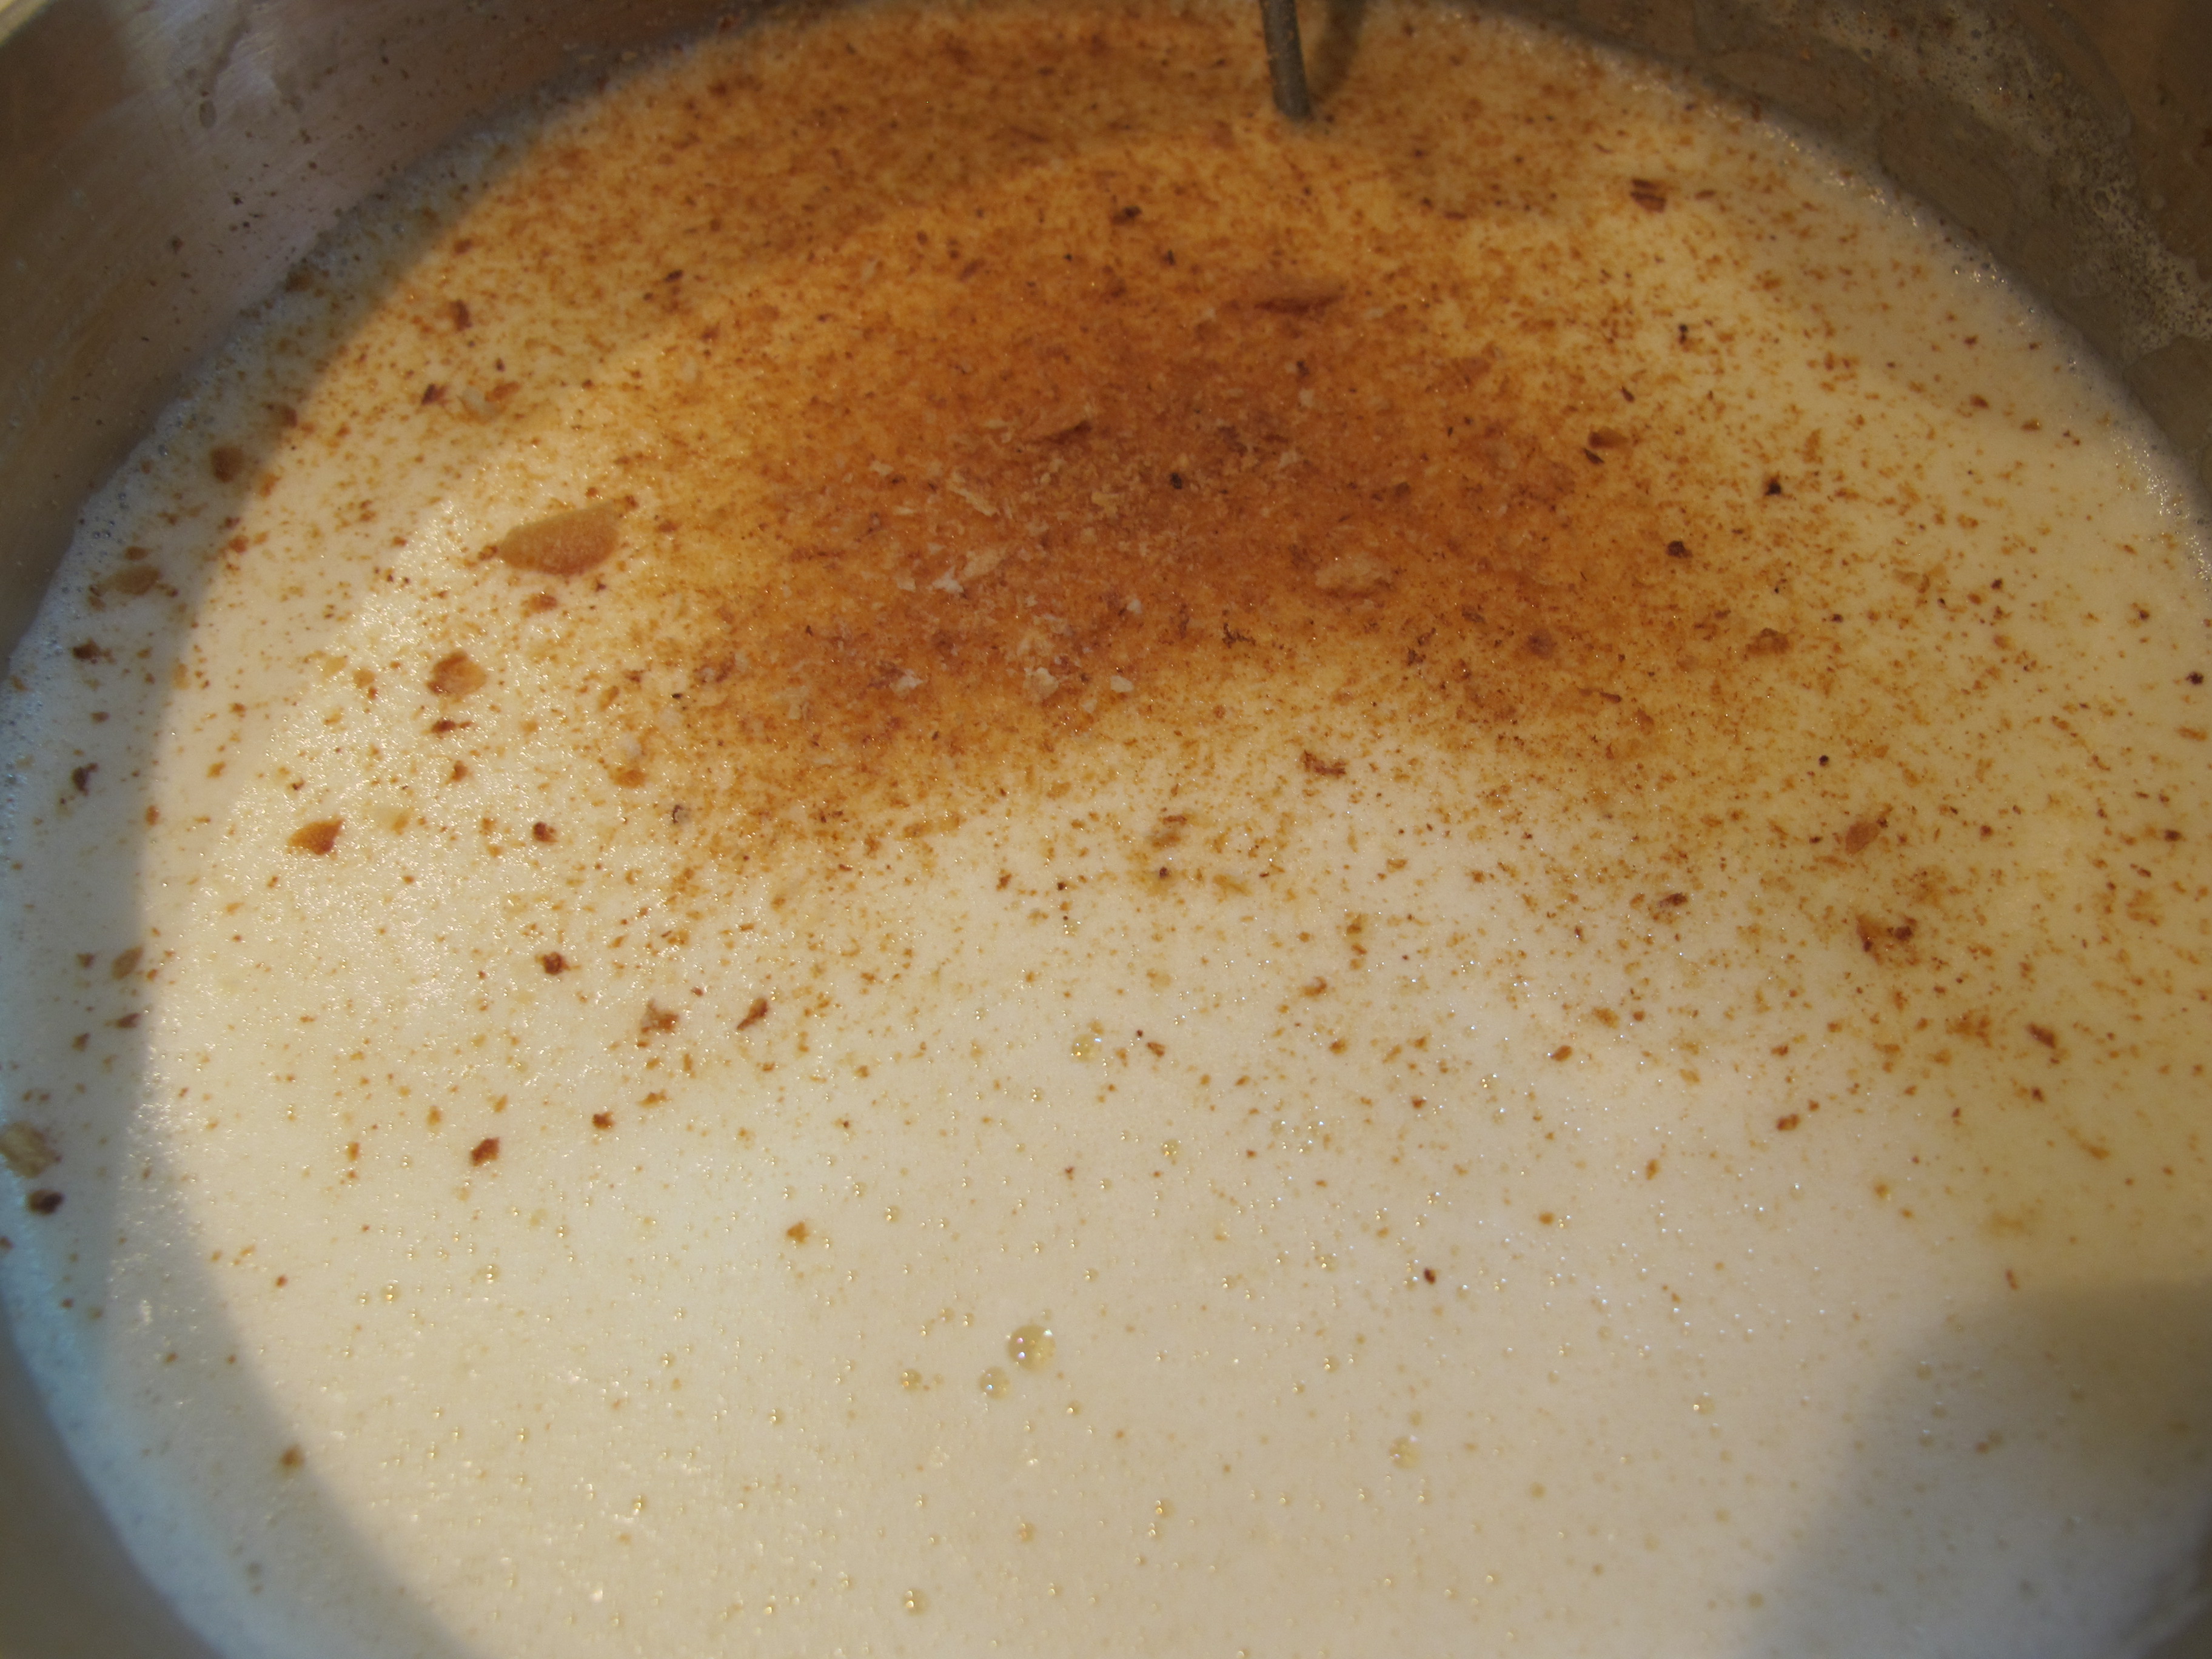
3. Make ice cream base: Crack eggs into a mixing bowl and whisk fully. Add brown sugar and whisk. Add heavy cream, milk, and salt. Whisk until ingredients are combined.
4. Cook/pasteurize ice cream base: Over medium heat, whisk or stir base continuously until temperature reaches 165-170 degrees. Remove from heat. Strain out toasted coconut. Cool ice cream base to room temperature (an ice bath will do this in about 15-20 minutes). Cover base, and chill in refrigerator overnight.
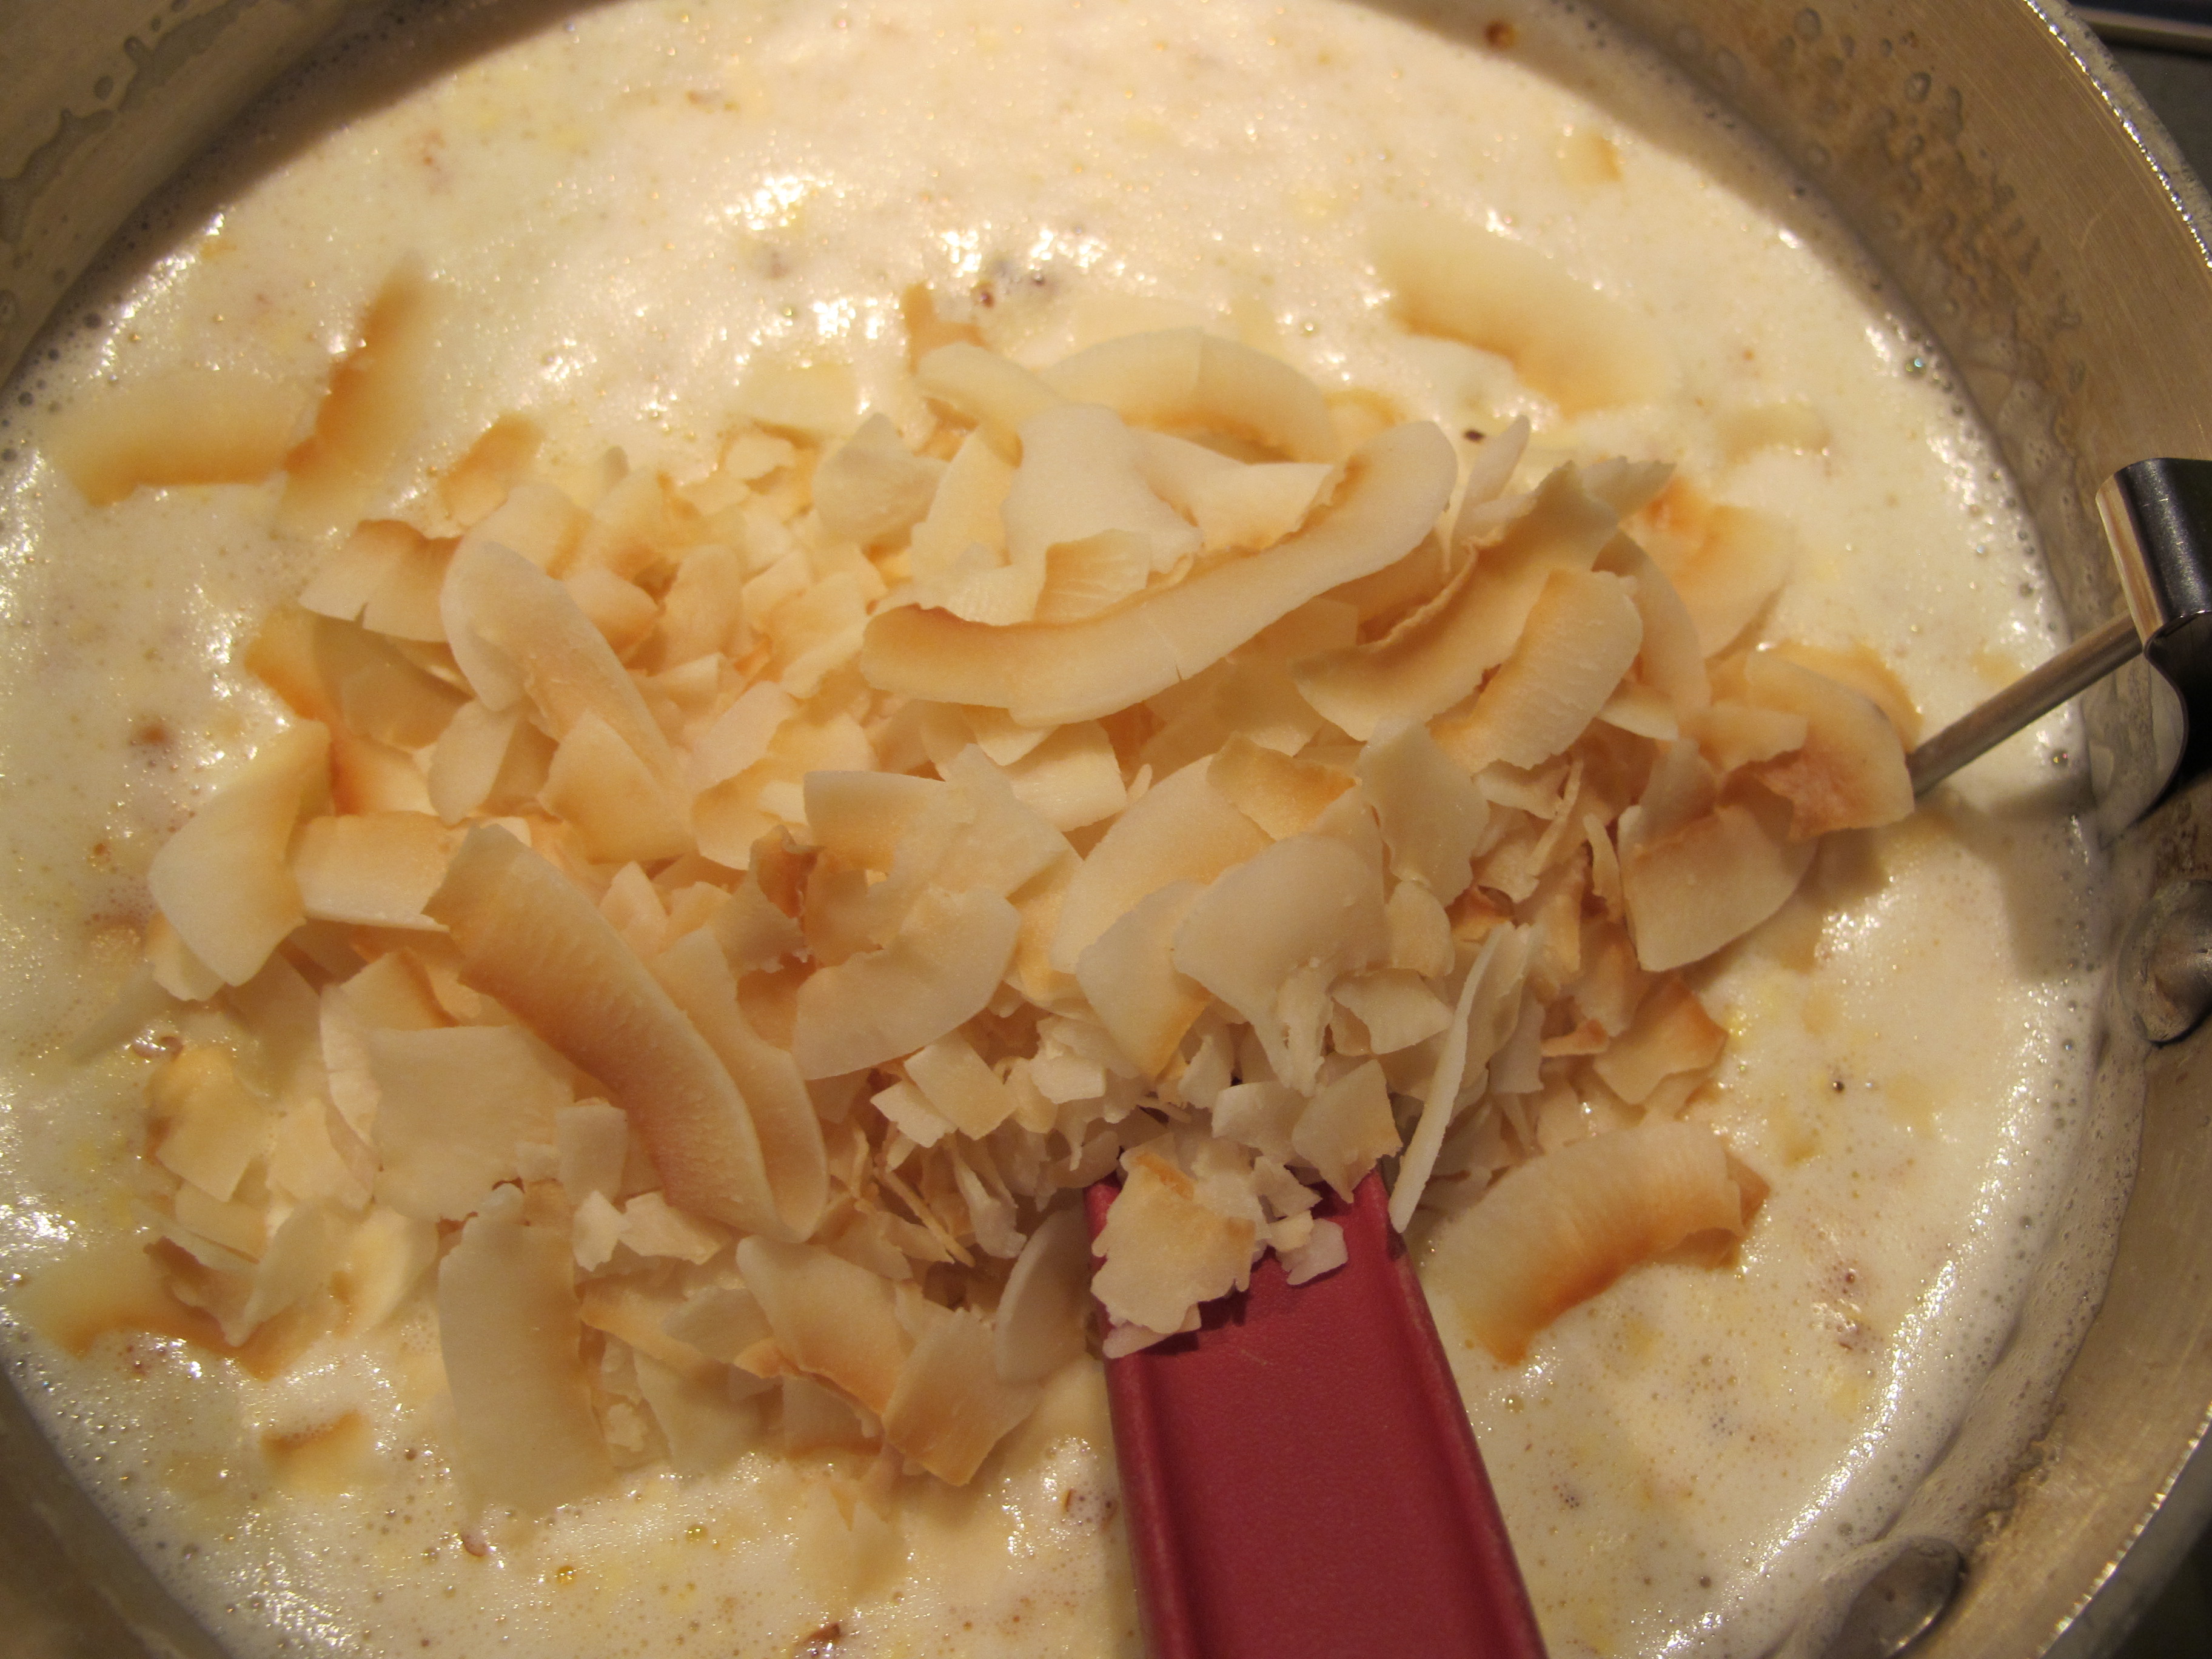
5. Churn ice cream base in ice cream machine according to manufacturer’s instructions. Have your caramel and pepitas nearby. Add the pepitas to the ice cream mix in last 5 minutes of churn and let them spin until they are well incorporated. As you package ice cream in air tight storage container, liberally layer in ribbons of the butternut caramel. Store the ice cream in your freezer until you’re ready to eat it, preferably overnight if you can possibly wait.
*Yields approximately 2.5 pints
If you’d rather not make it, you can be one of two lucky winners of this fabulous, scratch made craft ice cream in our weekly pint giveaway. Enter your name in the comments section here, or on our facebook page under the posted contest. Two winners will be drawn randomly on Friday 9/18/15 at 4pm. Winners must be able to pick up locally in Minneapolis. Prizes must be claimed by email within one week or we will redistribute. 🙂 Good luck!