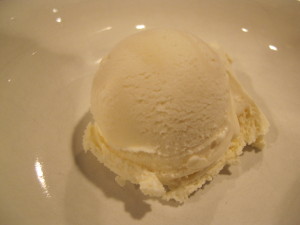
Buttered Toast and Honey

As a kid, I would occasionally eat heavily buttered toast with honey drizzled over the top. It was usually a breakfast thingy, but I know I enjoyed a few buttered honey toasts for an after school snack session. It was one of those things that always tasted better with white bread too. It’s been awhile since I’ve had this toast, but my food nostalgia always beckons the question, would it make a worthy ice cream flavor? The answer is usually yes, and in this case…YES! This week’s flavor – Buttered Toast and Honey


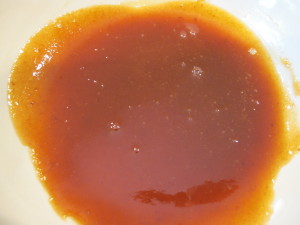
ButterBrown Butter


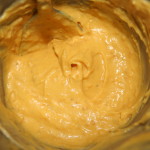
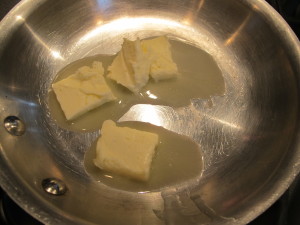
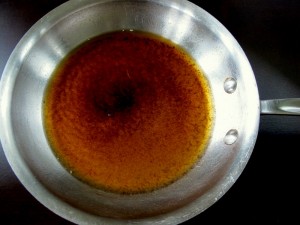
I remember having a rather large portion of butter on this toast, something more like a light frosting that melted away into the bread. For the ice cream, I wanted to use brown butter to highlight the flavor of the butter, but also to accentuate it’s nuttiness that resembles the flavor of the toasted bread. The brown butter gets emulsified into our organic cane sugar ice cream base.


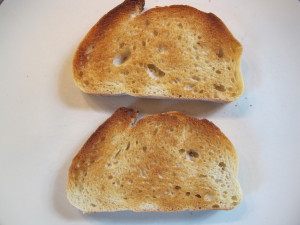
IMG_6577IMG_6579


For the toasts, I’m using french bread: sliced, toasted, and then scraped, with the back of a knife, into the ice cream base. The toast crumbs steep in the base during pasteurization, and are then strained out with a fine mesh strainer. The base is cooled and is ready to churn.


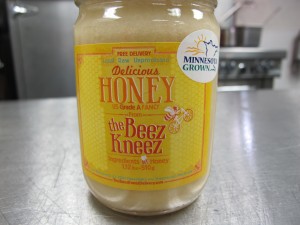
Honey - The Beez Kneez


Lastly, honey to round out the mission. Minnesota honey! The Beez Kneez honey! Do we need to say more? If you’ve never heard of The Beez Kneez, just click here to learn more about their wonderful honey. It’s swirled straight into the ice cream after the churn.


IMG_6583


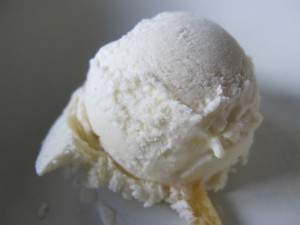
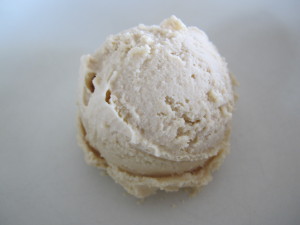
Buttered Toast and Honey ice cream…just like being a kid again.


Buttered Toast and Honey

2 cups Heavy Cream
1 cup Milk
3/4 cup cane sugar
2 Eggs
2-3 slices French Bread
2 Tablespoons Butter
1 teaspoon Sea salt

1/4 cup Honey


Instructions:

1. Prepare the brown butter: Place the butter in a saute pan and bring to a boil over high heat. Continue over high heat until butter begins to brown. Remove from heat and reserve brown butter. If browning gets away from you and starts to look too dark, pour into a glass bowl immediately to stop the browning process.

2. Make ice cream base: Crack eggs into a mixing bowl and whisk fully.  Add cane sugar and whisk.  Add heavy cream, milk and sea salt. Whisk until ingredients are combined.

4. Cook/pasteurize ice cream base: Over medium heat, whisk or stir base continuously until temperature reaches 110-120 degrees. Remove from heat. Take one cup of the warmed ice cream base out and place in blender. With blender running, slowly add the brown butter until emulsified. Pour emulsified mixture back into sauce pan with ice cream base.

Toast French bread – medium to dark toasting. Using a butter knife, scrape the toast over the ice cream base, so that all of the toasted crumbs fall off into base. Resume whisking or stirring base continuously over medium heat until temperature reaches 165-170 degrees. Remove from heat, and allow to steep for 10 minutes. Strain base through a fine mesh strainer. Cool ice cream base to room temperature (an ice bath will do this in about 15-20 minutes). Cover base, and chill in refrigerator overnight.

5. Churn ice cream base in ice cream machine according to manufacturer’s instructions. Swirl in honey during packaging. Store ice cream in air tight container in freezer until chow time.

*Yields approximately 2.5 pints


If you’d rather not make it, you can be one of two lucky winners of this fabulous, scratch made craft ice cream in our weekly pint giveaway. Enter your name in the comments section here, or on our facebook page under the posted contest. Two winners will be drawn randomly on Friday 10/23/15 at 4pm. Winners must be able to pick up locally in Minneapolis. Prizes must be claimed by email within one week or we will redistribute. 🙂 Good luck!

 

Facebook

Twitter

More...

Butternut Caramel with Toasted Pepitas

Every year I hear people remark how we’re obsessed with the weather here in the Midwest – myself included.  And it’s entirely true.  With 4 radically different seasons, it’s hard not to be a little wrapped up in it. They robotically tune us in to change every 3-4 months and we rarely notice how are eating habits are affected as well.  A lot of the reason for that is related to what was/is available and what is hardy enough to store through winter.  Which is why, when the nights turn cold, squash suddenly becomes a little vegetable elf, seemingly popping up everywhere you are.  And as usual, it also pops up in our ice cream.

This week’s flavor deserves a direct nod to our kindred flavor spirit Heidi Skoog from Serious Jam, since a few weeks ago I said “Butternut” and she filled in the blanks before I could go any farther.


2015-10-08 18.10.37


The caramel is the most complicated part of this recipe.  Caramel can be tricky on it’s own, and now we’re trying to get squash into it.  The key is getting the squash flavor into the cream that we add to the sugar to keep the caramel viscous.


2015-10-08 18.25.252015-10-08 18.59.092015-10-08 19.04.15


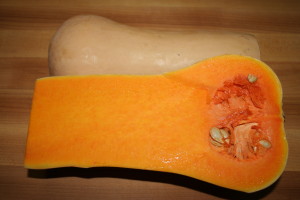
It all begins by roasting the butternut squash with lots of butter.  As the squash roasts it caramelizes in the butter, bringing out its sweetness, and makes it nice and soft for smoothing into a puree.  When it’s finished roasting, the squash is blended with cream until it is smooth.


caramelcoconut caramelCaramelized Sugar


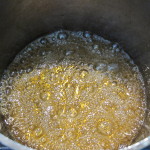
The key to making a caramel sauce is patience, trust and a watchful eye.  We wet the sugar first, and then bring it to a hard and fast boil without and I repeat WITHOUT ever stirring.  Stirring the boiling sugar will make it crystallize and turn grainy.  Once it reaches the right caramel color (in about 5-8 minutes) some cream is added to cool it down a bit, and then the squash and cream puree is added and whisked in.


butternut caramel


Cream is what keeps the caramel from getting hard – and you can flavor the cream with just about anything.  In this case the already caramel-like roasted butternut squash makes a perfect partner.


pepitaspepitas


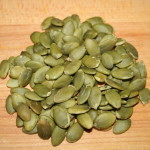
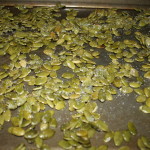
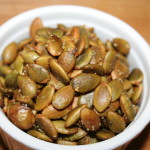
It’s only natural to have squash/pumpkin seeds provide the crunch here.  So raw pumpkin seeds/pepitas are tossed in butter and liberally salted, and roasted for about 15 minutes to crunch them up.


pepitas


The ice cream base itself is relatively straightforward and simple, but the key is using brown sugar as the sweetener.  It adds an extra dimension to the party.


2015-10-13 18.00.12


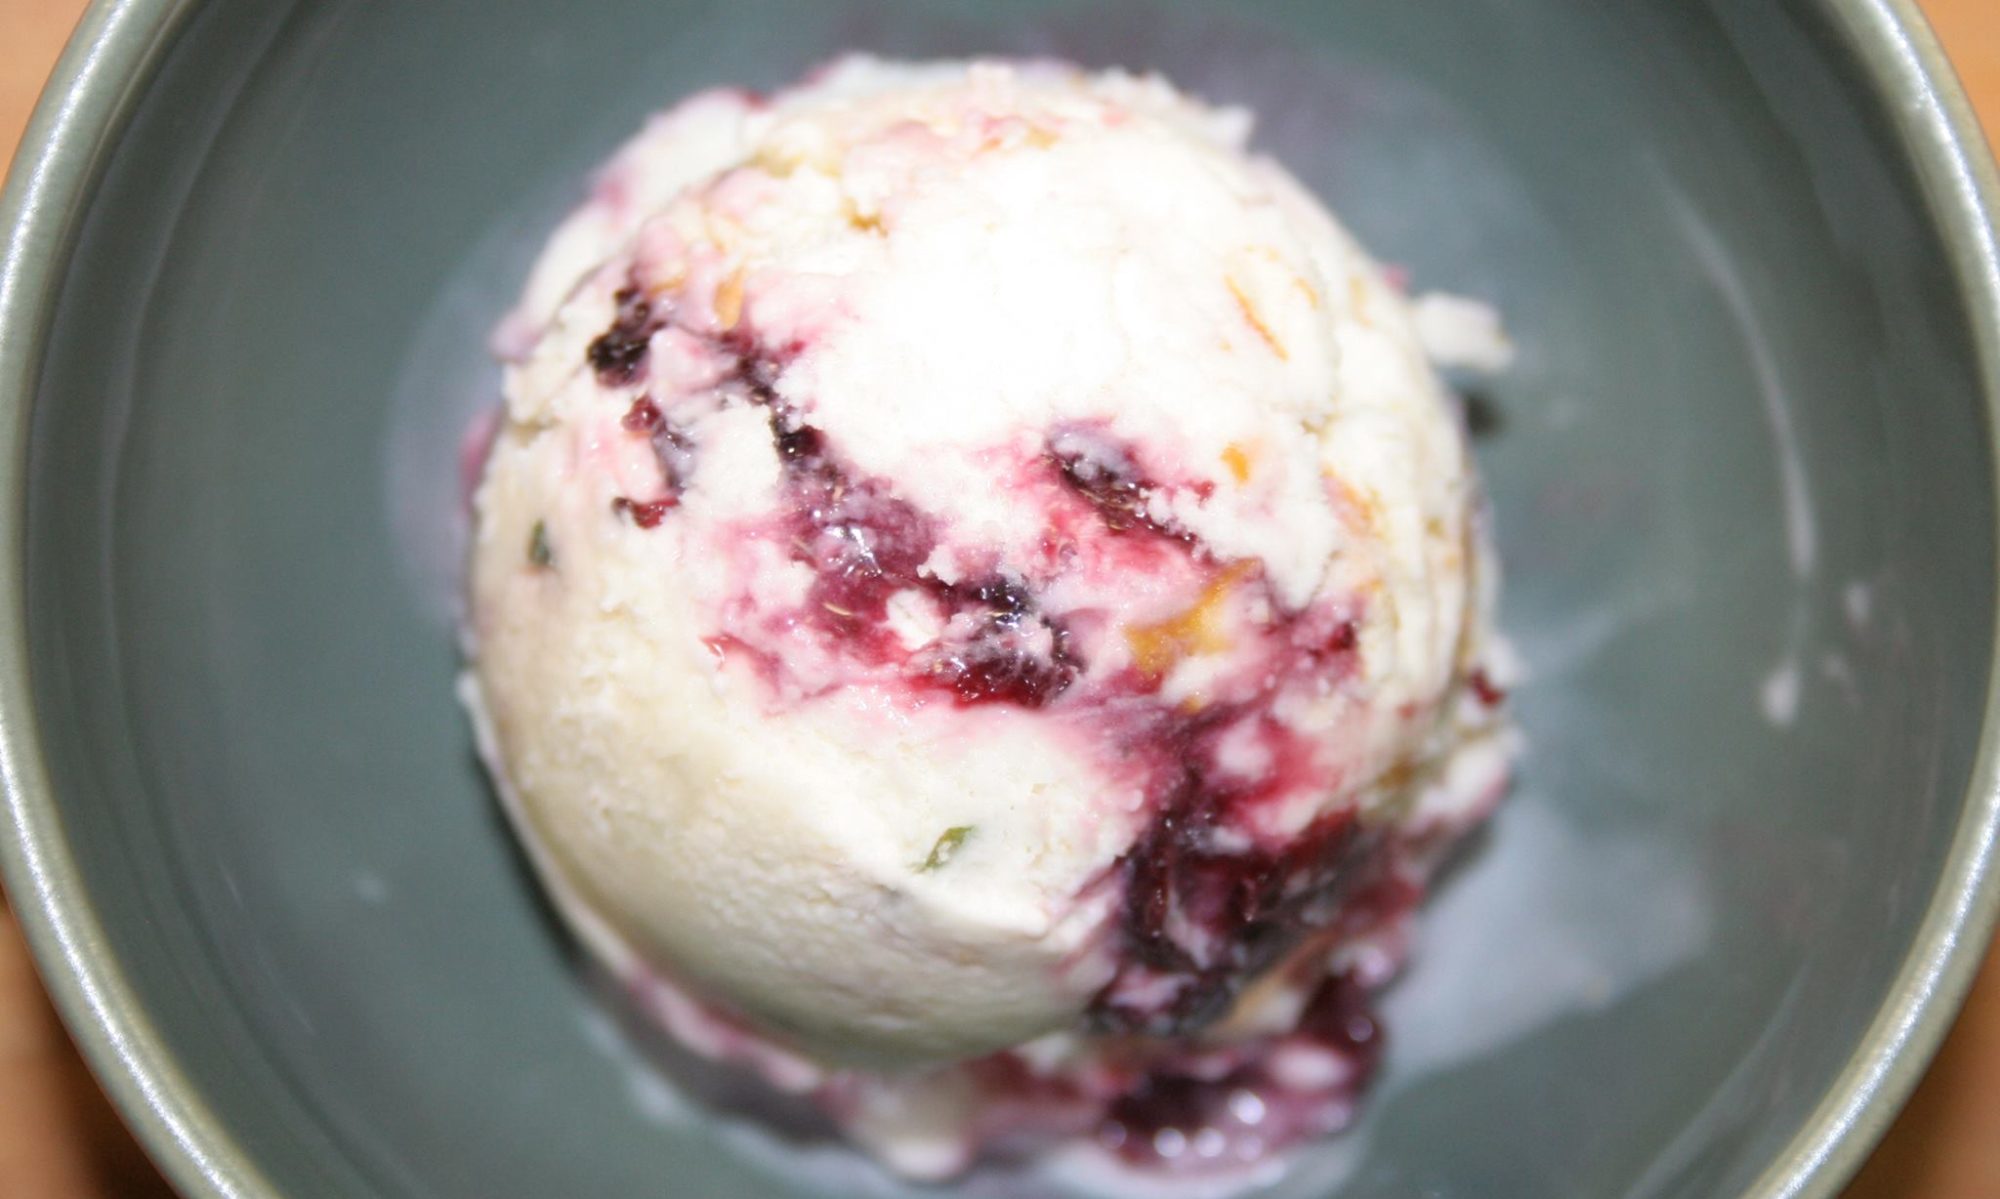
The scoop is a silky smooth brown sugar ice cream, swirled with ribbons of butternut squash caramel and studded with crunchy, salty pepitas.


Butternut Caramel with Toasted Pepitas Ice Cream Recipe


Toasted Pepitas:
1 Cup of raw pumpkin seeds (substitute already roasted and salted if you want to skip this step)
1 Tablespoon butter
2 Teaspoon Salt

Roasted Butternut Squash Caramel:
1 Cup Diced Butternut sqaush, medium, 1/2″ cubes
1 Tablespoon Butter, melted
1 Cup White Sugar
1 Tablespoon water
1 C Cream

Ice Cream:
2 cups Heavy Cream
1/2 cup Milk
1/2 cup Brown Sugar
2 Eggs
3/4 teaspoon Sea salt
Butternut Caramel
1/2 Cup Toasted Pepitas


Instructions:

1. Make Roasted Butternut Caramel (Make at least a day before freezing the ice cream): Preheat oven to 350 degrees. Toss butternut squash with melted butter and roast for approximately 15 minutes . Stir squash and roast for 15 minutes until the squash begins to caramelize and is soft. Remove from oven and puree with 1/2 cup cream until smooth; set aside.

Now for the caramel: put 1 Cup of sugar in heavy bottomed pot and mix with 1 Tablespoon of water until sugar is wet but not submersed in water. Bring sugar to a boil and DO NOT STIR (if you stir the boiling sugar it will become grainy and you’ll have to start over) watch carefully – within about 5 minutes the boiling sugar will begin to turn a caramel color. Once it turns light brown, remove the pot from heat and add remaining 1/2 cup of cream – be careful here as it will boil quickly and briefly – then add butternut squash puree and whisk until all is smooth. Let cool and refrigerate until you are ready to freeze the ice cream.

2. Make Toasted Pepitas (Do this right before you make the ice cream base for best results): Preheat oven to 350 degrees. Toss pumpkin seeds in 1 tablespoon of melted butter and spread onto a sheet pan – salt liberally. Place pumpkin seeds in oven and roast for 10 minutes, stir them up and roast for another 10 mintues until they become aromatic. Remove them from an oven and let cool, then set aside until you are ready to make the ice cream. Any leftover pepitas you don’t use for the ice cream make a great snack, and are fantastic on salads.

3. Make ice cream base: Crack eggs into a mixing bowl and whisk fully.  Add brown sugar and whisk.  Add heavy cream, milk, and salt.  Whisk until ingredients are combined.

4. Cook/pasteurize ice cream base: Over medium heat, whisk or stir base continuously until temperature reaches 165-170 degrees.  Remove from heat. Strain out toasted coconut. Cool ice cream base to room temperature (an ice bath will do this in about 15-20 minutes). Cover base, and chill in refrigerator overnight.

5. Churn ice cream base in ice cream machine according to manufacturer’s instructions. Have your caramel and pepitas nearby. Add the pepitas to the ice cream mix in last 5 minutes of churn and let them spin until they are well incorporated. As you package ice cream in air tight storage container, liberally layer in ribbons of the butternut caramel. Store the ice cream in your freezer until you’re ready to eat it, preferably overnight if you can possibly wait.

*Yields approximately 2.5 pints


If you’d rather not make it, you can be one of two lucky winners of this fabulous, scratch made craft ice cream in our weekly pint giveaway. Enter your name in the comments section here, or on our facebook page under the posted contest. Two winners will be drawn randomly on Friday 9/18/15 at 4pm. Winners must be able to pick up locally in Minneapolis. Prizes must be claimed by email within one week or we will redistribute. 🙂 Good luck!
 

Facebook

Twitter

More...

Apple Oat and Brown Sugar

Our journey down apple road continues this week. This time around, we will be using a newer technique, to us, to get the apples in the ice cream. A technique that allows us to create a creamy ice cream flavored with what ever fruit or vegetable we’re using, while eliminating any iciness due to moisture content. It’s something we’ve been playing around with a lot lately, and so far has been very successful. And to bring the creaminess up another level, I’m using rolled oats. I’ll explain how that works later, but for now, lets get this week’s flavor underway – Apple Oat and Brown Sugar


IMG_6530IMG_6532IMG_6542


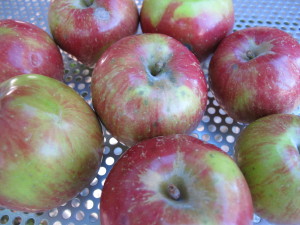
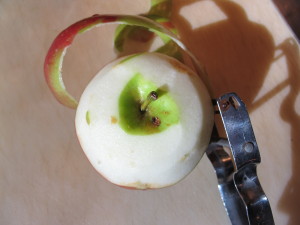
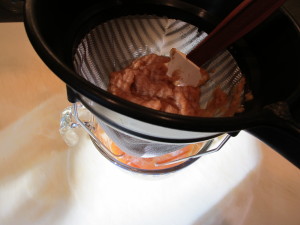
To begin, we start with regent apples from Hoch Orchard here in Minnesota. Everyone has their apple varieties of choice for eating and cooking. For me, the regent offers great apple flavor and is versatile for both good eating and cooking. Here, I want extract all of the apple flavor I can get, starting by breaking down the apples into two different parts – cider and pulp. First things first, we peel and core our apples. The apples are pureed in a blender until smooth. We then strain the puree through a fine mesh strainer set over a bowl. The cider is pushed through, and the solids are drained until the pulp is nearly dry. Getting as much of the moisture content out is important, unless you’re making a sorbet. Moisture is ice creams enemy.


IMG_6544IMG_6551IMG_6559


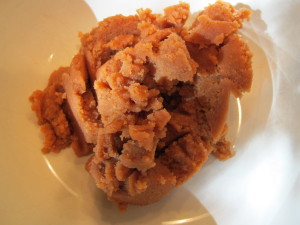
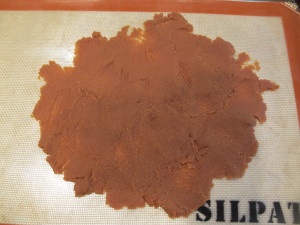
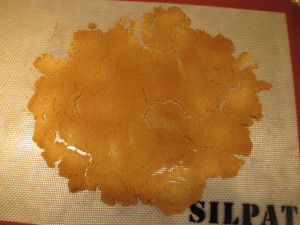
The pressed pulp is spread thin on a sheet pan lined with a silpat baking mat. Baked at a low temperature to eliminate as much residual moisture. The baked apple pulp is reserved for the ice cream base.


IMG_6552IMG_6556IMG_6558


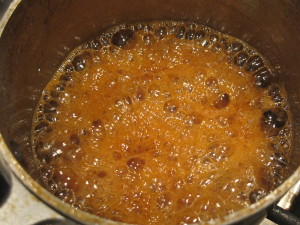
Next, we use the reserved apple cider. With the addition of a very small amount of cane sugar, the cider is brought to a boil and reduced into a thick syrup. This syrup is ultra concentrated with apple flavor. The syrup is added into our brown sugar ice cream base, which I used for this flavor to bring out some deeper caramel tones. As I mentioned in my opening, I wanted to really bring on the creaminess with this flavor by infusing with rolled oats. The oats are added into the base before pasteurizing. During the cooking process, the oats release their starches into the base making for an ultra silky texture. The oats are strained out after the base is pasteurized and the reserved baked pulp is whisked in. After cooling, the base is ready to churn.


IMG_6562


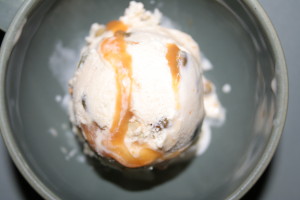
The road to apple ice cream stops here. A brown sugar ice cream made ultra creamy with an oat and apple infusion. Mission accomplished!


Apple Oat and Brown Sugar

Apple Prep:
4 Apples, Regent, peeled, quartered, and cored
2 teaspoons sugar

Ice Cream Base:
2 cups Heavy Cream
1 cup Milk
3/4 cup Brown Sugar
1/2 cup Rolled Oats
2 Eggs
3/4 teaspoon Sea salt
1/4 teaspoon Cinnamon
reserved apple syrup and paste


Instructions:

1. Prepare Apples: Using a blender or food processor, puree apples. Place a fine mesh strainer over a bowl, and pour apple puree into strainer. Using a spatula, press all of the liquid through the strainer until all that is remaining is paste. Reserve paste. Pour the apple liquid from the bowl into a medium sauce pan with 2 teaspoons of sugar. Over medium high reduce the liquid, stirring constantly so it doesn’t burn to the bottom of pan. Continue reduction, until a thick apple syrup forms. Remove from heat and reserve apple syrup.

2. Bake Apple Pastea: Preheat oven to 250 degrees. Spread apple paste in a thin layer onto a sheet pan lined with a silpat or other baking mat. Bake for 20-25 minutes until relatively dry. Remove from the oven and reserve for ice cream base.

3. Make ice cream base: Crack eggs into a mixing bowl and whisk fully.  Add brown sugar and whisk.  Add heavy cream, milk, salt, and cinnamon. Whisk until ingredients are combined. Add rolled oats and whisk to combine.

4. Cook/pasteurize ice cream base: Over medium heat, whisk or stir base continuously until temperature reaches 165-170 degrees.  Remove from heat, and strain through a fine mesh strainer. Add both apple syrup and apple paste to strained ice cream base and whisk vigorously until combined. Cool ice cream base to room temperature (an ice bath will do this in about 15-20 minutes). Cover base, and chill in refrigerator overnight.

5. Churn ice cream base in ice cream machine according to manufacturer’s instructions. Store ice cream in air tight container in freezer until chow time.

*Yields approximately 2.5 pints


If you’d rather not make it, you can be one of two lucky winners of this fabulous, scratch made craft ice cream in our weekly pint giveaway. Enter your name in the comments section here, or on our facebook page under the posted contest. Two winners will be drawn randomly on Friday 10/9/15 at 4pm. Winners must be able to pick up locally in Minneapolis. Prizes must be claimed by email within one week or we will redistribute. 🙂 Good luck!
 

Facebook

Twitter

More...

Candy Corn and Peanuts

Halloween is upon us and always a fun time for us to brainstorm wild flavors.  We still haven’t used bugs, but I’m not ruling out a future chocolate cricket flavor.  However, this year I chose to use something almost as bad.  Candy corn. I’ve never really been a fan, but some former co-workers of mine would bring a candy corn and peanut mix to work that was downright addicting.  Since my boys were begging me to make something with candy – I decided to take the easy road this week and re-create that candy corn peanut mix in ice cream form.


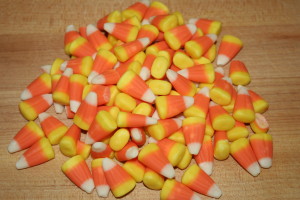
Candy CornPeanuts


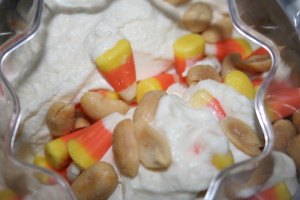
It’s an incredibly simple flavor – the ice cream is simply a sweet cream base, with candy corn and peanuts thrown in at the end of the churn.  I chose to use these Virginia peanuts because they’re big, extra crunchy and extra good.


Candy Corn


A simple sweet ice cream littered with candy corn and big Virginia peanuts.  Nothing crazy here, unless you hate candy corn.  In that case maybe you’ll be looking forward to a future bug flavor for Halloween.  🙂


Candy Corn


Candy Corn and Peanut Ice Cream Recipe

(makes approx 1-1/2 quarts)

Ingredients:

2C Heavy Cream
1C Milk (use any fat percentage you prefer – higher lends to a creamier base)
2 Eggs
3/4C Sugar
2/3 C Candy Corn
2/3C Roasted and Salted Peanuts
1/2 tsp salt

Instructions

Crack eggs into a mixing bowl and whisk fully. Add sugar to eggs and whisk until all are combined well. Add cream, milk,  salt and whisk again until all are fully incorporated.  Place the ice cream mix in heavy pot and cook over medium heat, stirring continuously.  Heat ice cream mixture until temperature reaches 165 degrees. Remove from heat.  Cool the ice cream base to room temperature (an ice bath will do this in about 15-20 minutes).   Once cool, place ice cream mix in a container, cover, and chill in refrigerator overnight.

Churn ice cream base in ice cream machine according to manufacturer’s instructions. Add candy corn and peanuts in during the last 5 minutes of churning the ice cream. Freeze in a tightly covered container for at least 4 hours, preferably overnight if you can wait.  Then, enjoy!

*Yields approximately 2.5 pints of ice cream.

If you’d rather not make it, you can be one of two lucky winners of this fabulous, scratch made craft ice cream in our weekly pint giveaway. Enter your name in the comments section here, or on our facebook page under the posted contest. Two winners will be drawn randomly on Friday 10/30/15 at 4pm. Winners must be able to pick up locally in Minneapolis. Prizes must be claimed by email within one week or we will redistribute. 🙂 Good luck!
 

Facebook

Twitter

More...

Coconut Popcorn

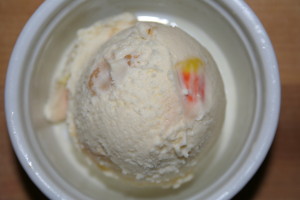
As a first grader, my son takes turns with his classmates bringing in the daily snack. Last month he chose to bring popcorn, and instead of just popping it ourselves, we purchased a few bags from the store. We may have purchased a bag for ourselves too. The ingredients on the bag read: “popcorn, coconut oil, and salt”. Pure goodness here. The coconut popcorn combo was both unexpectedly and expectedly delicious all in the same. I’m very fond of the buttered version, but on the flip, coconut oil is pretty much amazing on anything, and that certainly proved to be true here. But after mentioning this deliciousness to some friends, it seems as though this combo has been around for awhile. But hey, I’m just happy I know about this deliciousness now. One thing I bet you all didn’t know though…popcorn and coconut are friggin amazing in ice cream. I know becuase that’s what I made this week’s flavor – Coconut Popcorn


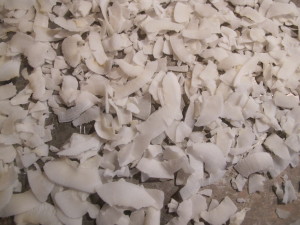
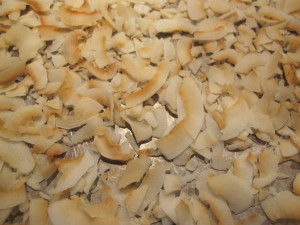
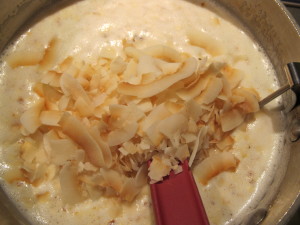
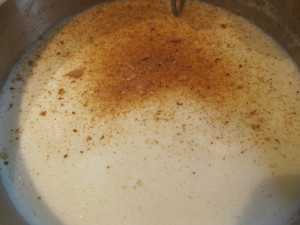
coconuttoasted coconutcoconut oiltoasted coconut steep


Not an ice cream with chunkers of coconut though. I like having a creamy ice cream that is a full infusion of its components. Infusions make it fun trying to decipher and pin point the different tastes that you’re experiencing. Occasionally the infusion becomes a “sum of its parts”, meaning the components have basically mingled together to make one single flavor. Regardless, the infusion usual doesn’t disappoint. For this coconut infusion, I wanted to double down and really get a nice coconut flavor, so I used both toasted coconut and coconut oil. The coconut gets toasted in a 325 degree oven for about 10 minutes and then added into our cane sugar base during pasteurization. The coconut oil is blended into a small amount of ice cream base to emulsify the fats. It’s easiest to do the emulsification before adding the toasted coconut into the base.


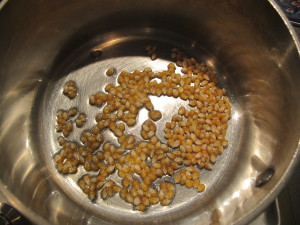
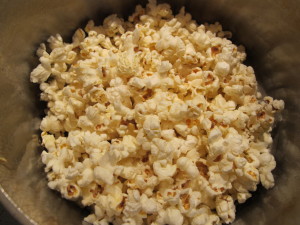
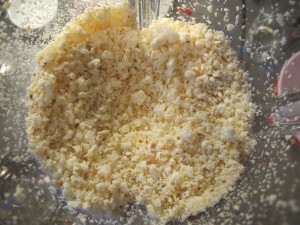
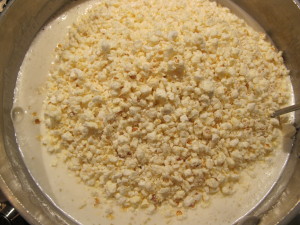
popcornpopcornground popcornpopcorn steep


Next, the popcorn. Over high heat, canola oil gets heated in a pan along with popcorn kernals. The pan is covered, shaken up once and awhile, and popped. After popping the corn, I need to condense it so I can get enough flavor into the cream. The popcorn gets chopped up in a blender or food processor. The popcorn’s volume is reduced by 50%. The ground popcorn is added into our ice cream base with toasted coconut. The base is pasteurized, and the toasted coconut and popcorn steep for 5-10 minutes before the base is strained through a fine mesh strainer. The base is given and final salting, is cooled, and is ready to churn.


Coconut Popcorn


Coconut popcorn says, “We make a great snack, but an even better ice cream”. So true coconut popcorn. So true.


Coconut Popcorn

Popcorn:
2 Tablespoons popcorn
2 teaspoons Canola oil

2 cups Heavy Cream
1 cup Milk
3/4 cup cane sugar
2 Eggs
1/2 cup Toasted coconut
2 Tablespoons Coconut oil, melted
1 teaspoon Sea salt


Instructions:

1. Prepare the popcorn: In a medium sized sauce pan, heat canola oil over high heat. When oil is shimmering, add popcorn and cover. shake sauce pan occasionally to keep the popcorn kernels moving around. Once popping, remove from heat when popping slows down. Pour popped corn into a blender. Pulse blender until popcorn is chopped into small pieces. Reserve 1 cup of blended popcorn for ice cream base.

2. Toast coconut: Preheat oven to 325 degrees F. Place coconut on a sheet pan and toast in oven for approx. 10 minutes, or until golden brown on the edges.

3. Make ice cream base: Crack eggs into a mixing bowl and whisk fully.  Add cane sugar and whisk.  Add heavy cream, milk and sea salt. Whisk until ingredients are combined.

4. Cook/pasteurize ice cream base: Over medium heat, whisk or stir base continuously until temperature reaches 110-120 degrees. Remove from heat. Take one cup of the warmed ice cream base out and place in blender. With blender running, slowly add the melted coconut oil until emulsified. Pour emulsified mixture back into sauce pan with ice cream base.

Add toasted coconut and 1 cup of popcorn to the base. Resume whisking or stirring base continuously over medium heat until temperature reaches 165-170 degrees. Remove from heat, and allow to steep for 10 minutes. Strain base through a fine mesh strainer. Cool ice cream base to room temperature (an ice bath will do this in about 15-20 minutes). Cover base, and chill in refrigerator overnight.

5. Churn ice cream base in ice cream machine according to manufacturer’s instructions. Store ice cream in air tight container in freezer until chow time.

*Yields approximately 2.5 pints


If you’d rather not make it, you can be one of two lucky winners of this fabulous, scratch made craft ice cream in our weekly pint giveaway. Enter your name in the comments section here, or on our facebook page under the posted contest. Two winners will be drawn randomly on Friday 11/6/15 at 4pm. Winners must be able to pick up locally in Minneapolis. Prizes must be claimed by email within one week or we will redistribute. 🙂 Good luck!
 

Facebook

Twitter

More...